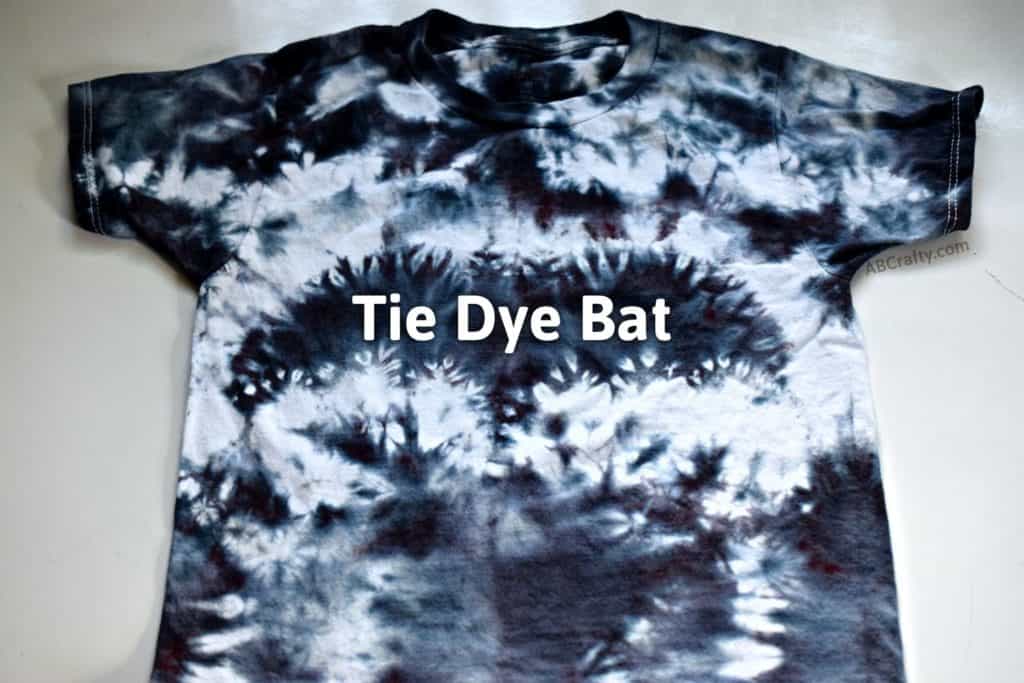
Bat Tie Dye Shirt

finished black tie dye shirt with the title "tie dye bat" on top

Learn how to make bat tie dye shirt. Perfect for Halloween, this tie dye bat design is a fun way to show off your Halloween spirit!

Table of Contents

Now that it’s Halloween time, I wanted to make some Halloween tie dye designs. I’m a huge fan of bats so I knew I wanted to try making a bat design using tie dye. This one is my second attempt so I can share some great tips to get a clear bat design. I also made a template for the design that you can download for free, along with the designs for my other Halloween tie dye designs.

This shirt is also great because it only uses a single color, using just black tie dye.

Here are my recommendations for the best tie dye kits.

And you can make these cute ghost pathway lights for the driveway or these pumpkin cinnamon rolls for yourself. Or check out all of my tie dye patterns.

Note: Some links in this post may contain affiliate links, which means at no cost to you, I may earn a commission.

Don’t forget to pin it so you can come back to it later!
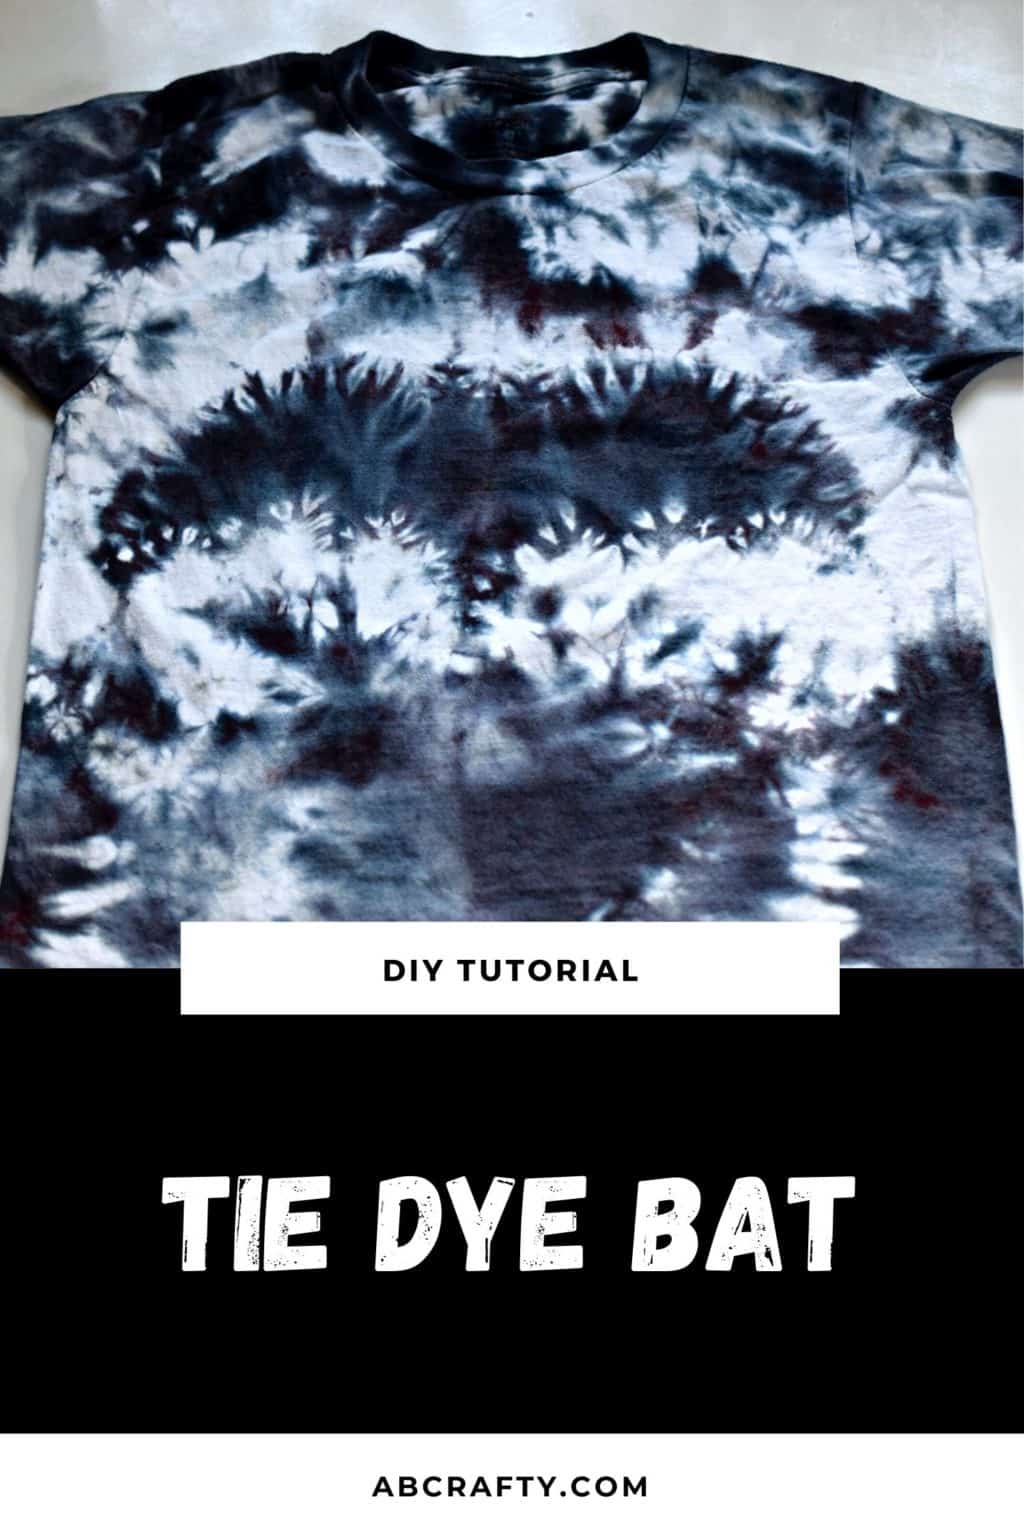
black bat tie dye shirt with the title "diy tutorial - tie dye bat"

Materials to Make the Bat Tie Dye Shirt

Free Downloadable Halloween Tie Dye Templates

Download these templates to make it easy to make this bat tie dye shirt and other Halloween tie dye shirts. Each template is on its own page so you can print the ones you want. Download it below or in the shop.

Scale it to the size you want and print it out to make it super easy to draw the design.

free printable tie dye template outlines of a bat, pumpkin, candy corn, and ghost with the title "halloween tie dye printable templates"

Download the Free
Halloween Tie Dye Templates

We’re committed to your privacy. AB Crafty uses the information you provide to contact you about relevant content and products. You may unsubscribe from these communications at any time.

Instructions to Make a Bat Tie Dye Design

Before you start, wash and dry the shirt. This will remove any chemicals that may be on it or anything else that may prevent the dye from soaking in.

Prepare the Bat Tie Dye Design

Fold the shirt in half. Then use a washable marker to draw half of a bat on the shirt. You can use the free downloadable template to make it easy. Simply print and cut it out and trace around the template.

Since the washable marker will wash out, it’s completely fine to sketch it. Hence why you can see my variations.

white cotton shirt folded in half with half of a bat drawn on it with blue washable marker

Use a needle and thread to sew a running stitch along the outline.

Tip: The shorter the stitches you use, the more detail you will get. I didn’t do small enough stitches for the ears so the details didn’t come out as well.

sewing along the bat outline on the white shirt

Carefully pull on the threads – this will make the folds in the shirt. Tie off the ends.

Tip: To get a stronger detail, soak the shirt prior to pulling on the thread. This will remove the air so you can make the folds tighter.

pulling on the threads to scrunch and fold the shirt along the bat design

Then add rubber bands along the marker lines to help secure the bat section.

Tip: Tie them very tight or use zip ties to make sure the dye won’t get in.

white shirt folded up in preparation for the tie dye bat

Prepare and Dye the Shirt

Scrunch the rest of the shirt and wrap it with rubber bands or zip ties.

Then soak it in a solution of water and soda ash for 20 minutes. You want to mix 1 cup of soda ash with 1 gallon of water.

Tip: I recommend soaking the shirt in soda ash even if you’re using a one-step tie dye kit that says you don’t need to use soda ash.

white shirt tied up with rubber bands and black zip ties soaking in a tub of soda ash solution

Mix the dye according to the instructions on your kit. Typically the instructions are to simply adding warm water to the bottle to the fill line and shaking it until the dye is dissolved.

Then place plastic wrap on the table and put on gloves.

Squeeze out the shirt and place it on the plastic. Then cover the shirt in the black dye.

Tip: Make sure the shirt is fully saturated, but not dripping.

Tip #2: Leave some space around the bat outline white to give the bat more of a white border. This helped with my second attempt so I definitely recommend it.

squeezing black tie dye out of a bottle onto the tied up shirt

Wrap it up in the plastic wrap and let it set for at least 6 hours, but I recommend 24 hours.

holding the black tie dye shirt wrapped in plastic wrap

Wash and Dry the Bat Tie Dye Shirt

Rinse the shirt under water and remove the rubber band and zip ties. Increase the water temperature and continue to rinse it until the water runs clear. Then throw it in the washing machine with other dyed clothes and dry it.

Then your bat tie dye shirt is ready to wear!

Get the latest DIY tutorials, reviews, and crafting updates

You'll never be spammed and can unsubscribe at any time

finished black tie dye bat shirt
If you make your own tie dye shirt, I’d love to see it! Tag me on Instagram @ab.crafty

More Halloween Crafts and Tie Dye Projects

Get the latest DIY tutorials, reviews, and crafting updates

You'll never be spammed and can unsubscribe at any time

black bat tie dye shirt with the title "diy tutorial - tie dye bat"

Bat TIe Dye Shirt

Learn how to make bat tie dye shirt. Perfect for Halloween, this tie dye bat design is a fun way to show off your Halloween spirit!
Yield 1 Bat Tie Dye Shirt
Project Time 20 minutes
Set Time 1 day
Total Time 1 day 20 minutes

Materials
  

  • 1 White Cotton Shirt
  • Washable Marker
  • 1 Needle and Thread
  • Rubber Bands and Zip Ties
  • Black Tie Dye
  • Soda Ash
  • Water
  • 1 pair Rubber Gloves
  • Plastic Wrap

Equipment

  • Bucket or Plastic Bin

Instructions
 

  • Fold the shirt in half. Then use a washable marker to draw half of a bat on the shirt.
    1 White Cotton Shirt, Washable Marker
    white cotton shirt folded in half with half of a bat drawn on it with blue washable marker
  • Use a needle and thread to sew a running stitch along the outline.
    1 Needle and Thread
    sewing along the bat outline on the white shirt
  • Carefully pull on the threads – this will make the folds in the shirt. Tie off the ends.
    pulling on the threads to scrunch and fold the shirt along the bat design
  • Add rubber bands along the marker lines
    Rubber Bands and Zip Ties
    white shirt folded up in preparation for the tie dye bat
  • Scrunch the rest of the shirt and wrap it with rubber bands or zip ties.
    Then soak it in a solution of water and soda ash for 20 minutes. You want to mix 1 cup of soda ash with 1 gallon of water.
    Soda Ash, Water
    white shirt tied up with rubber bands and black zip ties soaking in a tub of soda ash solution
  • Prepare the black dye according to the instructions. Then place plastic wrap on the table and put on gloves.
    Cover the shirt completely in black dye.
    Black Tie Dye, 1 pair Rubber Gloves, Plastic Wrap
    squeezing black tie dye out of a bottle onto the tied up shirt
  • Wrap it up in the plastic wrap and let it set for at least 6 hours, but I recommend 24 hours.
    holding the black tie dye shirt wrapped in plastic wrap
  • Rinse the shirt and remove the rubber bands. Then wash it in the washing machine and dry. Then your shirt is ready to wear!
    finished black tie dye bat shirt
Keyword Clothing, Dyeing Fabric, Halloween, Shirt, Tie Dye, Tie Dye Design, Tie Dye Kit
Picture of Daniela Kretchmer

Daniela Kretchmer

Daniela is a lifelong crafter who loves to share her passion for crafting. Through classes or learning on her own, she likes to say she'll do pretty much any craft aside from scrapbooking. Her current personal obsessions include garden crafts, felting, and spinning yarn.

More Craft Projects and Ideas

Leave a Comment

Your email address will not be published. Required fields are marked *

Rating