


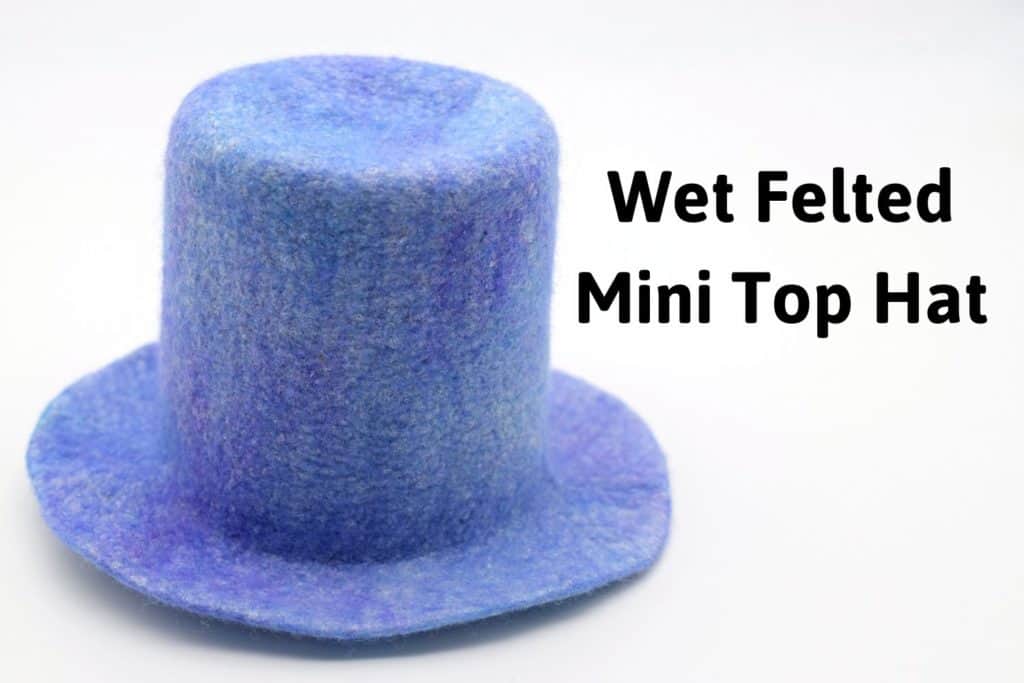


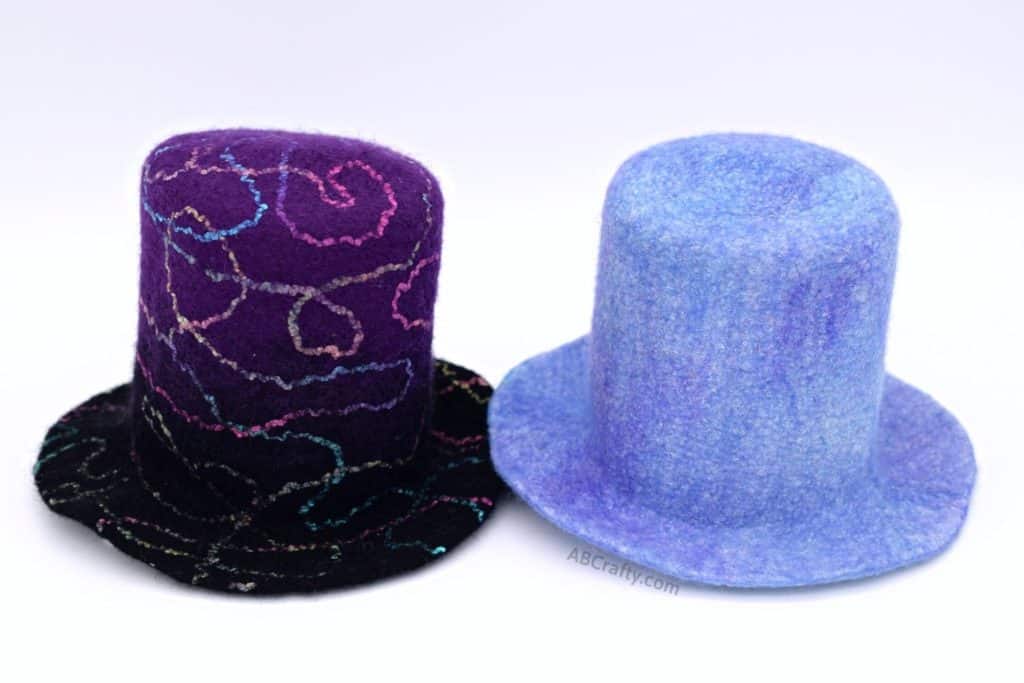
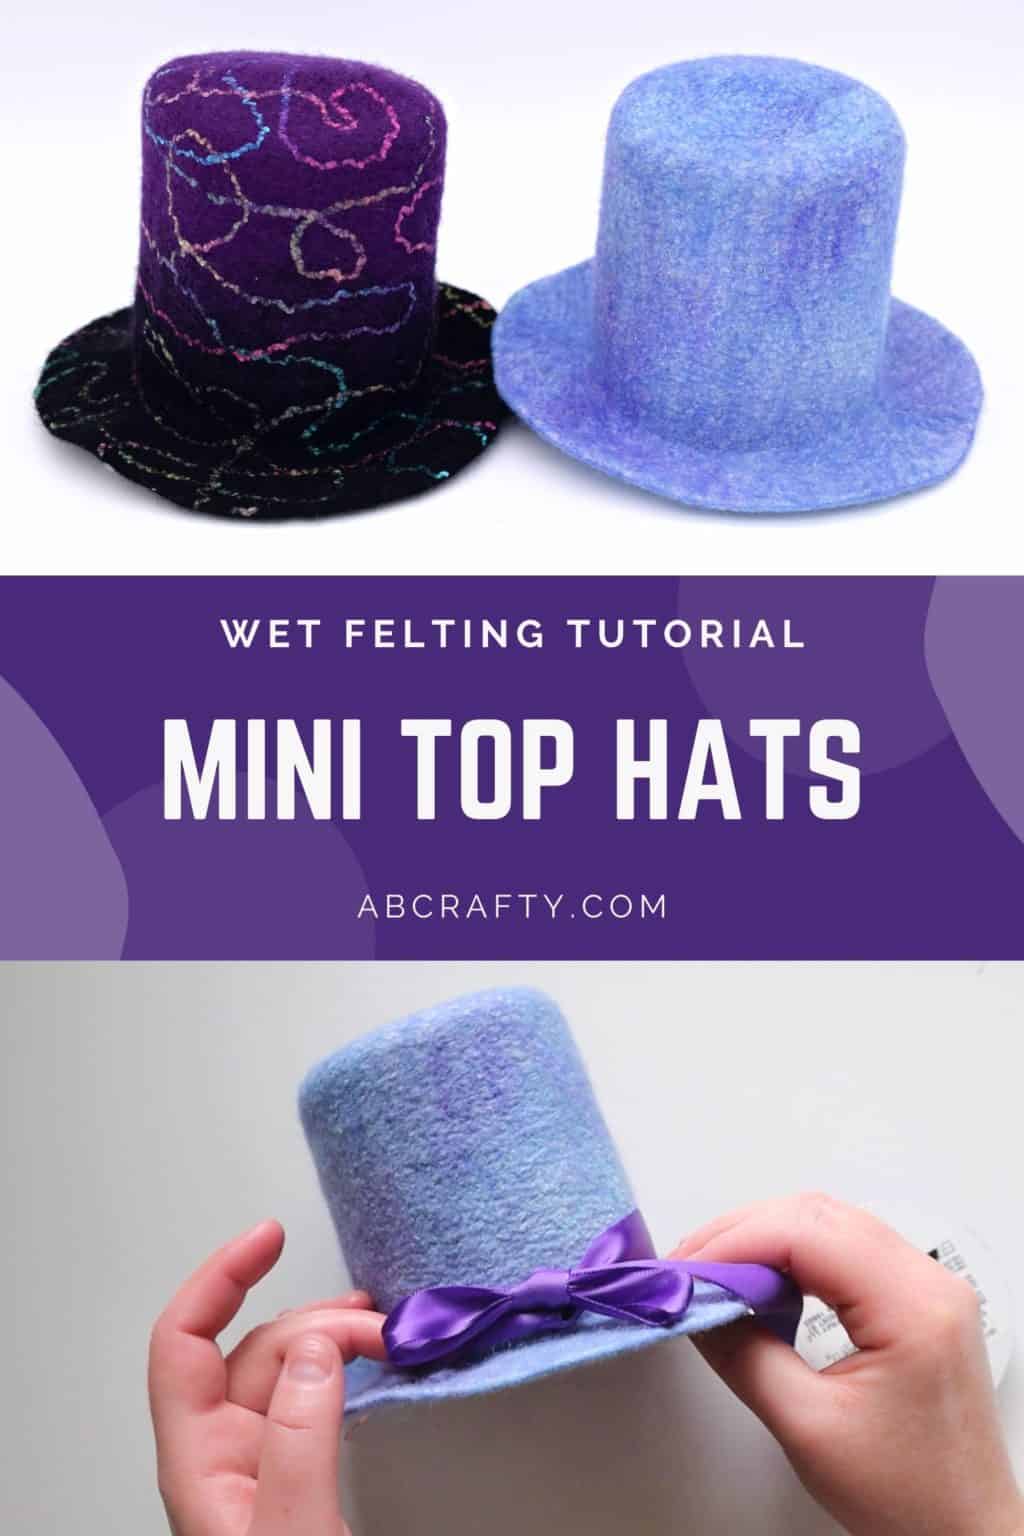
Wet Felted Mini Top Hat
Make a wet felted mini top hat. It’s a great starter wet felting project if you want to start making felt hats. But even on its own it’s adorable whimsical hat! There's also a free downloadable hat template.
Materials
- 0.5-1 oz Wool Fiber Make sure it's not labelled "superwash" or the wool won't felt.
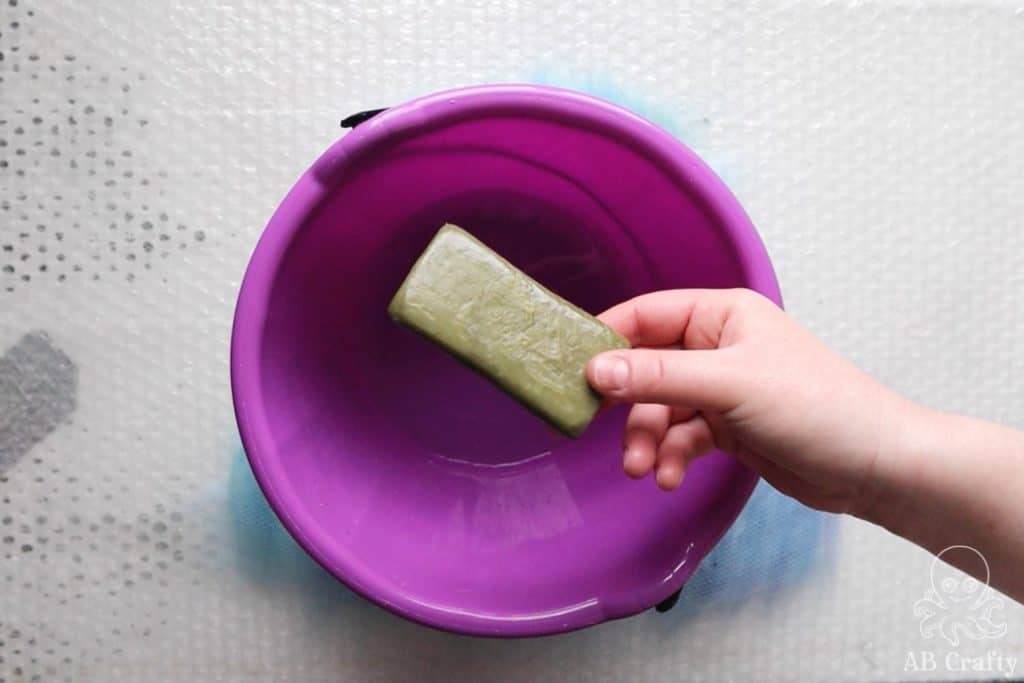
- Olive Oil Soap
- 1 Frosting Container
- Resist Material
- Resist Template Download link is in the notes
- Ribbon Optional
- 1 Alligator Clip Optional
- 1 Headband Optional
Equipment
- Bubble Wrap
- Mesh Fabric
- Pool Noodle
- Towel
- Wooden Dowel (optional)
- Palm Washboard (optional)
- Glue gun
Instructions
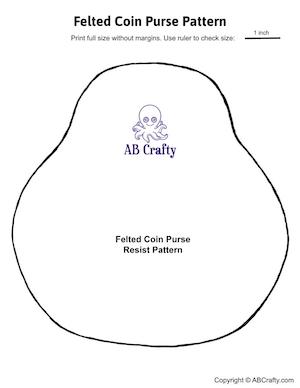
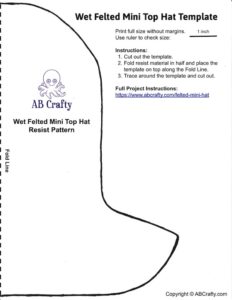
Make the resist using the printable mini top hat pattern
- Download and print the free pattern to make the resist. (be sure to print it out full sized without margins). Cut out the pattern.Resist Template, Resist Material

Lay Out the Wool for the Mini Hat
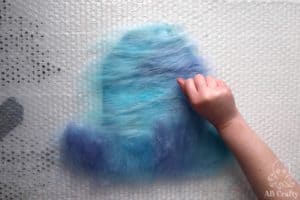
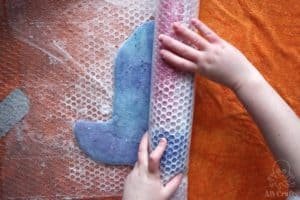
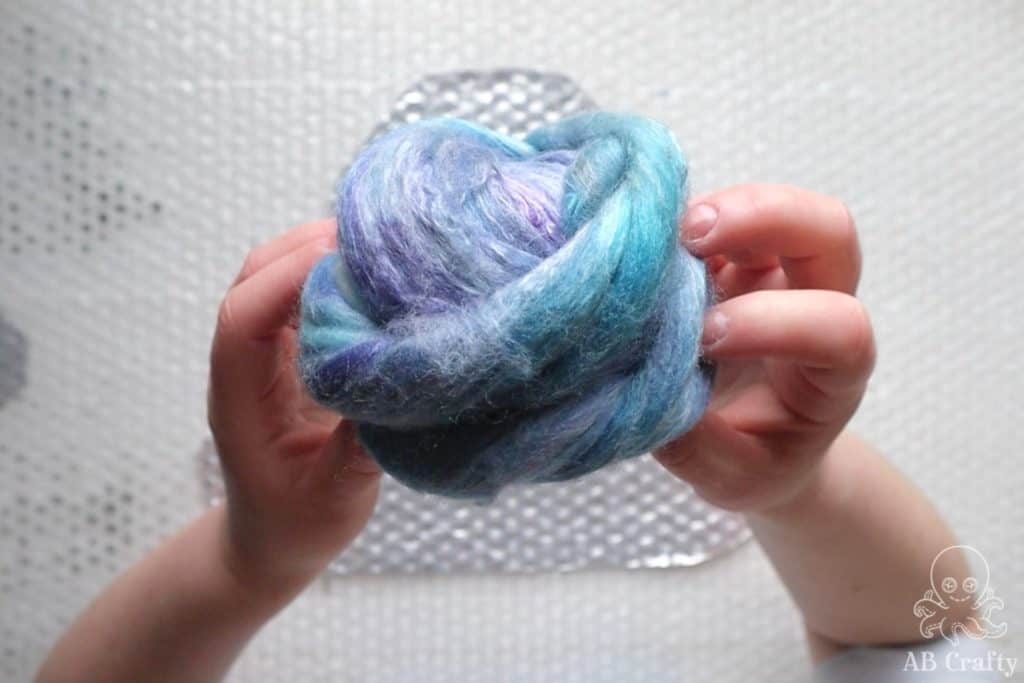
- Pull off a small amount of fiber at a time and lay it in one direction on top of the resist. Overlap the ends of the wool and make sure the wisps hang off the side a bit.0.5-1 oz Wool Fiber

- Lay down another layer of fiber, perpendicular to the first.
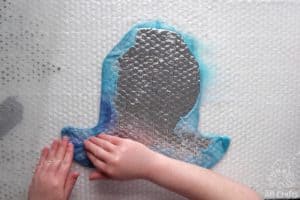
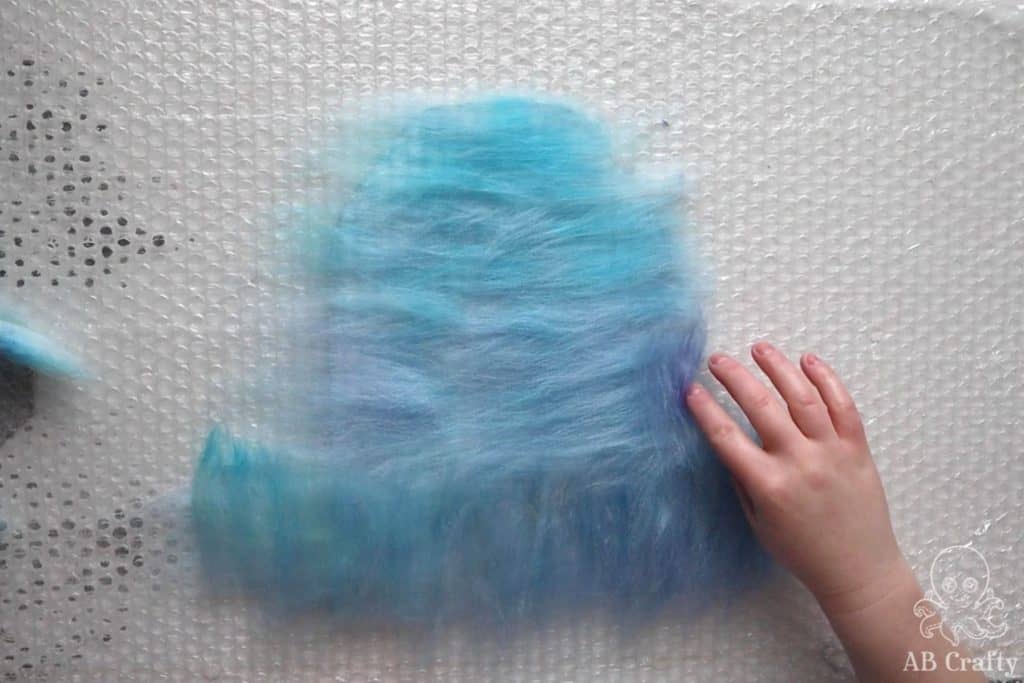
- Cover the wool with the mesh fabric and wet it with water mixed with olive oil soap. Gently press the water into the wool.Olive Oil Soap
- Flip it over and go around the edge and fold over the wisps.
- Layer wool on this side. Again, two layers of wool in opposite directions.
- Cover it with the mesh and wet it out again. Repeat the process of flipping it over and tucking in the wisps. Then repeat it all over again so that there are 4 layers of wool in total on each side.
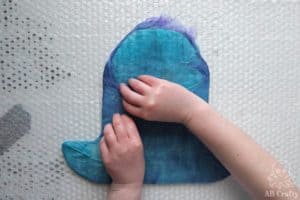
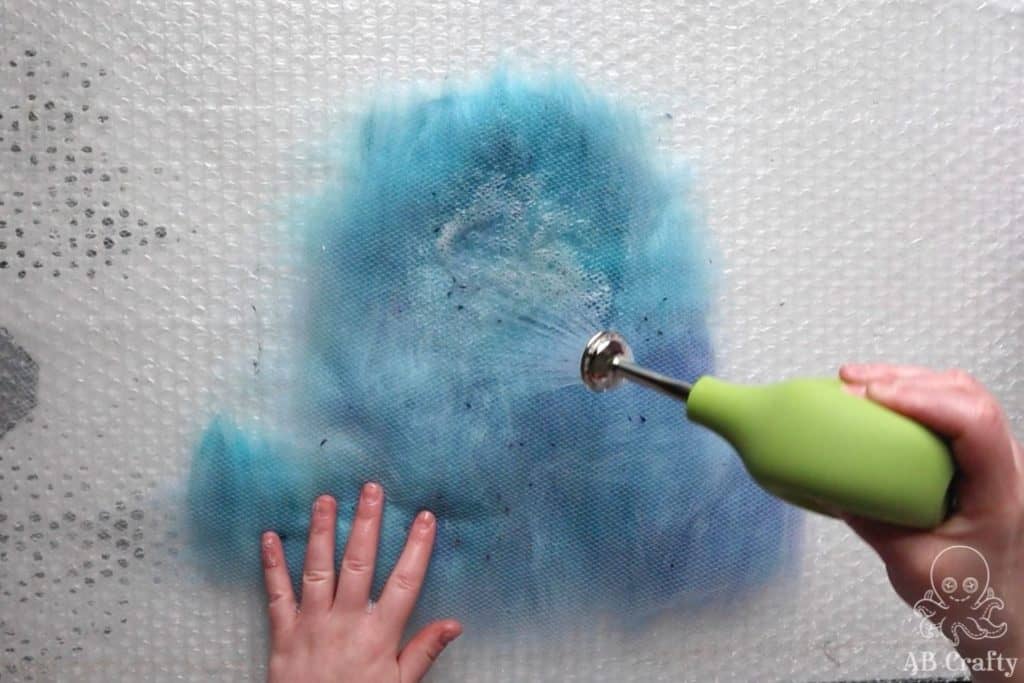
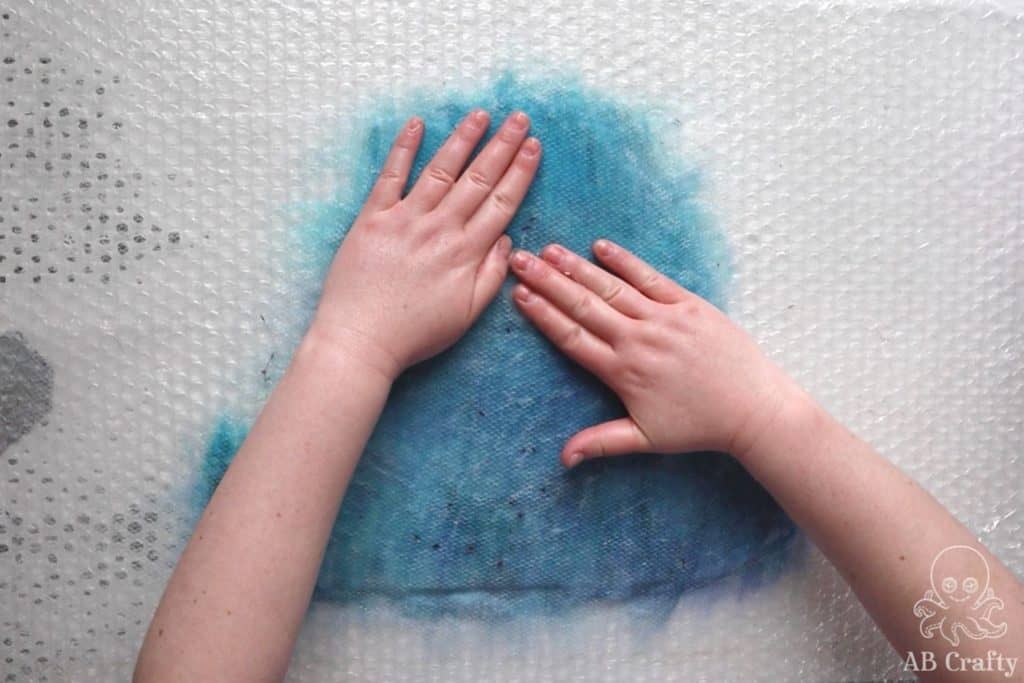
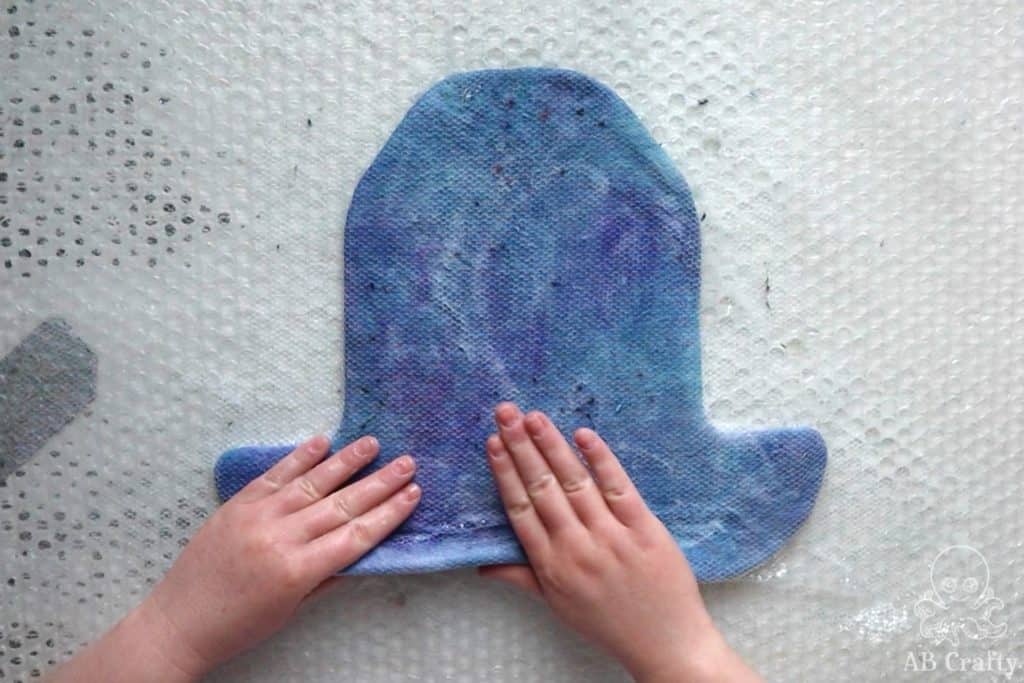
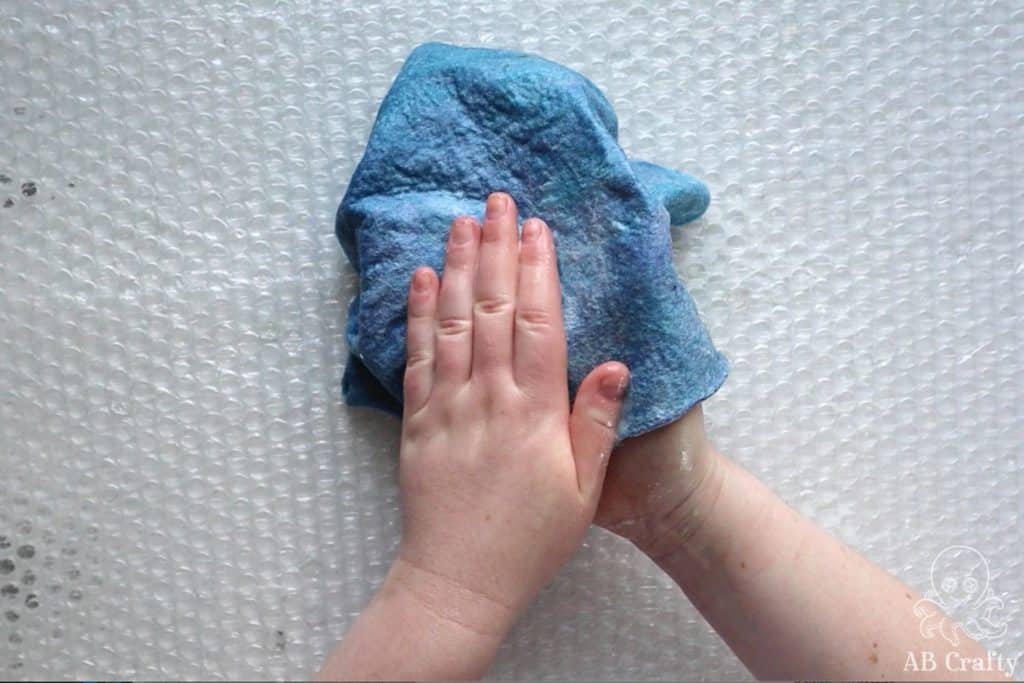
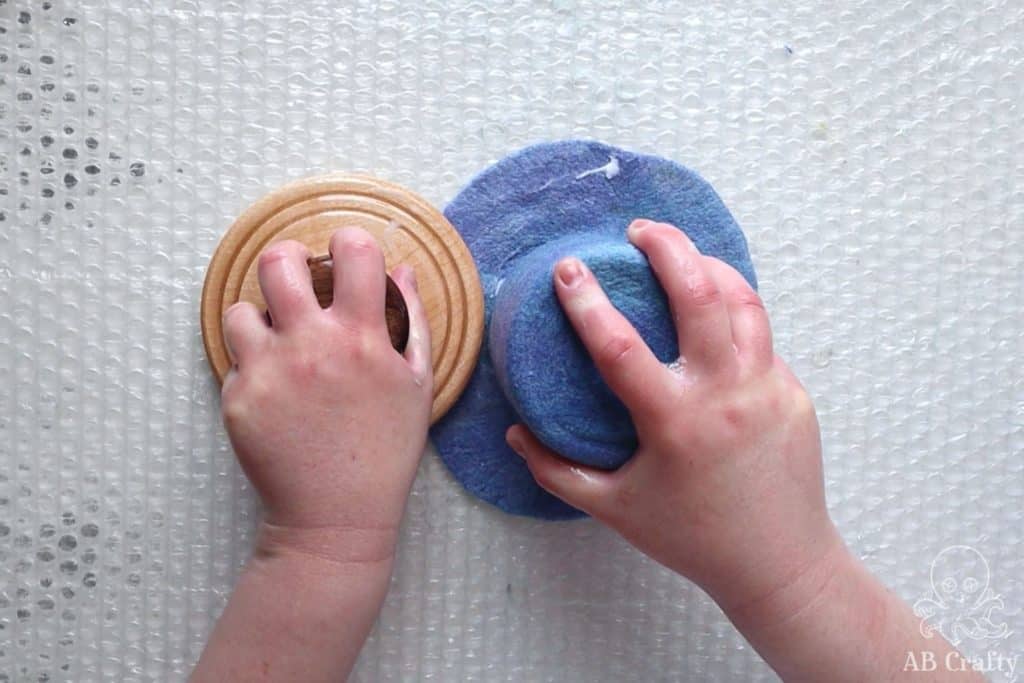
- Once you complete all the layers, cover it with the mesh and get your hands nice and soapy. Gently rub across the top for a few minutes to create a skin to the top layer of wool.
Wet Felting the Mini Hat
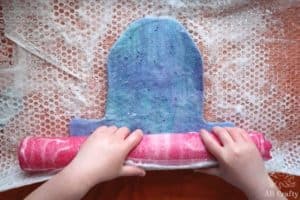
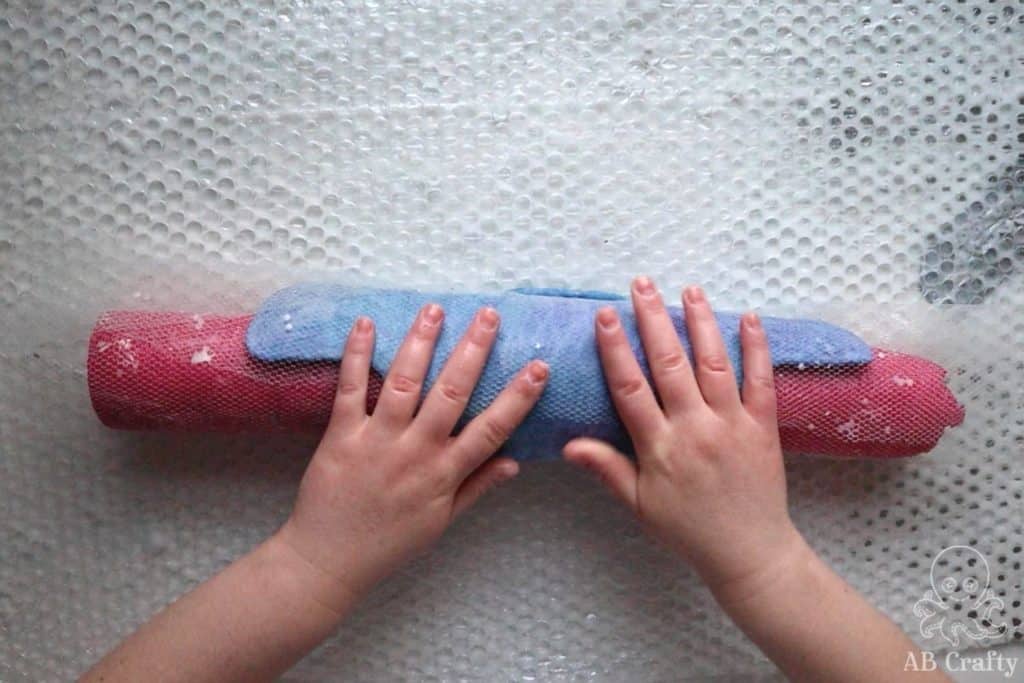
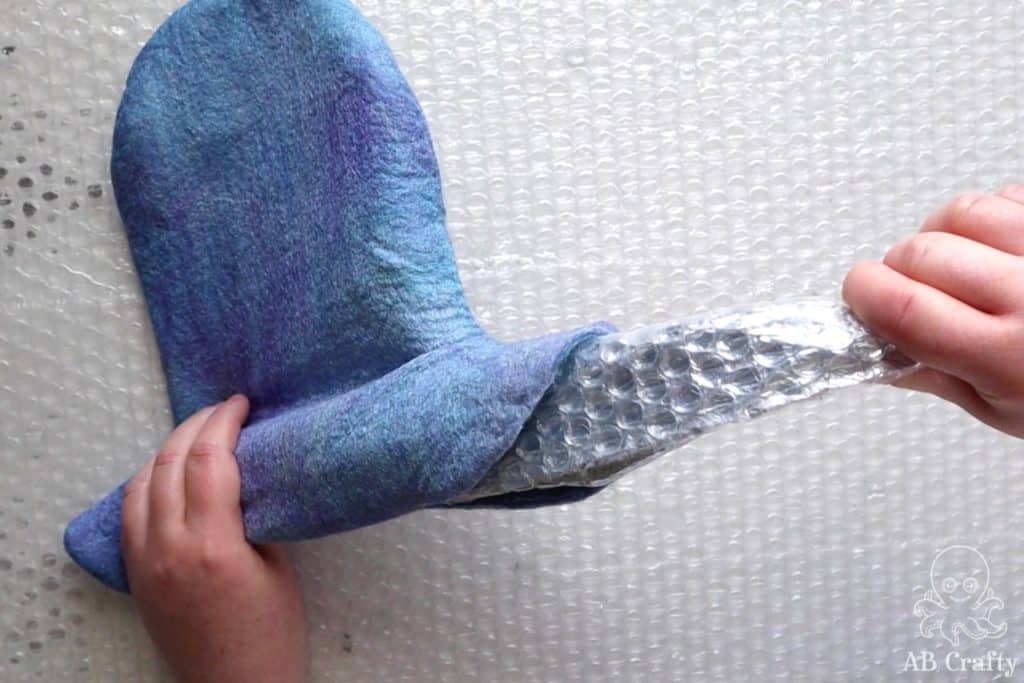
- Place the pool noodle to one side of the bubble wrap and roll it all around the noodle. Roll the towel around everything.
- Roll it evenly 100 times. More tips for rolling can be found in my ultimate guide to wet felting.
- Unroll it and then roll it up again from the bottom. Repeat this from each side. Then flip it the hat over and repeat the rolling process again from all 4 sides.
Fulling the Hat
- After rolling, the wet felted hat should pass the pinch test (which is when all the fibers come up at once if you pinch it). Then you can be more aggressive and roll around just the pool noodle.
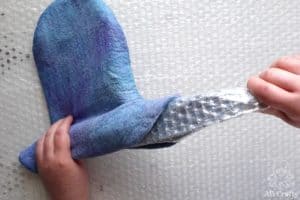
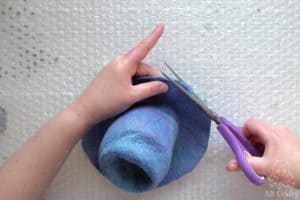
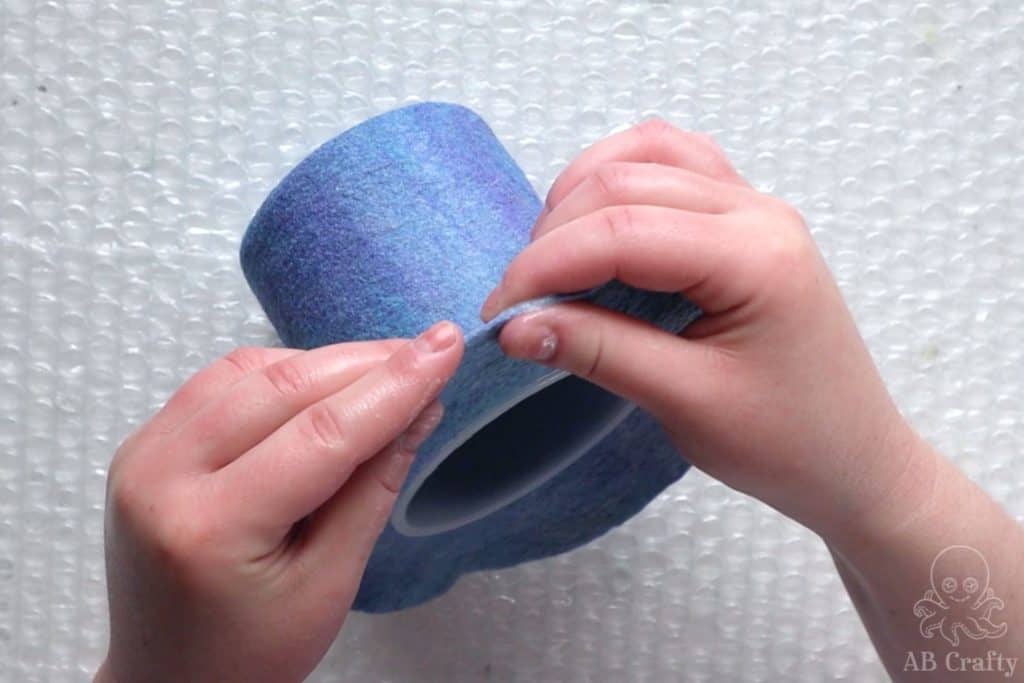
- Once you can feel it shrinking down and can feel the resist is now to small, remove the resist by cutting the bottom.
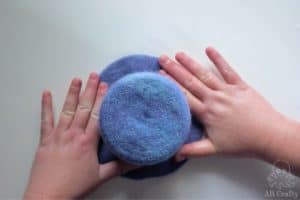
- Rub the inside of the hat with soapy hands to make a skin.
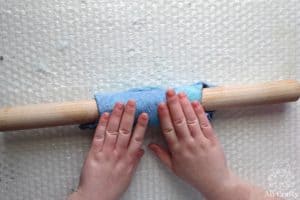
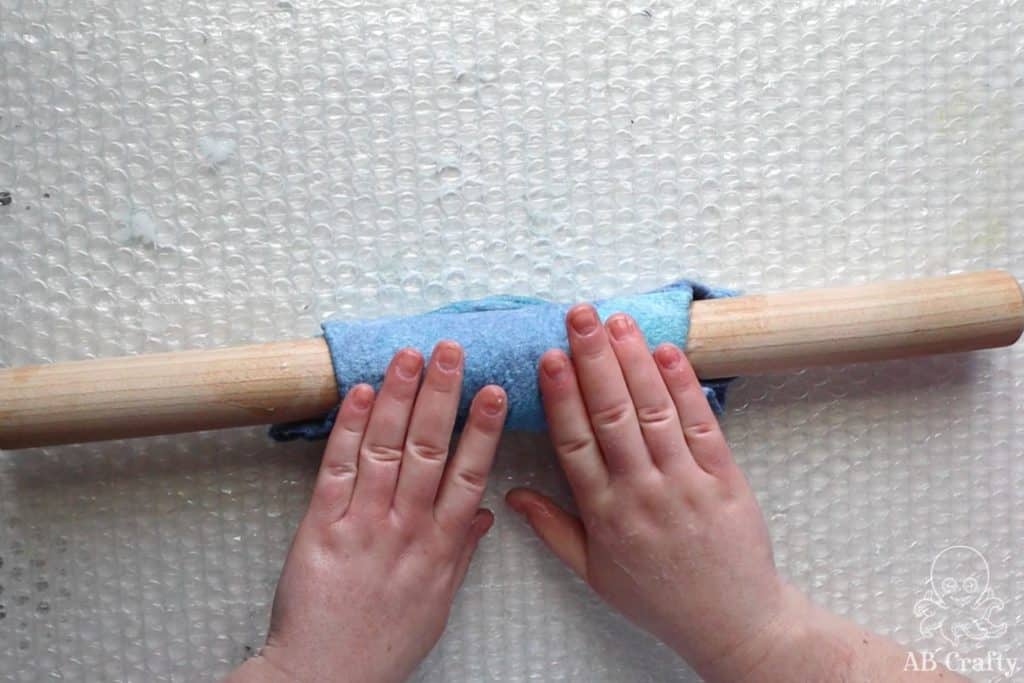
- Full the hat however you would like, such as rolling the wet felted hat on a wooden dowel, evenly from all sides.
Shape the Mini Top Hat with the Hat Form
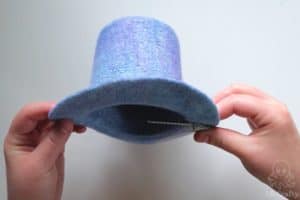
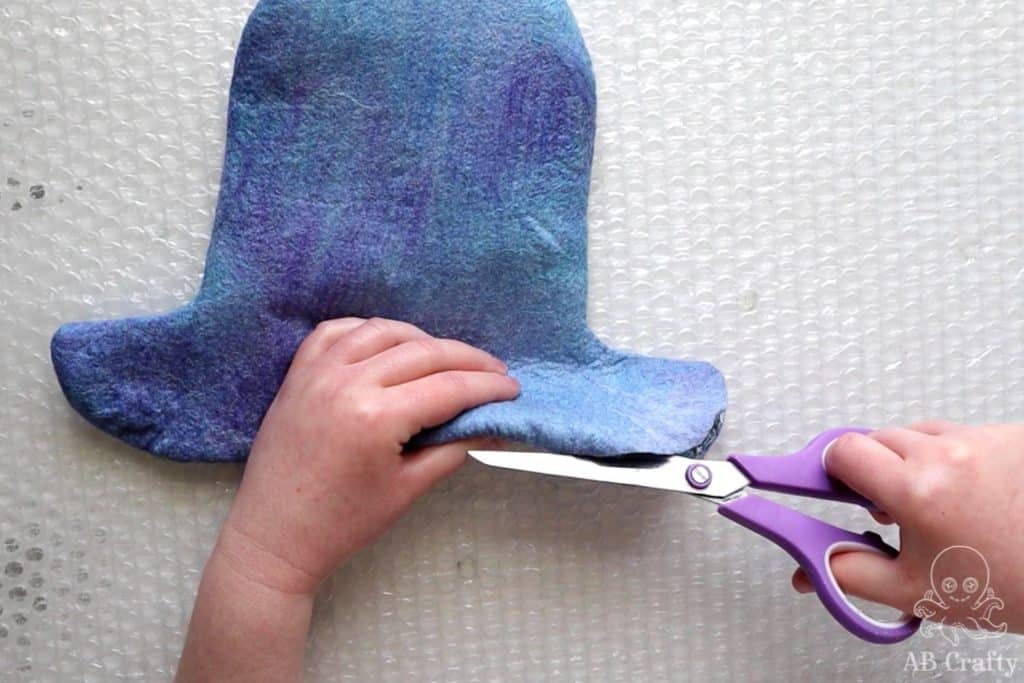
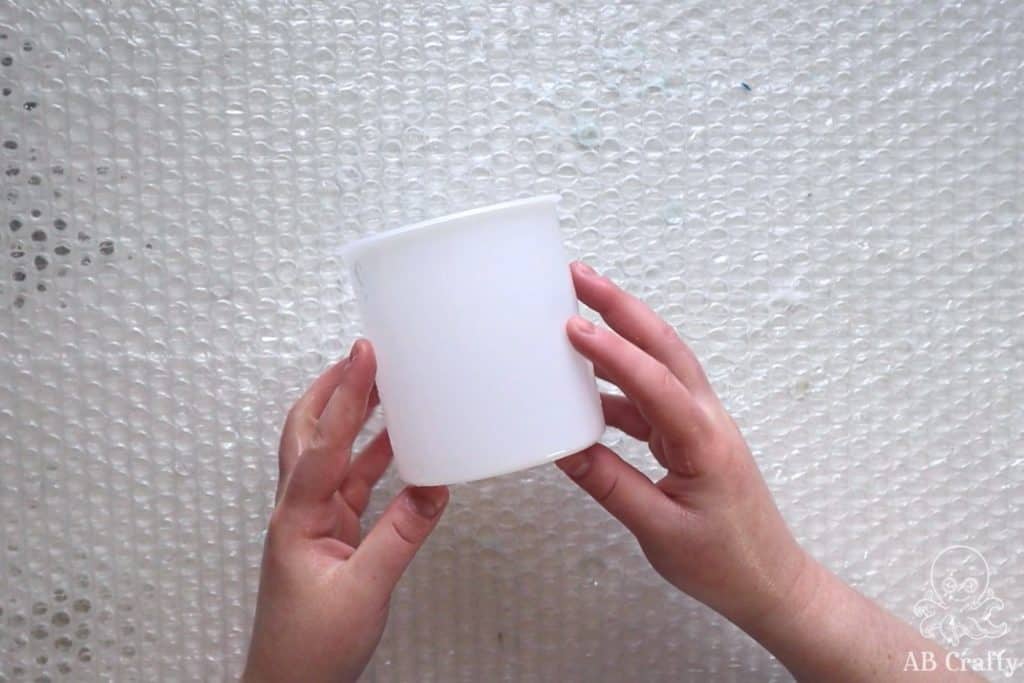
- When the hat has shrunk a good amount, pull it over the frosting container hat form and trim the brim.1 Frosting Container
- Rub all around the hat form to shape the hat and rub the brim so there isn't a rough edge. I find using a palm washboard really helps finish it off, especially the top. This is the one I have.
Finish the Wet Felted Hat
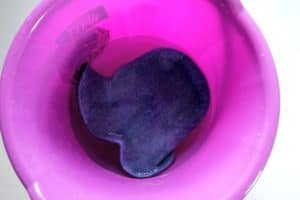
- Rinse the felted mini top hat and then soak it in water with a splash of vinegar.
- Squeeze out the excess water or run it through a spin dryer (this is the one I have).Then pull it over the hat form and let it dry completely.
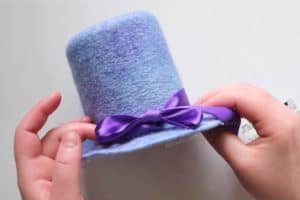
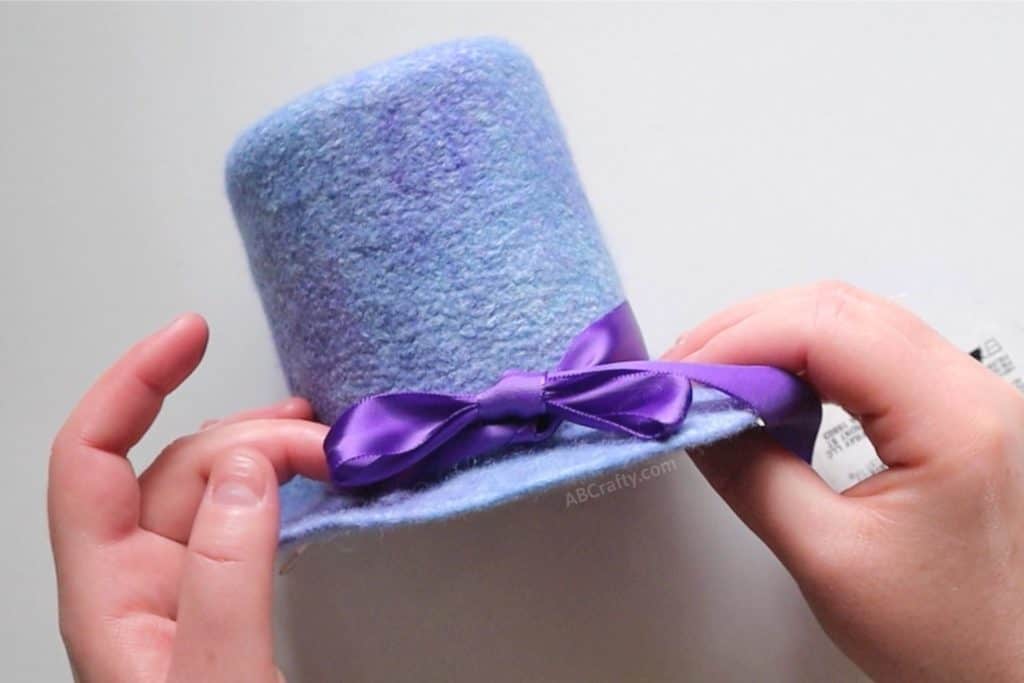
- To complete the look you can also wrap a ribbon around it and tie it into a bow.Ribbon
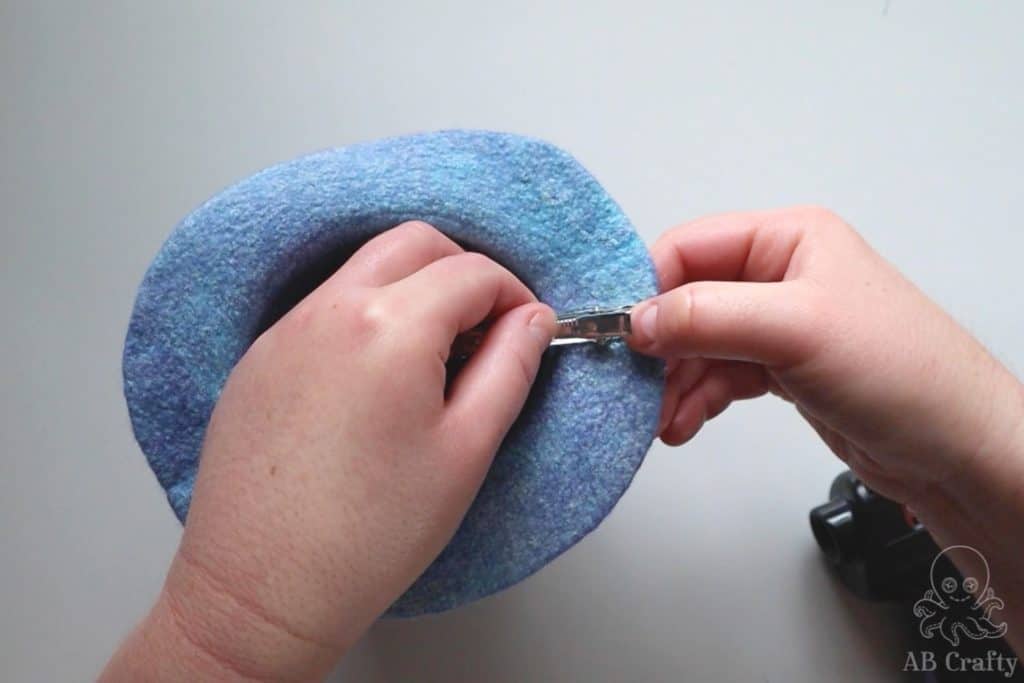
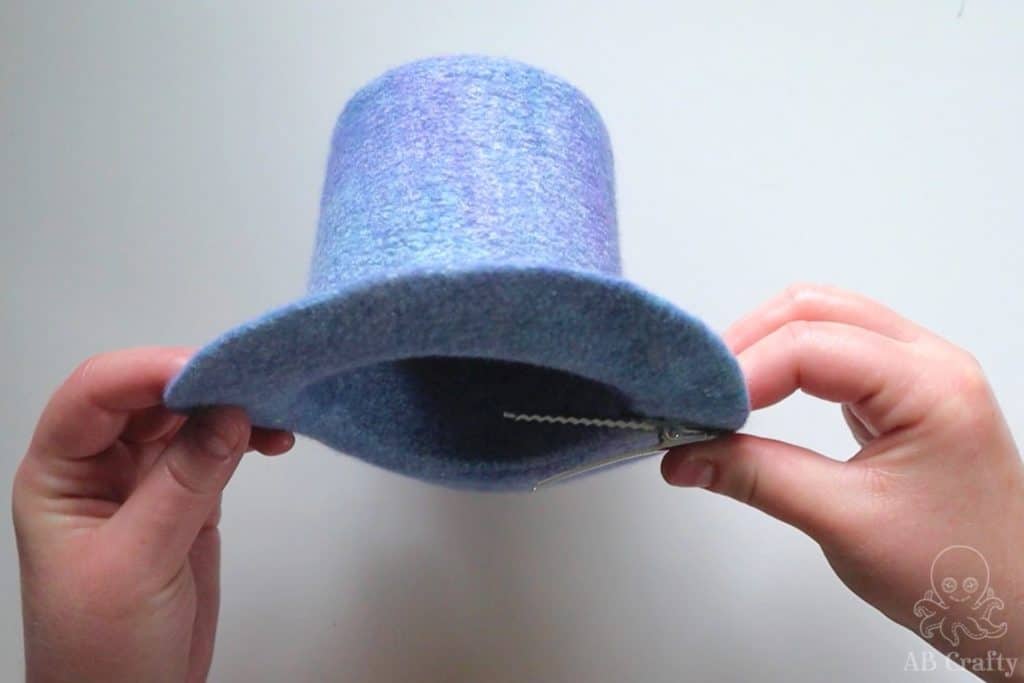
Add a Hair Clip or Headband to the Wet Felted Mini Top Hat
- Take an alligator hair clip (this is the set I have) and use a glue gun to glue it to the bottom of the brim.1 Alligator Clip
- Or you can make it into a headband. Take a satin headband (this is the one I use) and glue the hat at a slight angle with a glue gun.1 Headband
Video
Notes
Free Template: Here is the link to download the free printable hat template.
If you're new to wet felting, I recommend first reviewing the ultimate guide to wet felting.