
Tie Dye Shirts
Learn everything you need to know about making tie dye shirts.
Materials
- White Cotton Shirt
- Tie Dye Kit or Tie-Dye Dye and Soda Ash
- Water
- Rubber Bands
- Plastic Wrap
- Rubber Gloves
- Paper Towels
Equipment
- Bucket or Plastic Bin
Instructions
Prepare the Shirt for Dye
- Soak the shirt in water.White Cotton Shirt, Water

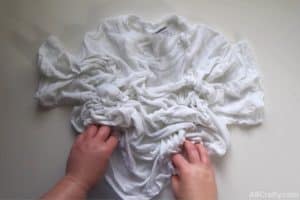
- Squeeze out the water and scrunch, fold, and/or twist the shirt however you would like.
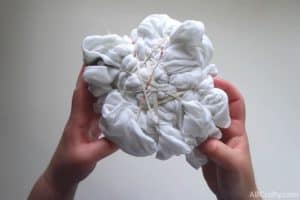
- Wrap it with rubber bands, string, or zip ties.Rubber Bands
Prepare the Soda Ash Mixture and Shirts for Tie Dye
- If you’re using a one-step tie dye kit, you don’t need to do this part so you can skip ahead to the next step.Mix 1 cup of soda ash for each gallon of water until completely dissolved.Tie Dye Kit or Tie-Dye Dye and Soda Ash
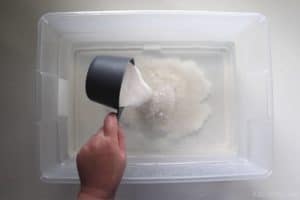
- Soak your tied up shirt in the soda ash mixture for at least 20 minutes.

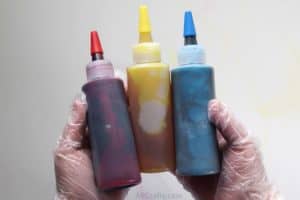
Prepare the Dye
- Fill the dye bottles to the line with warm water.

- Shake until the dye is dissolved.
- Repeat the process for all of the colors of tie dye.
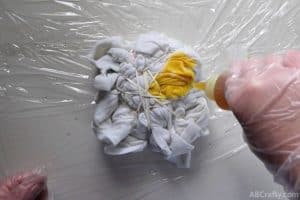
Dye the Shirt
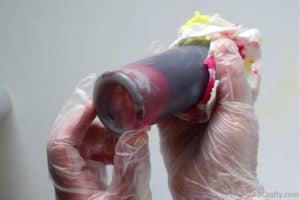
- Put on plastic gloves and apply the lightest color of dye where you want it. Be sure to flip it over and get the opposite side as well.Rubber Gloves
- Add the next color of dye. Separate the folds to get the dye everywhere.Wipe up the dye with paper towels between colors.Paper Towels

- Squish the dye into the shirt to help spread it. This also helps colors mix together and blend.
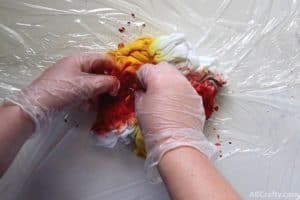
- Finish it by adding the darkest color.

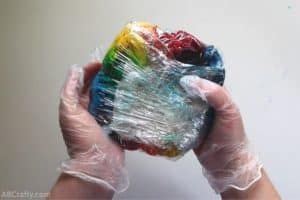
- Once you’ve added dye how you like it, lift up the plastic wrap off the table and use it to wrap your shirt.
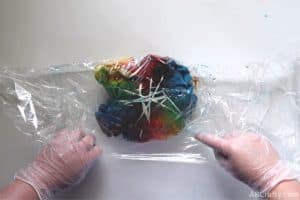
- Let it set for at least 6 hours, but ideally 24 hours.
- Rinse the tie dye shirt until the water runs clear. Start with cool water and increase the temperature.Remove the rubber bands.

- Throw it in the washing machine with all of your other tie dye shirts. Then dry and they're ready to wear!
