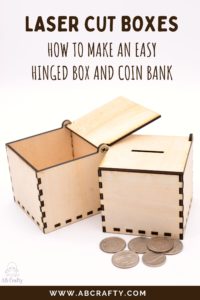
Laser Cut Box
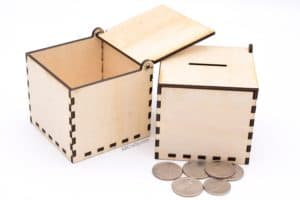
Make a simple laser cut box in just a few minutes! Includes free patterns to make a hinged box and piggy bank.
Materials
- 1 Box Template
- 1 sheet 3mm Plywood
- Paper Towels
- Glue optional
Equipment
- 1 Laser Cutter
- 1 Rubber Hammer optional
Instructions
Set Up the Laser Cutter
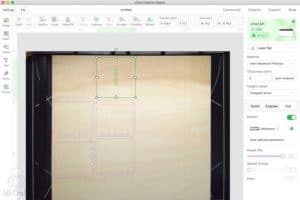
Set Up the Laser Cut Box Image
- Download the free template to make the boxes.1 Box Template
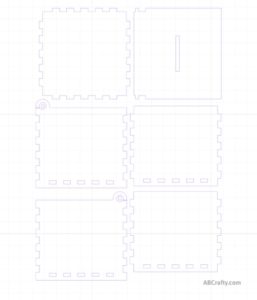
- Open the files in xTool Creative Space and drag onto the basswood. In case the settings didn't load, these are the settings to use:Material: 3mm Basswood PlywoodThickness: 3mmHeight Raised: Triangular prismCut: Power=100%, Speed=5, Pass=1
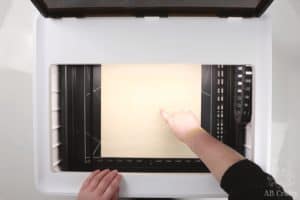
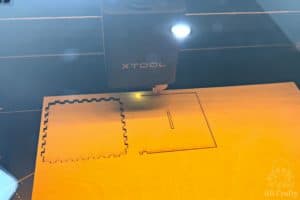
- Check the framing and then start the laser cut. Make sure to stay nearby in case there are any issues!
- Once laser cutting is complete, remove laser cut box pieces from laser bed and poke out any necessary holes.
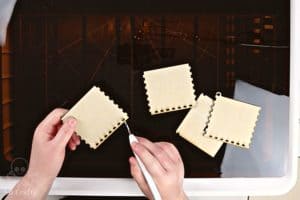
- Wipe the pieces with a paper towel to clean off soot.Paper Towels

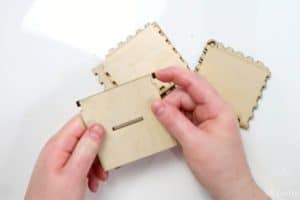
Assemble the Laser Cut Box
- Assemble the laser cut box by pushing circular pieces onto the sides of the top piece.Tip: If you want it to be extra secure, use a small amount of glue.Glue
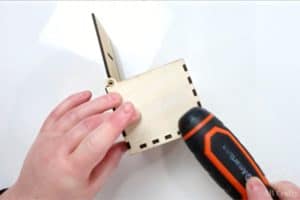
- Then place the bottom on table and attach a side piece. Then add the front and back pieces. Use the rubber hammer to push all pieces together tightly
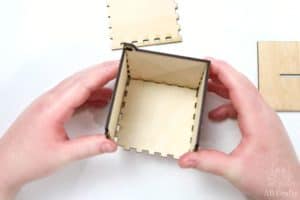
- Slide in the top and the last side piece. Hammer everything around laser cut box or piggy bank so sides are flush and secure.
- Enjoy your laser cut box or piggy bank!