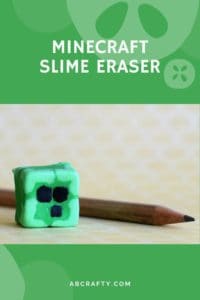
Minecraft Eraser
Make a DIY Minecraft eraser in the shape of a slime block. This is a great craft project for any Minecraft fan! Learn how to use eraser clay to make your own Minecraft block creations using Creatibles DIY Eraser Kit.
Materials
- Eraser Clay green, yellow, white, and black
Equipment
- Oven
- Aluminum Foil
- Toothpick
Instructions
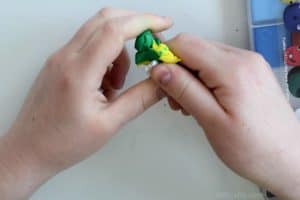
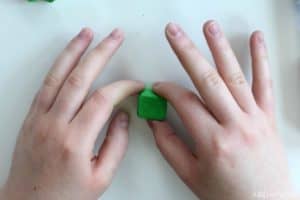
- Break off a chunk of the green eraser clay.
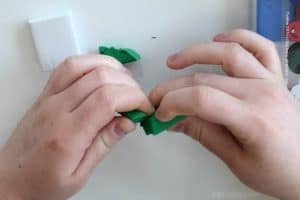
- Mix in parts of yellow and white eraser clay until you get the main Minecraft slime green color.
- Set aside a small amount to use later.Then shape the rest into a cube. I find the easiest way to shape something into a cube is roll it into a ball and then squish it from the top, then opposite sides. Then continue to rotate it and adjust it until you have a nice even cube.
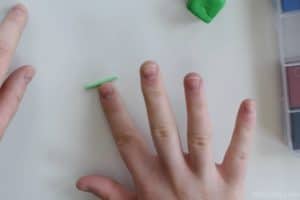
- Once your cube is shaped, set it aside and grab the small amount of green eraser clay that you have left over.Mix it with some more white to make a pale green, which will be used for the edges of the slime block.
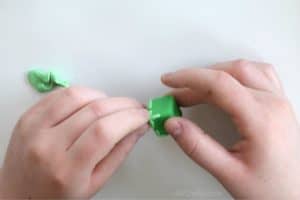
- Take some of the light green and roll it into a little log.
- Then depending on the size of the log you can either cut it in half or use it as-is and place it along one of the corners.Repeat the process for one side of the cube.
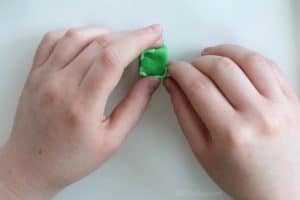
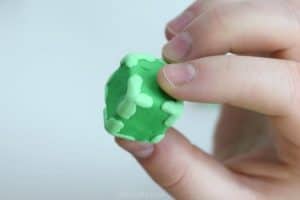
- Then at each corner you placed the light green, place another little light green line along the remaining edge.
- Repeat on the other side so that each corner has the light green.
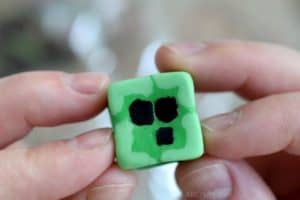
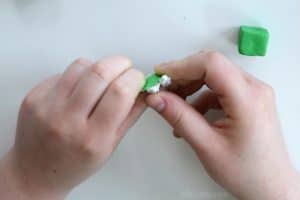
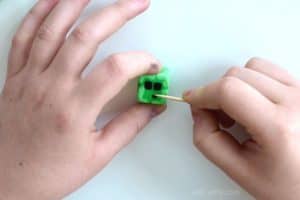
- Once you’ve smoothed out the light green, break off two small pieces of black for the eyes and an even smaller piece for the mouth. Use a toothpick to shape them into squares to form the face of the slime block.
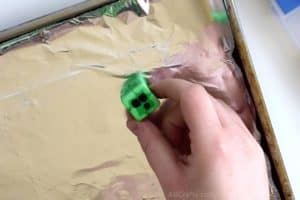
- Make sure the eraser clay is all smooth and a nice even cube. Now is the time to make any last minute adjustments.Then when you’re ready, place it onto a baking tray lined with aluminum foil and bake it according to the package instructions.
- Add your new homemade eraser to your collection of Minecraft school supplies!