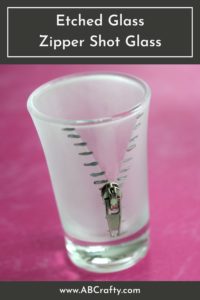
Etched Glass Zipper Shot Glass
Learn how to make etched glass and create a fun and whimsical zipper design on a shot glass. Use etching cream and paint on glass in this fun project that is a fantastic handmade gift.
Materials
- 1 Shot Glass
- Glass Etching Cream
- Silver Enamel Acrylic Paint
- 1 Zipper Pull
- E6000 Glue
Equipment
- Paintbrush
- Vinyl Design Tape
- Painter's Tape
- Gloves
Instructions
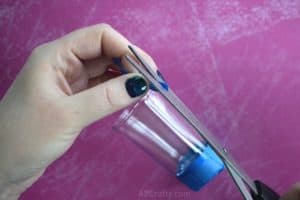
- Start by using the vinyl tape to tape off the bottom of the shot glass.
- Cover the bottom of the shot glass in blue painters tape to prevent it from getting etched.
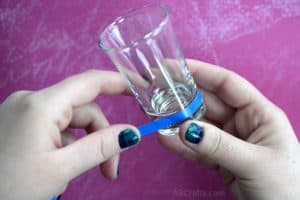
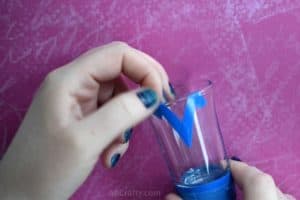
- Cut off a small piece of vinyl tape and trim the end at an angle.
- Do the same to another piece of tape and place both at an angle at the top of the glass, forming a triangle.
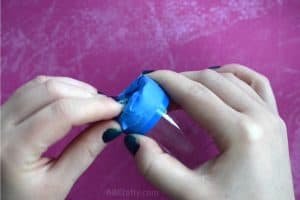
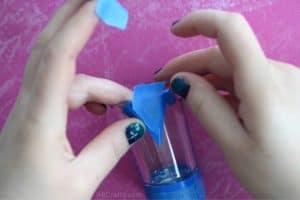
- Add painters tape between the vinyl tape and wrap it back to the inside of the glass.
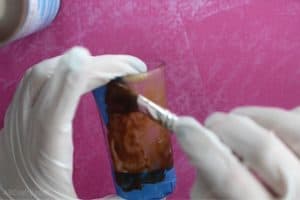
- Shake the container of etching cream and then put on gloves. Then dip a paintbrush into the cream and paint all around the shot glass. Make sure to give it a good coat so that you can no longer see through it.
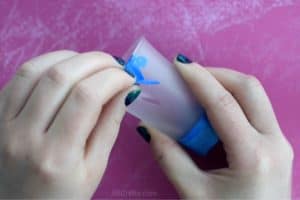
- Let it sit according to the package instructions. If you’re using Armour Etch glass etching cream, that’s 1 minute. And they’re very strict about it so remove the cream after 1 minute using warm water.Then peel off your “DIY vinyl stencil” (the tape).
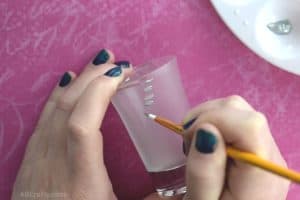
- Dip a thin paint brush into the silver acrylic paint. Then paint little lines on the shot glass along one side of the triangle shape. Make sure some of the painted line is on the glass that hasn’t been frosted.
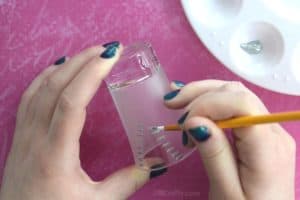
- Flip the shot glass over so it’s easier to work on the opposite side. Then continue to paint lines onto the glass. Again, stop when you hit the bottom of the unfrosted triangle.
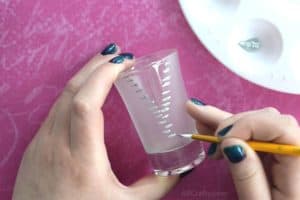
- Continue to paint lines directly below the triangle. However instead of keeping them perfect, paint them on the glass slightly off to one side, alternating the sides. Keep painting the glass until you reach the bottom of the frosted part.
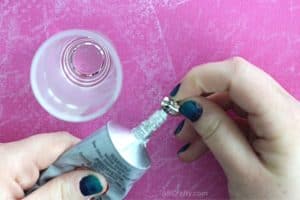
- Put a dab of e6000 glue on the back of the zipper pull. Then glue the zipper pull onto the shot glass, right at the bottom of the unfrosted triangle.
- Hold it in place for at least 30 seconds. E6000 glue takes 24 hours to completely dry, but after that time your frosted zipper shot glass is completely dishwasher safe.
