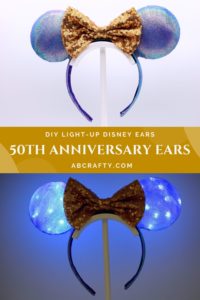
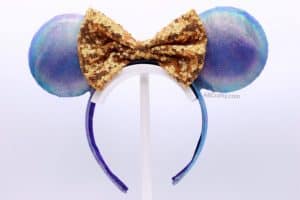
Disney World 50th Anniversary Ears
Learn how to make your own Disney World 50th Anniversary ears. These light up DIY earidescent Minnie Mouse ears are perfect to celebrate the 50th anniversary of the Disney World parks.
Materials
- 2 90mm Clear Plastic Disc Ornaments
- 1 set 6.6 ft Fairy Lights
- Blue and Purple Iridescent Fabric
- Gold Sequin Fabric
- 1 1 inch Satin Headband
- Satin Ribbon
Equipment
- Glue gun
- Scissors
- Disney Ears Template
Instructions
Prepare the Ears
- Break off the top part of each side of the plastic ornaments.2 90mm Clear Plastic Disc Ornaments
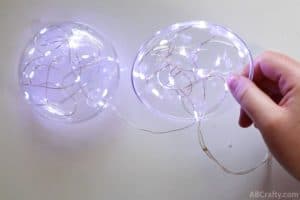
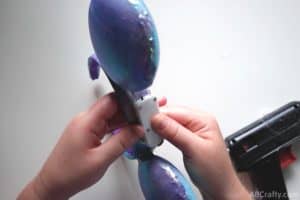
- Glue 10 lights into one of the halves of an ornament. The last light should be added close to the opening.Then bring the wire across to the other ornament. Again, glue the next light right at the opening. Glue the down rest of the lights and bring the wire back through the opening.1 set 6.6 ft Fairy Lights
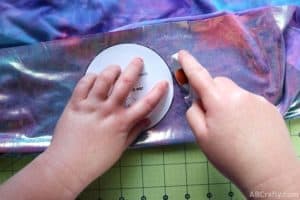
- Fold the iridescent fabric in half and place the Disney Ear Template on top. Use scissors or a rotary cutter to cut it. Repeat it so you have four circles.Blue and Purple Iridescent Fabric
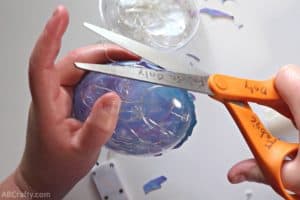
- Glue the fabric onto the sides of the plastic ornaments.After glueing each circle, trim away the excess to keep it neat.

Prepare the Headband
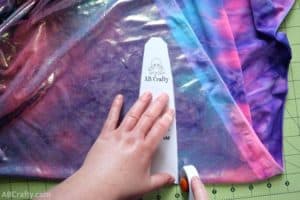
- Fold the fabric in half and cut around the headband template from the Disney Ear Template along the fold.1 1 inch Satin Headband
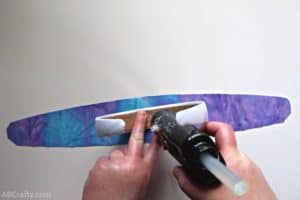
- Unfold the fabric and place it upside down on the table. Place the headband on top.Glue the sides of the fabric to the inside of the headband.
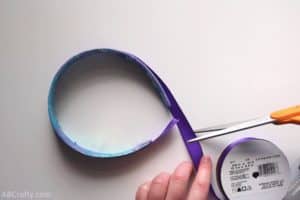
- Cut the ribbon an inch or two longer than the length of the headband. Glue it to the inside.Satin Ribbon
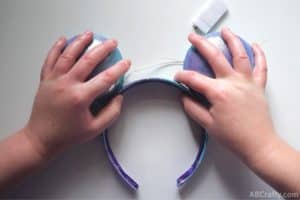
Attach the Ears
- Space the covered ears on top of the headband and glue them to the headband.
- Wrap up the wires and glue them to the top of the headband. Then glue the battery pack on top, off to one side to leave room for the bow.
Finish the Ears
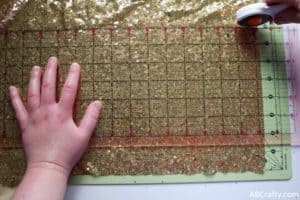
- Cut two rectangles of the gold sequin fabric.One that is 8×11 inches and a small strip that’s around 3×1 inch.Gold Sequin Fabric
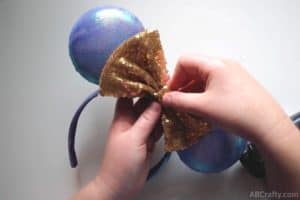
- Fold the the larger rectangle into the main part of the bow. Then use the small strip to create the ribbon around the bow. The full steps can be found on the main post to make the classic Light Up Minnie Mouse Ears.
- Then glue the finished bow in front of the battery pack on top of the headband.
Notes
Download the free Minnie Mouse ears template to easily cut the fabric and make the headband.