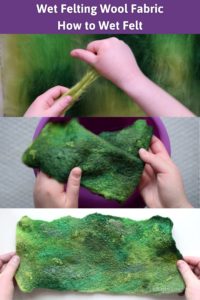
Wet Felting Wool Fabric - How to Wet Felt
Learn how to wet felt wool by making a piece of handmade felt fabric. This is a simple step by step tutorial to learn the basics of wet felting. Once you master the basics you can then apply them to any felting project. To keep it even more simple you can leave out the embellishment fibers and multiple colors and just felt wool of a single color.
Materials
- Wool Make sure whatever wool you use is NOT labelled as “SuperWash” – this is treated so that it doesn’t felt
- Embellishment Fibers Optional
Equipment
- Bubble Wrap
- Mesh Fabric
- Olive Oil Soap
- Ball Brause or Sponge
- Pool Noodle
- Towel
- Vinegar
Instructions
Lay out the Fiber
- Start by separating your wool roving in half. This way you can work with less fiber at a time and have more control over it.
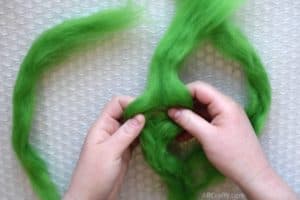
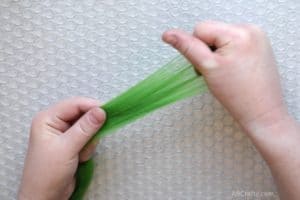
- Hold the roving in one hand and with the other, lightly grab some of the wisps on the end of the fiber. Pull away so that you pull out some of the fiber.
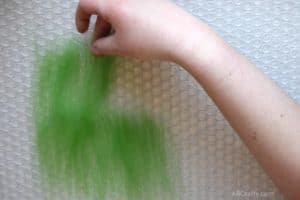
- Lay the fibers in even rows on top of a sheet of bubble wrap. They should all be facing the same direction. When starting a new row, overlap the fibers slightly to ensure an even coverage.
- Once you have your fiber laid out in one direction, add another layer of fiber on top, facing the opposite direction.

- Add additional layers of wool, alternating the directions of the wool. I tend to work in layers of 4 to ensure solid coverage. Keep in mind, the more layers you add, the less the wool will shrink.

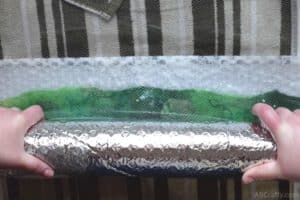
Start the Wet Felting Process
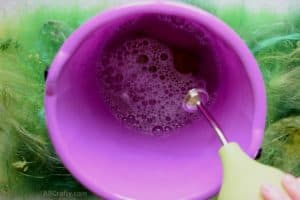
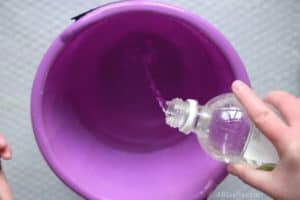
- To start the felting process you need soapy water. Mix together hot water and the olive oil felting soap. I like to do this by pouring water into a bucket and tossing in the bar of soap and swishing it around.
- Cover the fibers with the mesh fabric and spray it with the soapy water. If you don’t have a ball brause you can use a sponge and either squeeze out the water or gently press it into the fibers.
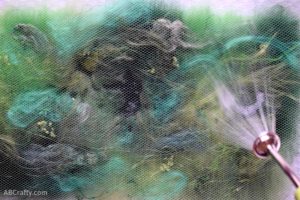
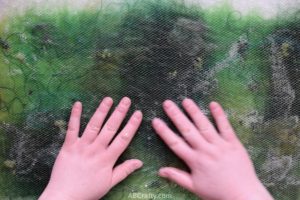
- Get your hands soapy and gently press the water into the fibers. Your goal is to get the soap and water in and the air out.
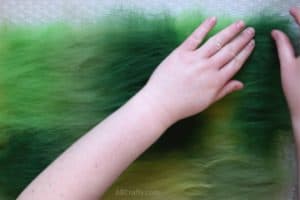
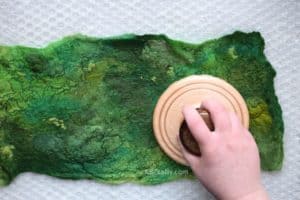
- Once the fibers are thoroughly wet, rub the palms of your hands very gently across the top of the fibers. Your goal is to create a “skin” on the top of the fibers. What you don’t want to do is rub too aggressively that you start to felt the mesh to the wool.
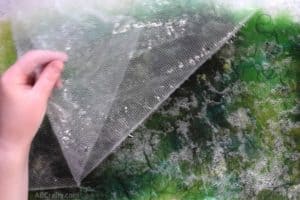
- After a minute or so, carefully peel away the mesh to ensure it’s not sticking. If you see anything sticking, remove them from the mesh. This means you’re applying to much pressure so ease up and continue gently rubbing.
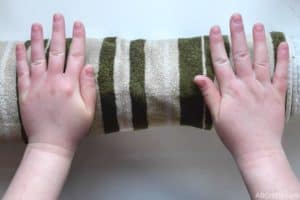
Roll the Project
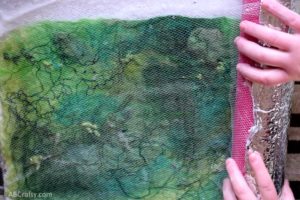
- Take the pool noodle and place it on one side of the project. Lift the bubble wrap up from underneath and wrap it around the pool noodle.
- Wrap the towel around the pool noodle.
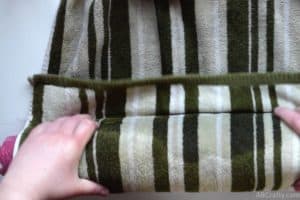
- Using the palms of your hands, roll the “log.”Work in sets of 25 and groups of 100. This means, start rolling it 25 times, just the length of my hands. Then give the log a quarter turn and roll another 25 times. Do this two more times so that it’s been rolled 100 times in total and evenly all around.
- Then unroll it and check the mesh for sticking. Again, if there’s sticking that means you’re felting too aggressively for this stage.Next place the pool noodle perpendicular to the side you were just working on and roll from this side.Continue this process of rolling 100 times from each side, checking the mesh in between. Then flip the wool felt over and repeat the rolling from each side again.
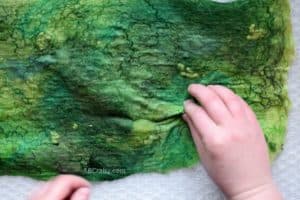
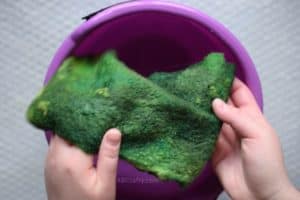
Pinch Test
- At this point you’ve likely created a solid prefelt. You can check by conducting the pinch test.This is when you pinch the wool felt and feel whether it’s still just fibers or the fibers are coming up as a single piece of felt. If when you try to pinch it you pull up fibers, it’s not quite ready for the fulling stage so keep with the light felting stage until your felt passes the pinch test.
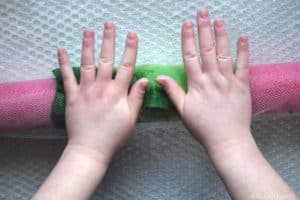
Fulling the Felt
- Now that you’ve past the pinch test, you’re ready to move past the felting stage and into the fulling stage. This is where you can be more aggressive as your goal is to get the fibers to shrink down. However, you still want to move into gradually more aggressive forms of fulling.To start, you can remove the exterior bubble wrap and just use the pool noodle. Just as before when rolling the log, roll in groups of 25 and from all sides and flipping it over.
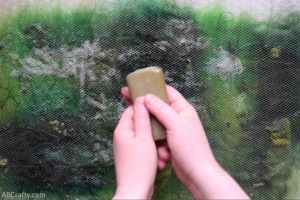
- Use any of the agitators and felting tools or simply continue using your hands.
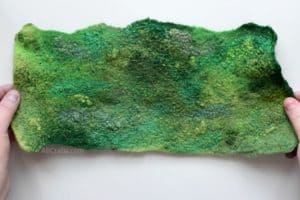
- After the wool has shrunk to the size you would like, rinse it out. I like to rinse it under hot and cold water, shocking the fibers to get any last bit of shrinkage in. Rinse it out until the water runs clear and it doesn’t feel as though there is any more soap in it.
- After the soap is washed out, a good last step is to let it soak in some water that has been mixed with a bit of vinegar. I just add a splash to make the water slightly acidic.
- The last step is to then squeeze out your newly felted wool fabric, leaving the vinegar in it. Don’t worry, the smell of vinegar will quickly disappear. Then simply leave the handmade felt to dry.
Notes
I tend to shop on Etsy for felting supplies and have put together a collection of my favorite wet felting supplies and materials needed. If you’re just starting out, I definitely recommend an all-in-one wet felting kit as it has everything you need to get started with wet felting.