
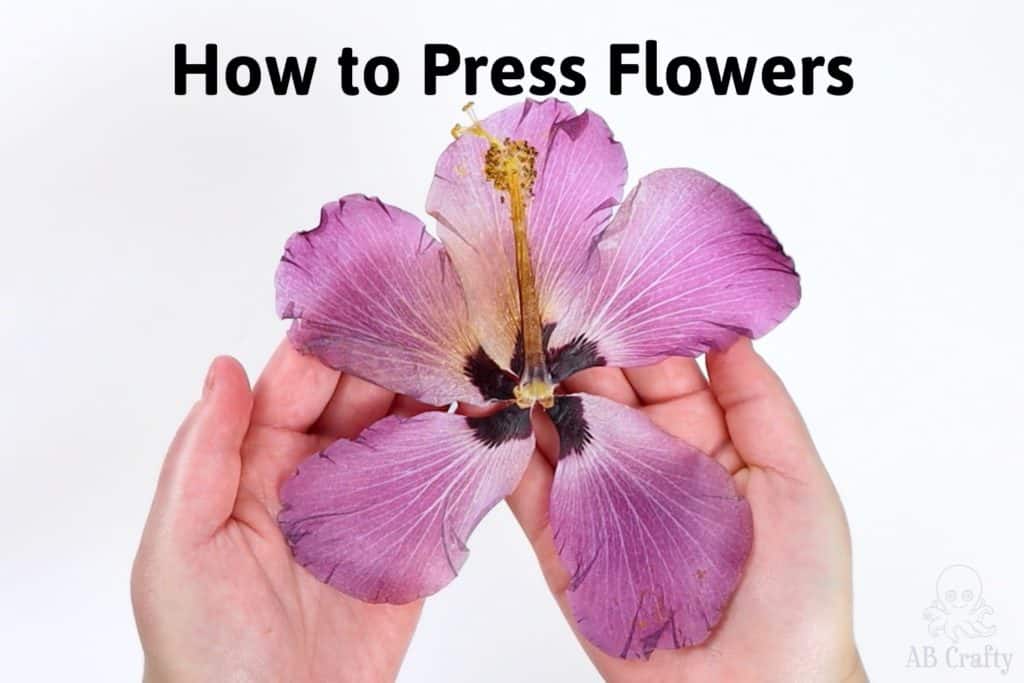
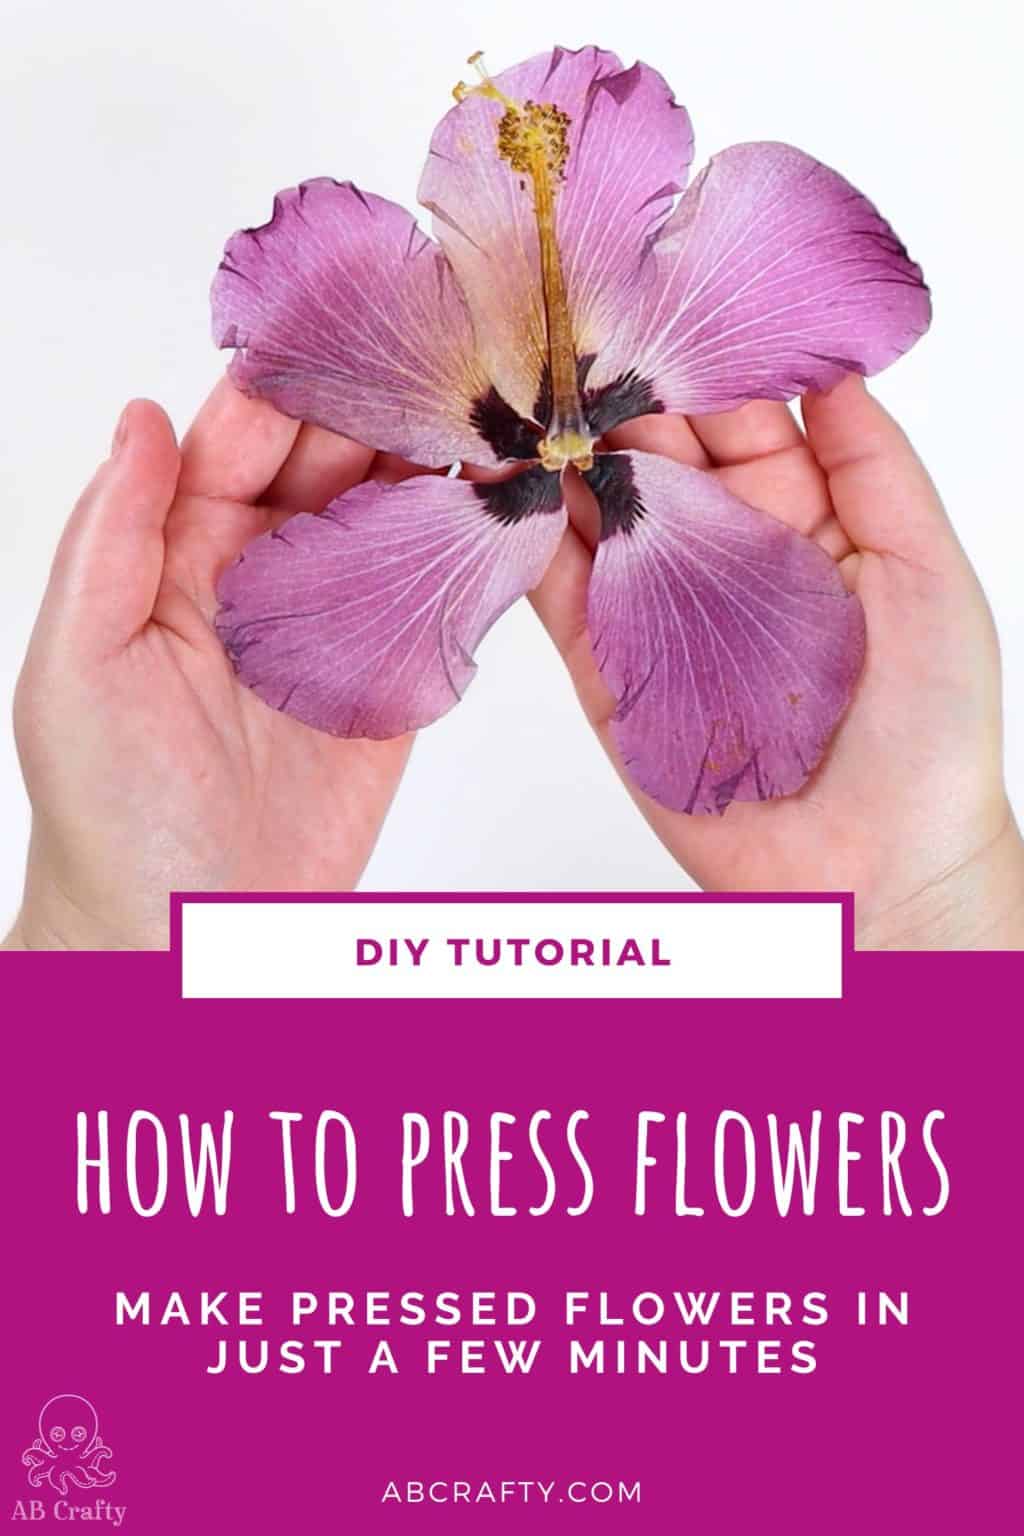
Are you looking for a quick and easy way to create beautiful pressed flowers? Take advantage of this time-saving hack and learn how to press flowers at home with your microwave flower press!
Note: Some links in this post may contain affiliate links, which means at no cost to you, I may earn a commission.
Have you been dreaming of incorporating fresh, beautiful flowers into your projects? There’s nothing quite like the vibrant colors and delicate details preserved in pressed flowers. Lucky for you, gone are the days of putting plants in books and waiting weeks for them to dry!
With a microwave flower press like mine, you can easily press flowers in just a few minutes. Whether it’s pressed roses for a handmade card or adding wildflowers to resin coasters, get ready to add the perfect finishing touch to all of your DIY creations with this simple guide. I wish I had known about it sooner so I could do a project from start to finish the same day and not have to wait for the pressed flower to finish drying.
Get the latest DIY tutorials, reviews, and crafting updates
You'll never be spammed and can unsubscribe at any time
Don’t forget to pin it so you can easily come back to it later!
Materials for Flower Pressing
- Microwave Flower Press (Microfleur – use code ABCRAFTY to get 10% off! You can also get it on Amazon)
- Flowers (pick some wildflowers or grow your own. I used flowers from my hibiscus plant, which similar to this one – use code ABCRAFTY to get 10% off!
- Scissors (optional)
Video Instructions
How to Press Flowers in Minutes
Prepare the Microwave Flower Press
The fastest way to press flowers is by using a microwave flower press (I have this one from Microfleur). To prepare it, you want to make sure you have one half on bottom. Then on top of this place the wool mat and then one of the cloths.
You can set the other cloth and wool mat to the side or on the other side of the plastic.
If it’s been a while since you’ve used it or if it’s your first time using it, it’s recommended to spray a little bit of water on the cloth. This helps prevent the flowers from burning.
Note: You can also get more padding and cloth like I did if they get worn out (don’t forget to use code ABCRAFTY to get 10% off!). You can also wash the cloth as needed.
Get the latest DIY tutorials, reviews, and crafting updates
You'll never be spammed and can unsubscribe at any time
Prepare the Flower
Once the microwave press is ready, you can make any preparations to the flowers and plants you’re going to press. Often times they may have large bases which you can cut off.
In my case, I’m pressing a hibiscus flower (like this one) and it has a thick bottom part that I’d like to cut off.
Then place it onto one side of the press, on top of the cloth. You can put some pressure on it to help flatten it.
In my case with the hibiscus flower, I also wanted to make sure the stamen ended up where I wanted so I folded that over as well, somewhat breaking it at the base in the process.
Then place the other cloth and wool mat on top.
Put the other half of the press on top of the wool mat and then place each clip on the side.
Note: You may need to put some pressure onto the press in order to get the clips on. Be sure the clips are secure all the way around.
Microwaving the Flower Press
Put the Microfleur press in the microwave and, depending on the thickness of the flower or plant, set it for 5-20 seconds. If you’re unsure for how long you should microwave it, less is always better. Doing to much time means you risk burning the flower.
Then take it out, remove the clips, and carefully check on the flower.
Then use a paper towel to wipe down the moisture on each half.
Then put it back together and repeat the process of microwaving it. The additional times should be shorter than the first – again to prevent any burning. Keep checking on it after each one and wiping down the plates.
Tip: In the beginning when the flower is still soft, you can make minor adjustments. For example the petal folded over more than I’d like so I was able to carefully separate it and lay it flat.
Continue to repeat the process until the flower no longer has moisture and feels pretty much like paper. Let it cool and then your pressed flower is ready to use!
If you make your own pressed flowers, I’d love to see them! Tag me on Instagram @ab.crafty!
Get the latest DIY tutorials, reviews, and crafting updates
You'll never be spammed and can unsubscribe at any time
More pressed flower examples
In this case I wanted to try and press lantana (like this one) in different ways – one doing a full bunch and one with the separate flowers.
As you can see, the petals burnt immediately, but the bunch came out great.
I didn’t think about the difference in times when pressing both at the same time and started with my standard 20 seconds. So don’t do what I did and make sure to start with a low time from the beginning, especially when pressing flowers of different thicknesses!
And don’t forgot, you don’t just have to press flowers! You can also press leaves! Believe it or not, the second photo is actually after they were pressed (the underside of them) so you can see how nicely they retained their color.
Frequently Asked Questions on How to Press Flowers
How long does it take to press a flower?
When using a microwave flower press like mine (the Microfleuer), it only takes a few minutes! But the amount of total time can still vary depending on the type of flower and its moisture content.
How do I know if my flower is ready to be removed from the press?
A good indicator that your flower is ready is when there is no longer any moisture present on the plates of the microwave press. You can also give the petals a gentle squeeze to see if they feel dry and brittle. If so, then your flower is most likely ready to be removed from the press. Remember, every type of flower may have different drying times, so it’s best to check regularly and remove them when they are fully dried.
What types of flowers can be used for pressing?
Most flowers can be pressed, but some are better suited for it than others. Generally, flowers with flatter petals and smaller blooms tend to press more successfully simply because they’re more uniform with an equal distribution of moisture. In my case, I pressed a hibiscus but the stamen takes longer because it has more moisture.
Part of the fun is playing around with different types of flowers and seeing how they turn out! Some commonly used flowers for pressing include daisies, pansies, violas, and roses. Experiment with different types to see what works best for you.
You can even grow your own flowers in a indoor hydroponic garden year round!
What can you do with the pressed flowers?
Pressed flowers can be used in a variety of crafts and projects such as creating greeting cards, bookmarks, jewelry, and resin projects. You can also use them to decorate scrapbook pages or add a personal touch to gifts. The possibilities are endless, but if you need some ideas you can check out this list of what to do with rose petals. So get creative and have fun with your pressed flowers!
How do I prepare the flowers for pressing?
To prepare the flowers for pressing, start by removing any excess leaves and stems. Then gently flatten the flower between two pieces of paper and place it in the press or microwave flower press.
More Crafts to Try
Get the latest DIY tutorials, reviews, and crafting updates
You'll never be spammed and can unsubscribe at any time
How to Press Flowers in Minutes
Materials
- Flowers
Equipment
- 1 Microwave Flower Press
- Microwave
- Scissors
Instructions
- Prepare the microwave flower press by placing one half on bottom and layering with a wool mat and cloth. This is the one I have - use code ABCRAFTY to get 10% off!
- Make any necessary preparations to the flower or plant to be pressed, such as cutting off excess parts.Flowers
- Place the flower onto one side of the press, on top of the cloth, and add pressure to flatten it.
- Layer the other cloth and wool mat on top, then place the other half of the press on top and secure with clips.
- Microwave for 5-20 seconds (less is better) and check on the flower, wiping down any moisture with a paper towel.
- Repeat microwaving and checking until the flower feels like paper and is free of moisture.
Notes
- Different flowers may require different microwaving times, so start with a shorter time and check on the flower to prevent burning.
- You can make minor adjustments to the flower while it is still soft, such as flattening petals or moving stamens.
- Once the flower feels like paper and has no moisture, it is ready to be used in your project.