Seed Paper

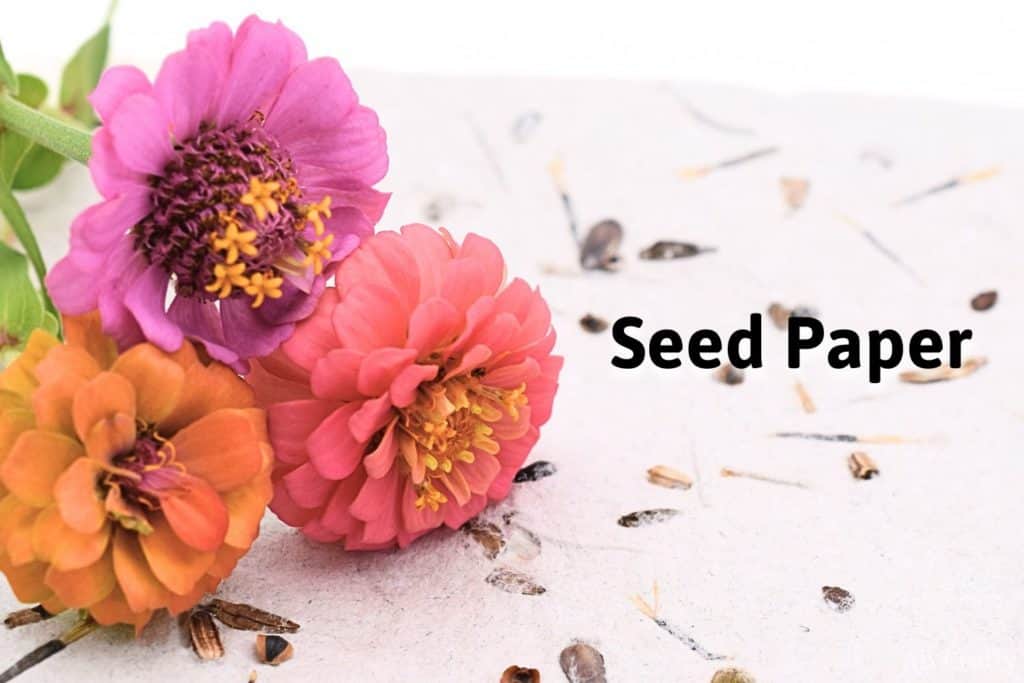
finished paper with seeds on it with different colored zinnias on top

Discover how easy it is to make your own seed paper with just a few simple materials. Learn the steps for creating sustainable and biodegradable seed paper at home.

Table of Contents

I have always loved receiving seed paper – something about the simplicity of being able to plant a little piece of paper and it growing into a mini garden. 

That’s why I decided to try and make my own seed paper at home. It ‘s surprisingly easy, and now I have a sustainable and biodegradable craft that is great for gifts, cards, decorations, and more! It takes the basics of paper making and adds a fun twist!

Note: Some links in this post may contain affiliate links, which means at no cost to you, I may earn a commission.

Get the latest DIY tutorials, reviews, and crafting updates

You'll never be spammed and can unsubscribe at any time

What is Seed Paper?

Seed paper is a type of handmade paper that is embedded with seeds (yes, actual plant seeds)! When the paper is planted in soil, the seeds sprout and grow into plants! It’s also great for teaching kids about gardening and sustainability. 

Don’t forget to pin it so you can easily come back to it later!
giant purple zinnia on top of paper with seeds on it and the title reads "how to make seed paper, abcrafty.com

Materials to Make Seed Paper

How to Make Seed Paper

Prepare the pulp

The steps to make seed paper are very similar to the process of making regular paper. So if you’ve read my other post on how to make paper, then you’re halfway there!

The first step is to upcycle other paper to make a pulp. I saved the paper to some packages and used that to have a clean white base, but feel free to use whatever scrap paper you’d like!

Tear your scrap paper into small pieces and place them in a bowl. It’s easier to use a small amount at a time so add the equivalent of 1-2 sheets of paper at a time.

Then add 4 cups of water.


pouring water into bowl with ripped up pieces of paper

Use a hand blender to blend the paper and water, turning it into a fine pulp. (This is the blender I have)

using a hand blender to blend paper and water into pulp

Set up the frame

When you have your pulp ready, you’ll need to set up the frame. If you’re using the kit I have (this one), place one of the mesh screens on top of the white plastic grid.

Then place the wooden frame (called the deckle) on top of the mesh.

placing the wooden frame on top of the paper making kit

Get the latest DIY tutorials, reviews, and crafting updates

You'll never be spammed and can unsubscribe at any time

Dip the frame

Pour the pulp mixture into a dish with tall sides. In my case, I used a pyrex dish, but a plastic tub is also a good option. You want it large enough to be able to easily insert the frame and deep enough to fully submerge it. Give the pulp a stir so it evens out.

Slide the assembled frame from the kit into dish. You can either do this at an angle as shown in the photo. Or I personally like to actually place the plastic base in first and then sliding the mesh at an angle on top (this prevents the mesh from forming a bubble).

Tip: If the pulp mixture isn’t high enough to cover the frame, add more water.

dipping the formed paper making kit into a dish with paper pulp

Add the Seeds

Here is where the process to making seed paper defers from making regular paper.

Now is the time to add the seeds! I used this pollinator mix for this paper as I’m all about helping the bees and butterflies. I also really like the surprise of what grows.

Cut the packet open and scatter the seeds on top of the pulp.

holding a pack of botanical interest seeds - the flower mix precious pollinators

Swirl the seeds gently throughout the pulp so that they get embedded. Be sure to evenly distribute them.

Then slowly lift the frame out of the water, making sure to keep it as even as possible to ensure the pulp settles evenly,

Tip: If there isn’t enough pulp, you can remove the frame and allow the pulp to come in from the sides. Then place the frame back down.

Tip #2: If the pulp settled unevenly, lower the assembled frame into the water and give the pulp a stir to break it up and try again.

seeds covering the paper pulp in the frame

Get the latest DIY tutorials, reviews, and crafting updates

You'll never be spammed and can unsubscribe at any time

Remove extra water

Remove the wooden frame (deckle) and place the second piece of mesh on top of the pulp.

Then use the sponge to press down all over the screen. Be sure to wring out the sponge often as the goal is to remove the majority of the water from the pulp.

using a sponge to press the water out of the seed paper between the mesh

After you’ve removed most of the water, lift the top screen and place the cloth (called a couch) from the kit on top.

Then remove the plastic from underneath.

lifting the paper and cloth off the base of the kit

Place it cloth side down and remove the second screen.

peeling the mesh back

Place the other piece of cloth (couch) on top and use your fingers to carefully press the water into the cloth. The goal is to remove more water, as well as compress the pulp together. The water will move from the pulp to the cloth.

Tip: Be careful not to break any of the seeds! In normal paper making, you would use a wooden block for this part, but it will crush the seeds so using your hands is best!

using hands to press the cloth to get water out

Iron the Seed Paper

Move the couches (cloth) and paper to an ironing board or mat (this is similar to the one I have). Then use the iron on the highest setting (no steam) to iron on top of the cloth.

Again, be careful not to apply too much pressure to cause the seeds to be crushed.


ironing the back of the cloth on a pink ironing mat

When the couches (cloth) are dry, remove them and iron directly on the paper.

Be very careful during this part as you don’t want to burn the seeds. Another option is to let the seed paper air dry, but you risk germinating the seeds.

ironing the seed paper

Get the latest DIY tutorials, reviews, and crafting updates

You'll never be spammed and can unsubscribe at any time

When it’s all dry, your seed paper is ready to use! You can cut them up and give as gifts or plant them yourself!

You should also still have pulp that you can use to make additional sheets. Or you can add more scraps and water to continue making more!

If you make your own seed paper, I’d love to see it! Tag me on Instagram @ab.crafty!

How to Color Seed Paper

You can dye the pulp to make fun colors. Be sure to use plant safe dyes such as mica powder or food coloring. In my case I used pearlescent mica powder (Amazon) to not only dye it, but also give it a shimmer effect.

Add the dye right after blending the pulp.

pouring pink mica powder into a dish of blue paper pulp and water

The middle seed paper is how it turned out with the mica powder. You’ll see the seeds are different as I used a different seed mix – this one is a fairy garden mix.

3 sheets of finished seed paper - 2 white ones and one purple

Frequently Asked Questions on How to Make Seed Paper

How do I store seed paper?

Store your seed paper in a cool, dry place until you are ready to use it. Avoid placing it near heat or moisture, as this can cause the seeds to sprout early. Putting it in an envelope (similar to how seeds are stores) is also a great option.

What kinds of seeds work best for making seed paper?

You can use almost any type of small seeds for seed paper. Popular choices include wildflower mixes and herbs. Avoid using large seeds as they’ll have trouble staying in the paper (for example marigold seeds can be challenging). These are some of my favorites and where you can get them:

How do I plant seed paper?

To plant seed paper, simply place it on top of soil in a pot or garden bed. Lightly cover the paper with a layer of soil (about 1/8 inch thick) and water it. Make sure to keep the soil and paper moist during the growing process.

More Upcycle and Nature Crafts to Try

Get the latest DIY tutorials, reviews, and crafting updates

You'll never be spammed and can unsubscribe at any time

giant purple zinnia on top of paper with seeds on it and the title reads "how to make seed paper, abcrafty.com

How to Make Seed Paper

Discover how easy it is to make your own seed paper with just a few simple materials. Learn the steps for creating sustainable and biodegradable seed paper at home.
Yield 2 sheets of seed paper
5 from 1 vote
Project Time 5 minutes
Total Time 5 minutes

Materials
  

  • 1 Paper Making Kit
  • Scrap Paper
  • Seeds

Equipment

  • 1 Hand Blender
  • 1 Large Bowl
  • 1 Dish with high walls
  • 1 Sponge
  • 1 Iron and Ironing Board/Mat

Instructions
 

Prepare the Pulp

  • Tear paper scraps and add 4 cups of water
    Scrap Paper
    pouring water into bowl with ripped up pieces of paper
  • Use the hand blender to blend it into a fine pulp.
    using a hand blender to blend paper and water into pulp

Assemble and Dip the Frame

  • Set up the frame, which includes a rigid base, a mesh screen, and a wooden frame (or deckle). I recommend using a kit which has everything (this is the one I used)
    1 Paper Making Kit
    placing the wooden frame on top of the paper making kit
  • Dip the frame into the pulp mixture in a deep dish, allowing the pulp to distribute evenly over the mesh.
    dipping the formed paper making kit into a dish with paper pulp

Add the Seeds

  • Add the seeds and mix them into the pulp. Gradually lift the frame, ensuring the pulp settles evenly. (these are the seeds I used)
    Seeds
    seeds covering the paper pulp in the frame

Remove Excess Water

  • Press a sponge over the screen and squeeze it out as necessary to get out most of the water.
    using a sponge to press the water out of the seed paper between the mesh
  • Remove the mesh and place one of the cloths (couches) on top. Do the same for the other side.
    peeling the mesh back
  • Use your hand to press out the additional water
    using hands to press the cloth to get water out

Finish Drying the Seed Paper

  • Move your paper (still between the couches) to an ironing board and iron it until it's dry (first over the cloth and then remove the cloth).
    ironing the seed paper
  • When it's dry, your seed paper is ready to use!
Keyword Gardening, Gift, Paper Making, Seeds, Upcycle
Picture of Daniela Kretchmer

Daniela Kretchmer

Daniela is a lifelong crafter who loves to share her passion for crafting. Through classes or learning on her own, she likes to say she'll do pretty much any craft aside from scrapbooking. Her current personal obsessions include garden crafts, felting, and spinning yarn.

More Craft Projects and Ideas

2 thoughts on “Seed Paper”

Leave a Comment

Your email address will not be published. Required fields are marked *

Rating