Learn all about electric composters, the positives, negatives, and how to use them effectively to reduce waste.
Table of Contents
Note: Some links in this post may contain affiliate links, which means at no cost to you, I may earn a commission.
I have always been curious about the various composting options available, eager to find an efficient way to reduce waste and enrich my garden soil. Recently, I had the opportunity to try out an electric composter (this one), and after several months of playing with it I can share my experience. So if you’ve ever been interested in how they work, the benefits, and downsides, read on!
In case you want to get the one I have, I have the Home Zone Living 3 Liter Composter.
Get the latest DIY tutorials, reviews, and crafting updates
You'll never be spammed and can unsubscribe at any time
What is an Electric Composter?
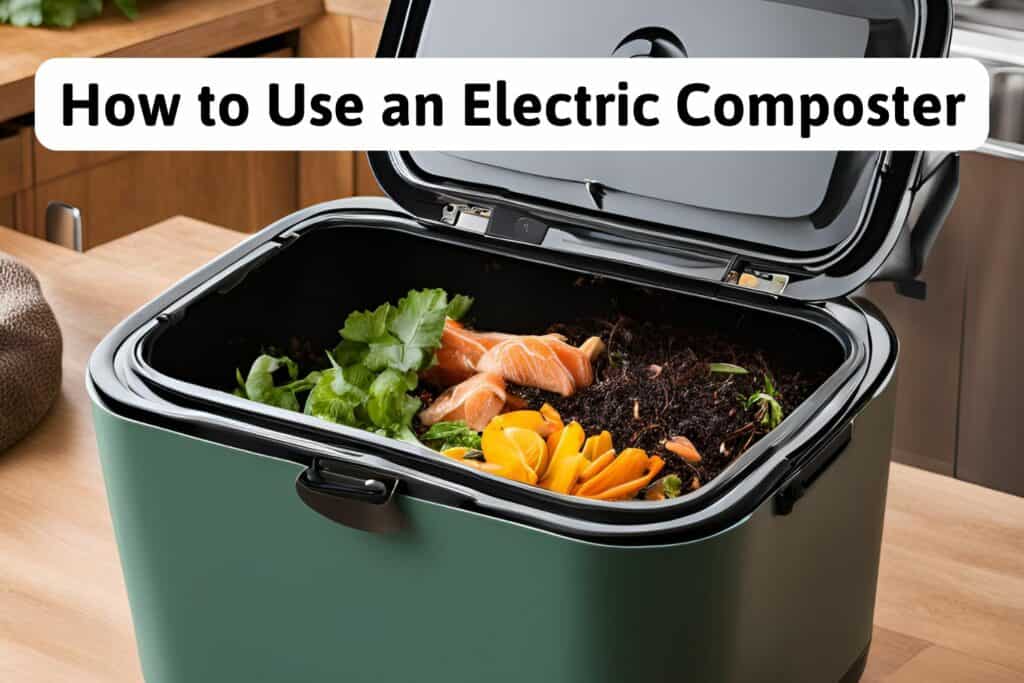
An electric composter is a tabletop device that turns kitchen scraps into nutrient-rich pre-compost. Unlike traditional composting methods that typically require outdoor space and plenty of time, an electric composter speeds up the process to get you a finished “pre-compost” within hours.
Benefits of an Electric Composter
- Sustainable: Rather than throwing kitchen scraps in the trash, you can use an electric composter to re-purpose those scraps into a pre-compost.
- Reduces Waste: By turning the scraps into pre-compost, you’re minimizing the amount of waste and trash you’re producing.
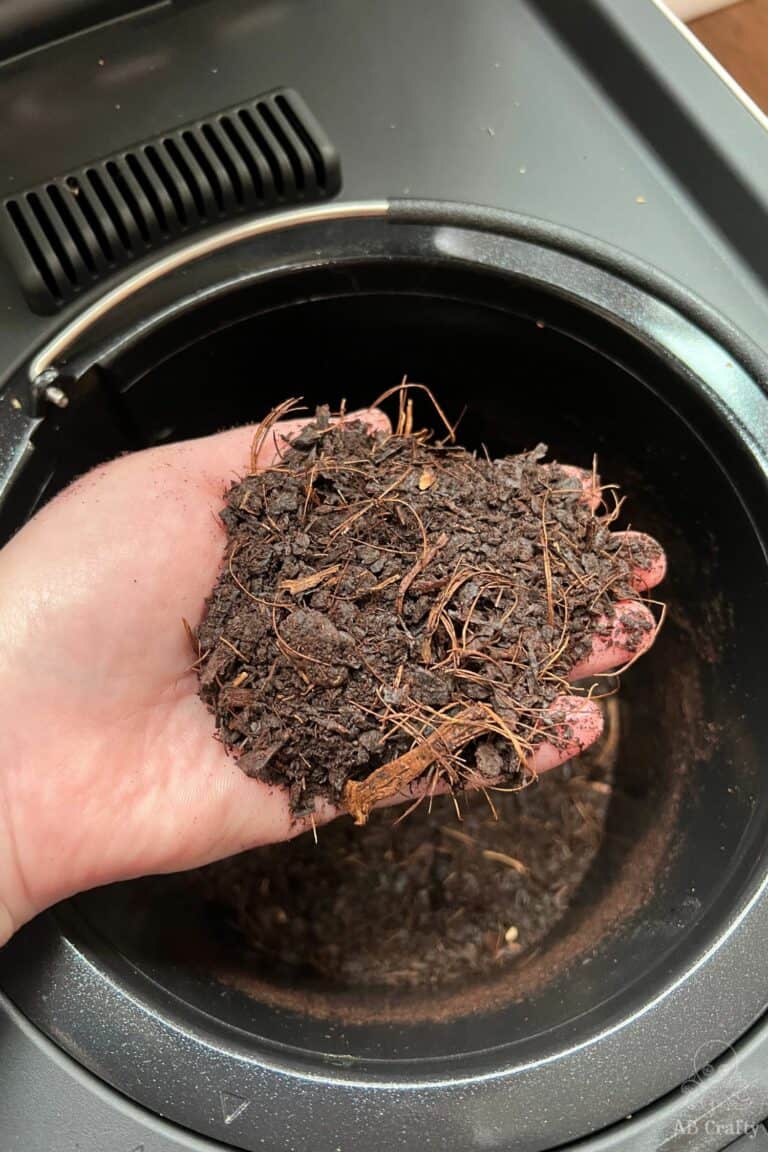
- Makes Pre-Compost: The end product of an electric composter isn’t fully finished compost but rather a pre-compost that can be added to your compost bin or directly to your garden soil for further decomposition.
Drawbacks of an Electric Composter
- Doesn’t Make Finished Compost: When I first looked into them, I thought electric composters did just that – make compost. But in reality, it’s a misnomer as electric composters don’t actually make compost. They do break down the food scraps, but not enough to be considered actual compost. It will still need some time in a regular compost pile or bin to break down completely.
- Takes Time: While faster than traditional composting, electric composters still require several hours (mine takes about 7 hours) to complete a cycle. Patience is key!
- Doesn’t Always Fully Process: A common issue with these machines is the materials don’t fully process. Some have the ability to re-run different cycles (for example the drying cycle if the materials don’t completely dry out in the first step). However, the one I have only has one button so you don’t find out if it’s completely dry or broken down until the end of all of the cycles. Therefore you need to run the entire program to try again.
You May Also Like...
Instructions for Using an Electric Composter
Add Kitchen Scraps
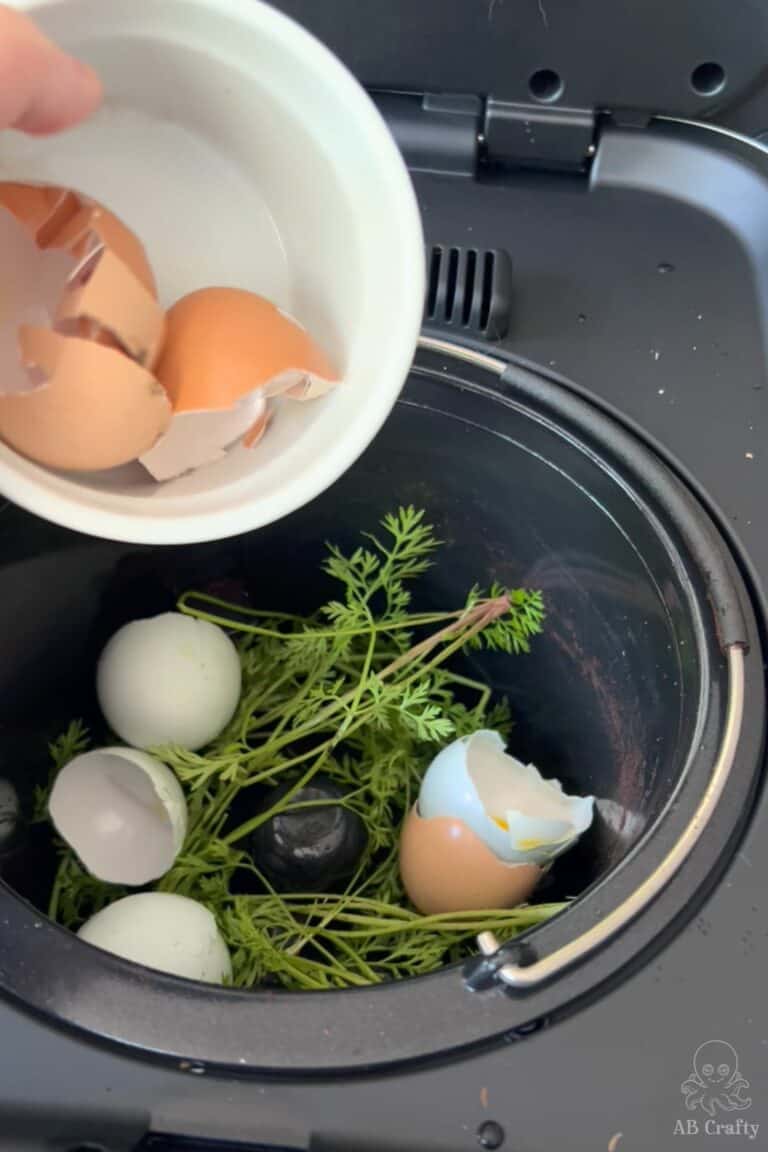
Start by adding your kitchen scraps to the composter (this is the one I have). This can include fruit and vegetable peels, coffee grounds, eggshells, and other compostable materials. You can even add meats and breads, but you want to add these sparingly with other traditionally compostable items.
Run the Composter
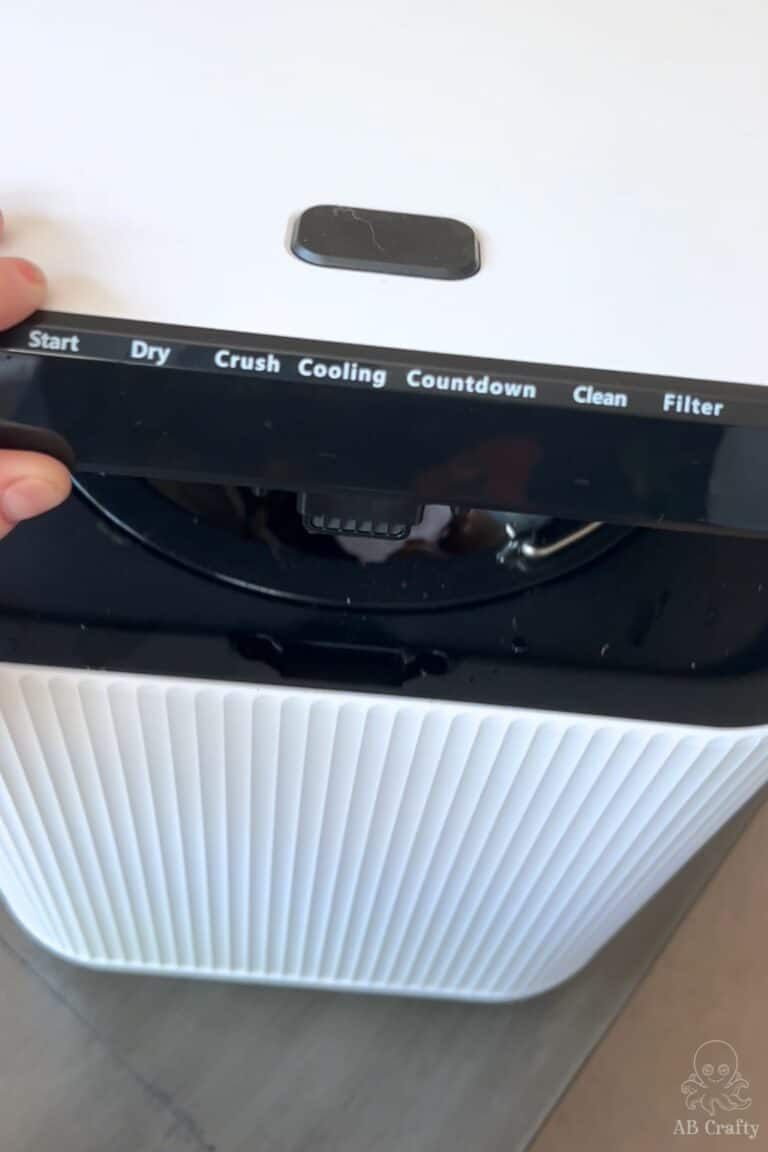
Close the lid and press the button to start the composting cycle. The machine will heat, grind, and aerate the scraps to break them down into pre-compost. This process typically takes several hours.
Re-Run if Necessary
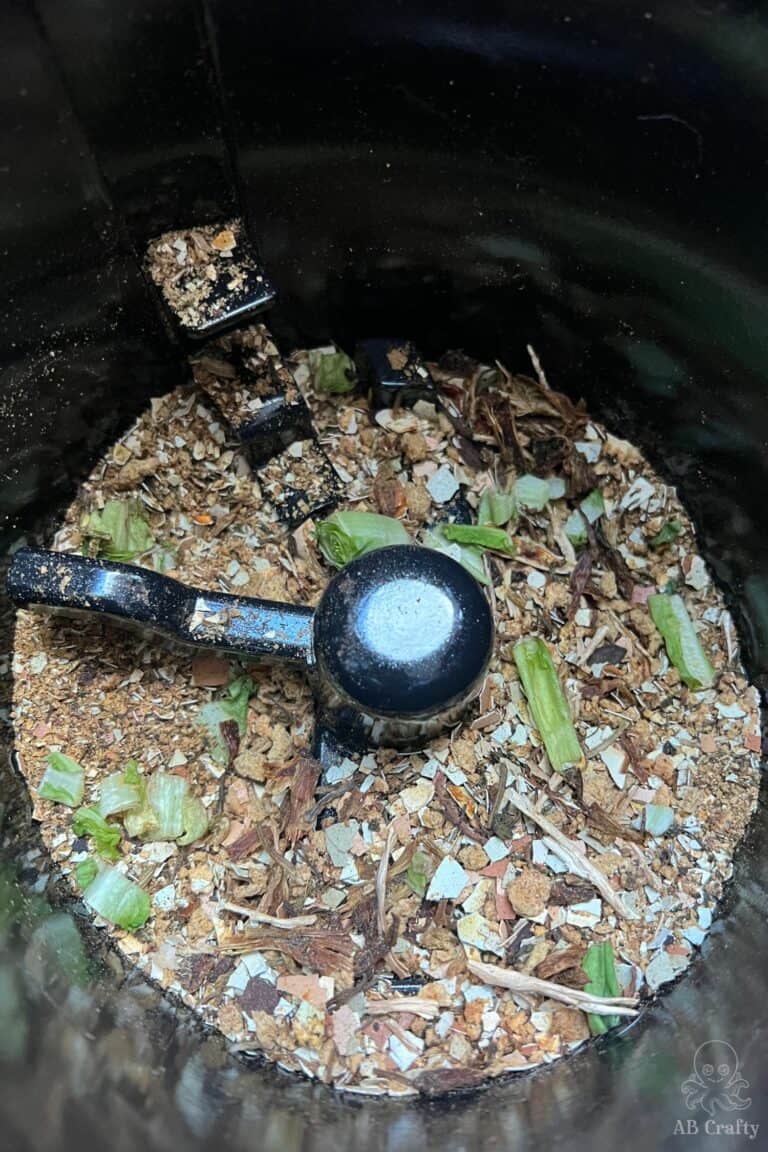
If the compost is still chunky after the first cycle, don’t worry! This is especially common if you’ve added a lot of fibrous material like vegetable stalks or fruit peels (this happened for me with banana peels and egg shells). You can simply run the composter again until the desired consistency is achieved.
