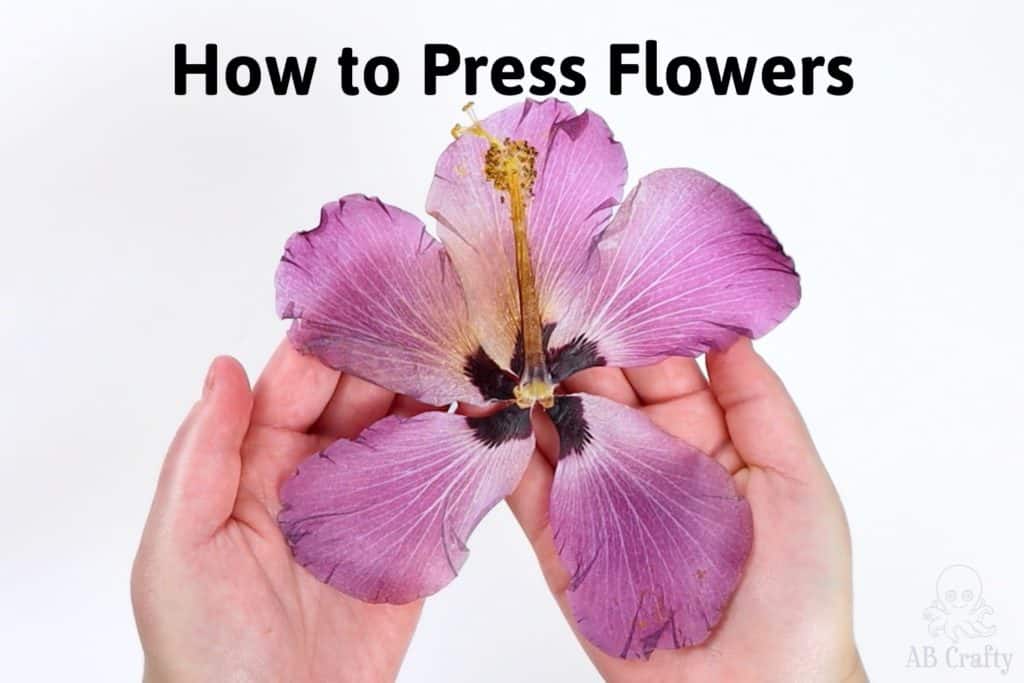
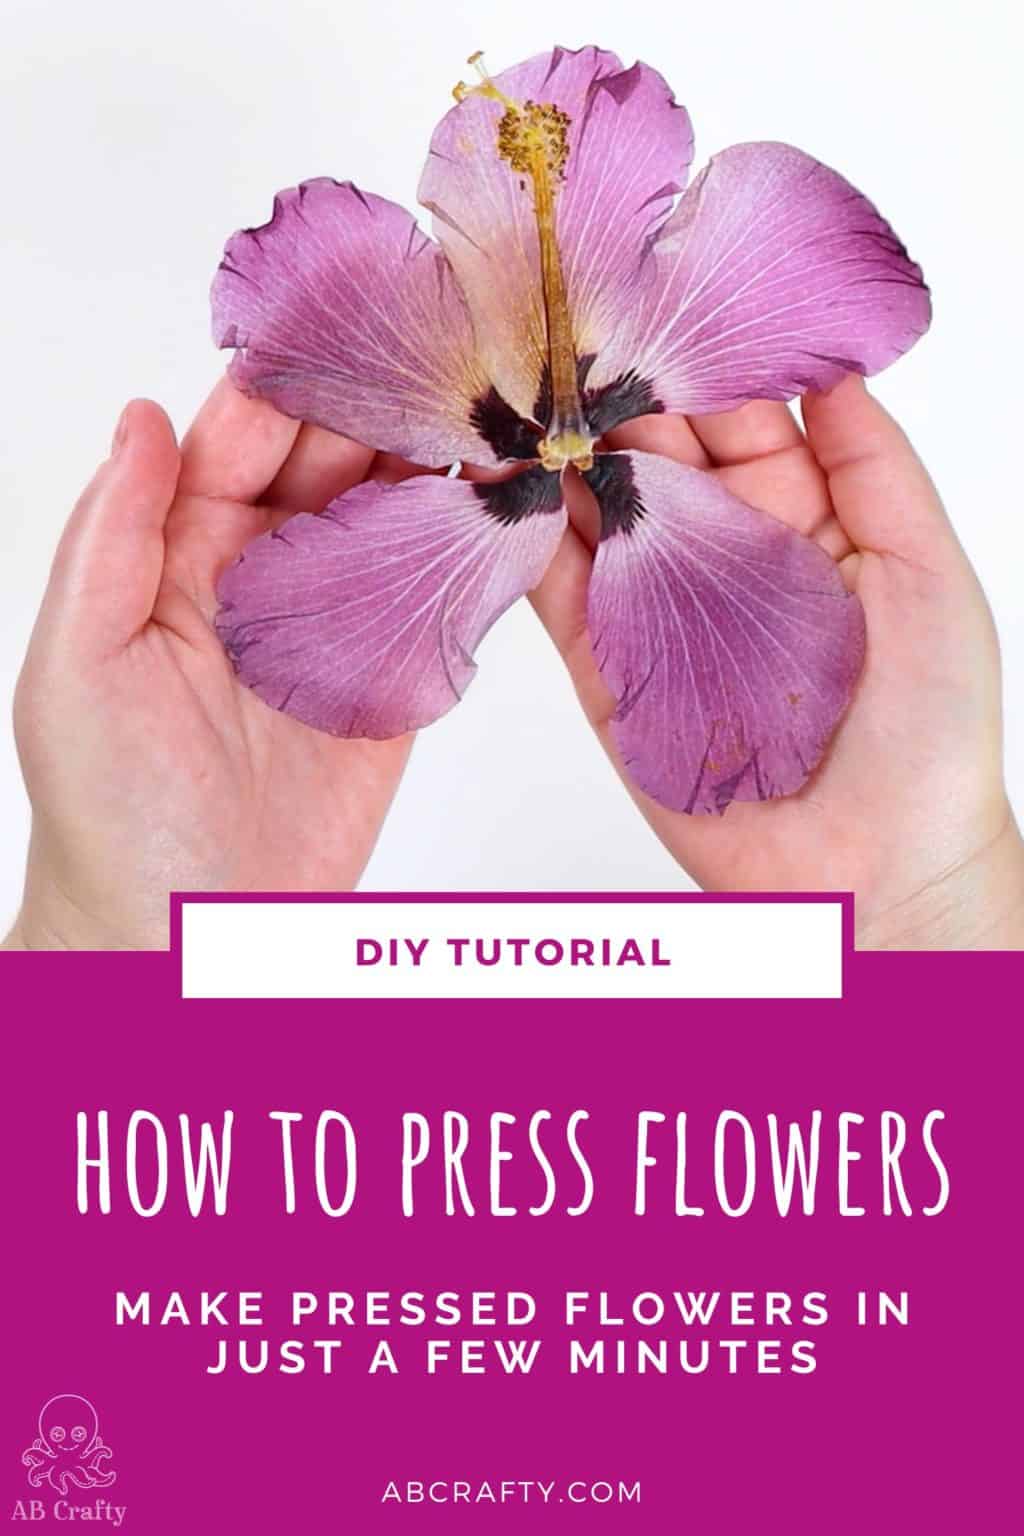
How to Press Flowers
Home » Blog » DIYs and Craft Projects » Garden Crafts » How to Press Flowers
-
Daniela Kretchmer
- Updated: Jul 3, 2025
- Nature

Are you looking for a quick and easy way to create beautiful pressed flowers? Take advantage of this time-saving hack and learn how to press flowers at home with your microwave flower press!
Note: Some links in this post may contain affiliate links, which means at no cost to you, I may earn a commission.
Table of Contents
Have you been dreaming of incorporating fresh, beautiful flowers into your projects? There’s nothing quite like the vibrant colors and delicate details preserved in pressed flowers. Lucky for you, gone are the days of putting plants in books and waiting weeks for them to dry!
With a microwave flower press like mine, you can easily press flowers in just a few minutes. Whether it’s pressed roses for a handmade card or adding wildflowers to resin coasters, get ready to add the perfect finishing touch to all of your DIY creations with this simple guide. I wish I had known about it sooner so I could do a project from start to finish the same day and not have to wait for the pressed flower to finish drying.
Get the latest DIY tutorials, reviews, and crafting updates
You'll never be spammed and can unsubscribe at any time
Don’t forget to pin it so you can easily come back to it later!

Materials for Flower Pressing
- Microwave Flower Press (Microfleur – use code ABCRAFTY to get 10% off! You can also get it on Amazon)
- Flowers (pick some wildflowers or grow your own. I used flowers from my hibiscus plant, I grew from seed from New Hill Farm)
- Scissors (optional)


