Edible Terrarium
Home » Blog » DIYs and Craft Projects » Food Crafts » Edible Terrarium
-
Daniela Kretchmer
- Updated: Oct 28, 2023
- Candy, Chocolate, Desserts, Home Decor, Nature, Oreo
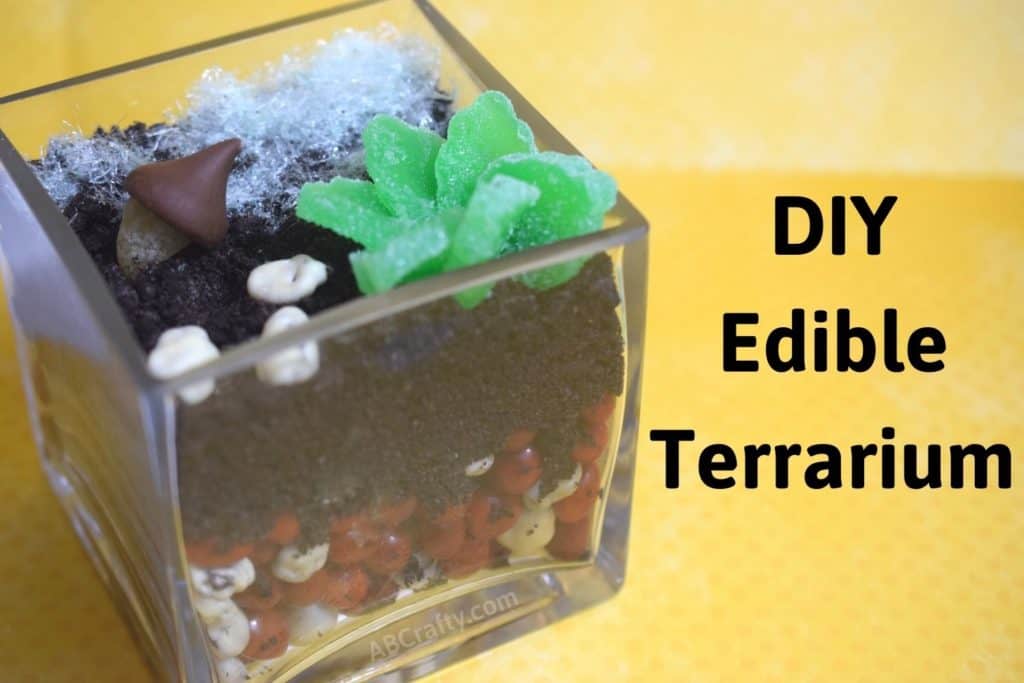
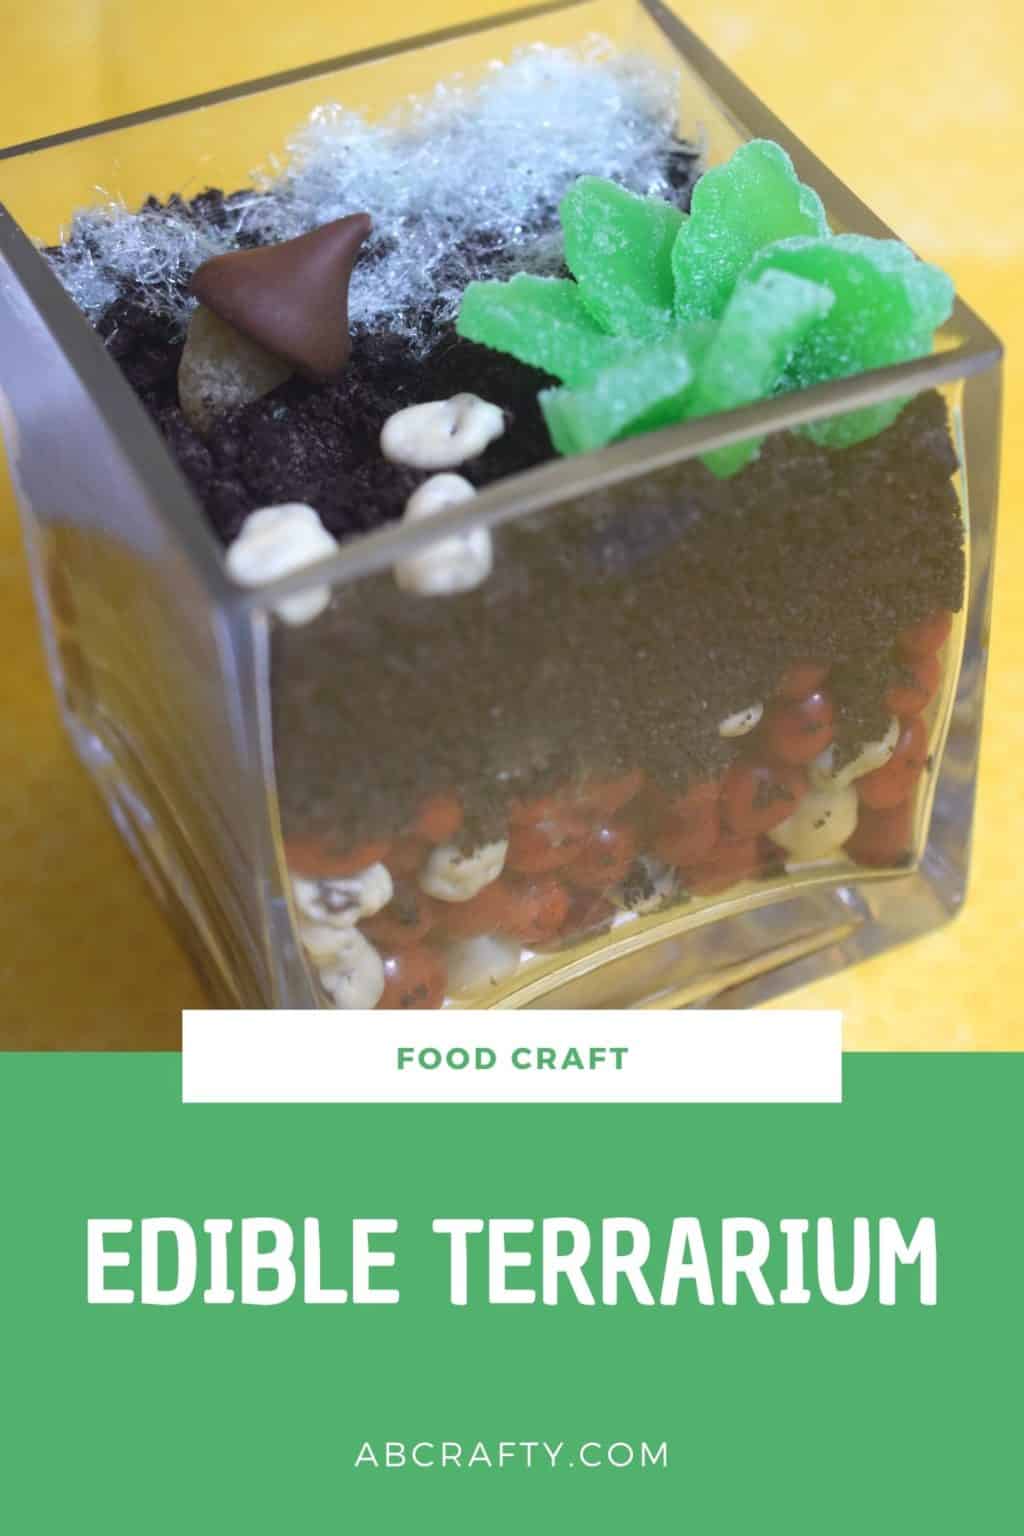
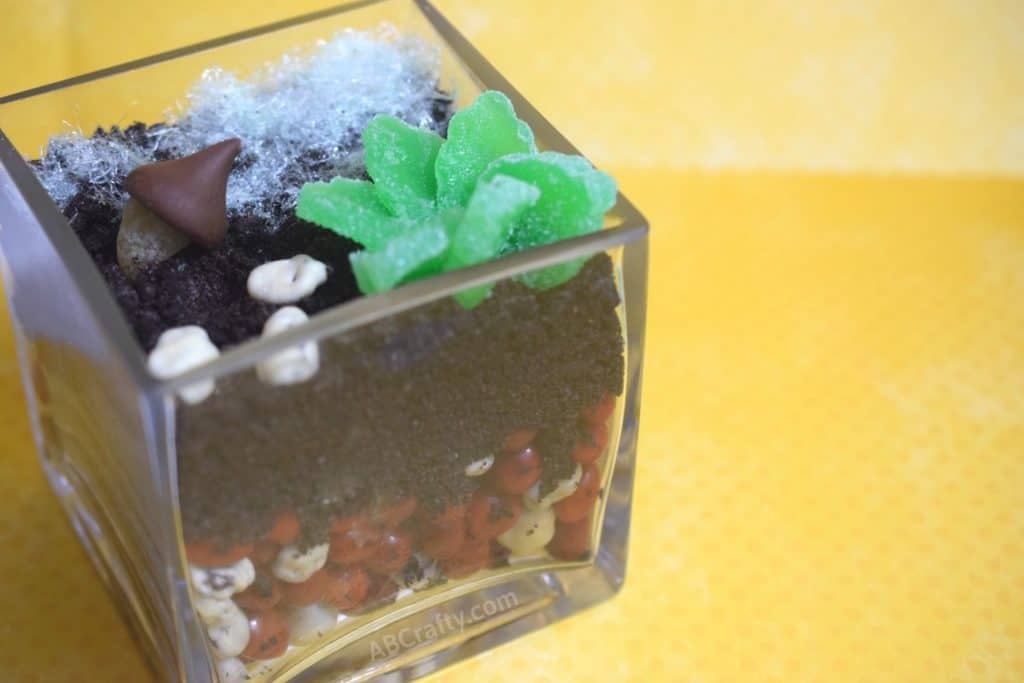
Learn how to make a terrarium, except this isn’t just any DIY terrarium idea. This DIY terrarium is 100% edible! From edible succulents to edible moss and rocks, you can make a terrarium that not only looks good, but also tastes great!
Table of Contents
I personally love how terrariums looks and love the idea of making my own DIY terrarium, but for whatever reason I hadn’t gotten around to it (until now!). But throw in the concept of being able to eat one and I’m in so I created this adorable edible terrarium food craft. It can be a fun way to learn about plants and the ecosystem and makes for a fantastic birthday party activity that doubles as a party favor.
It’s all about the layers with an edible terrarium so you can get all sorts of candies and treats that resemble different plants and rocks. Get creative when candy shopping to have a variety to work with! You can even make some candy agate slices to add to it!
Note: Some links in this post may contain affiliate links, which means at no cost to you, I may earn a commission.
Ingredients for DIY Edible Terrarium
Video Instructions to Make an Edible Terrarium
Instructions to Make the Edible Terrarium
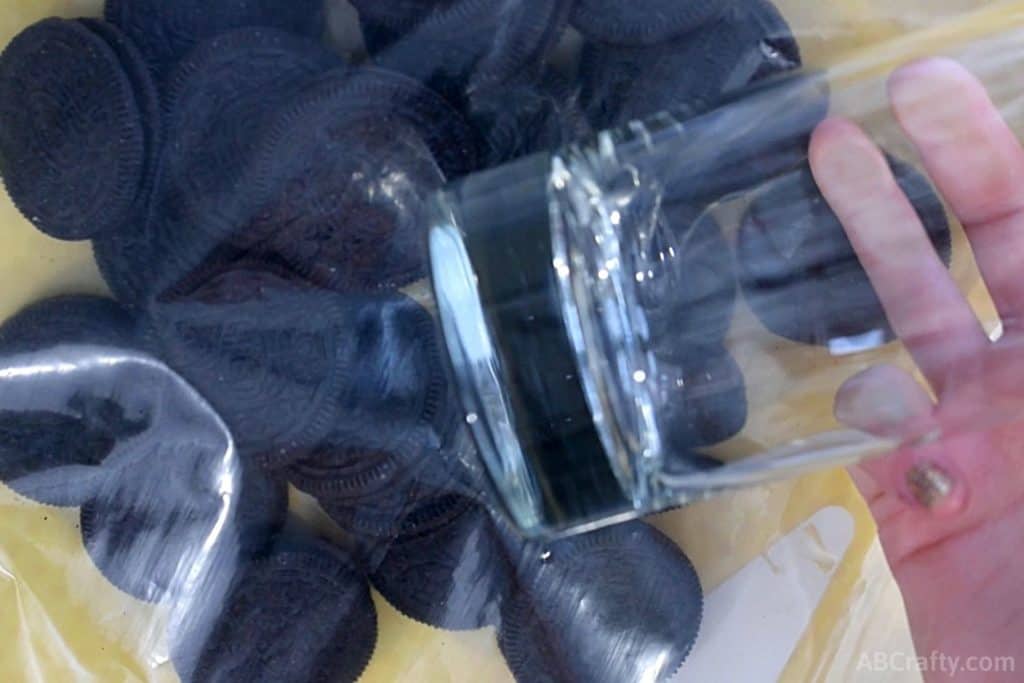
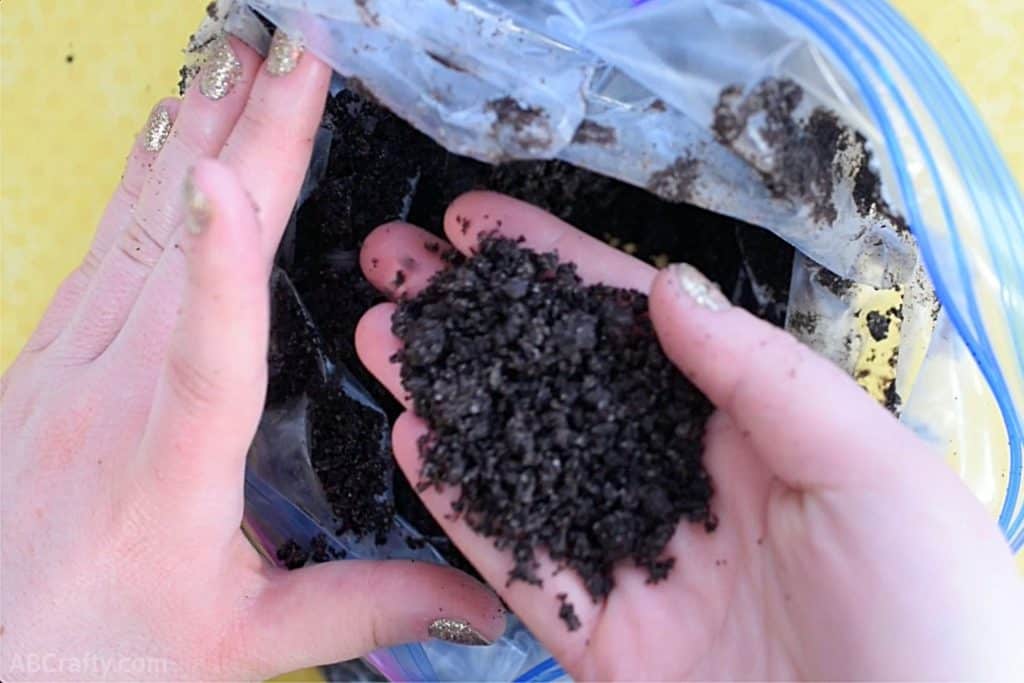
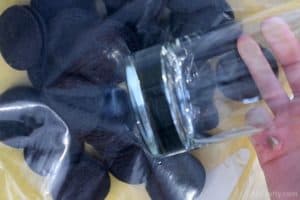
Place Oreos into a plastic bag and smash them with a heavy object. You want the cookies crushed up into nice and fine crumbs so they resemble dirt. Set aside.
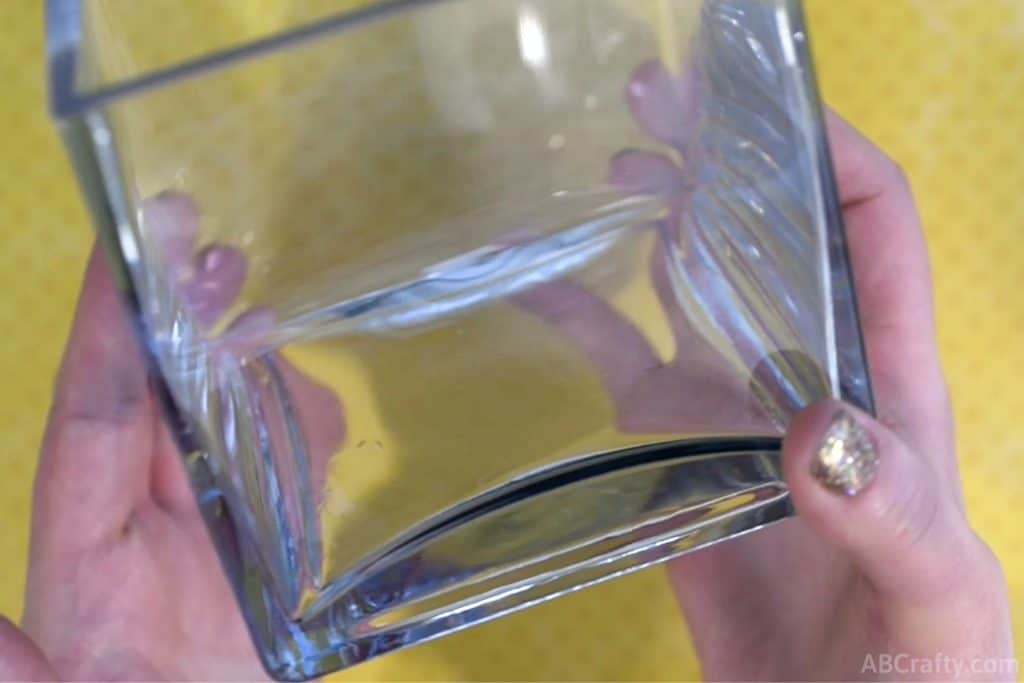
Clean your glass or container you’re going to use for your candy DIY terrarium. I had this square glass that was once used as a vase that was the perfect size (this is similar).
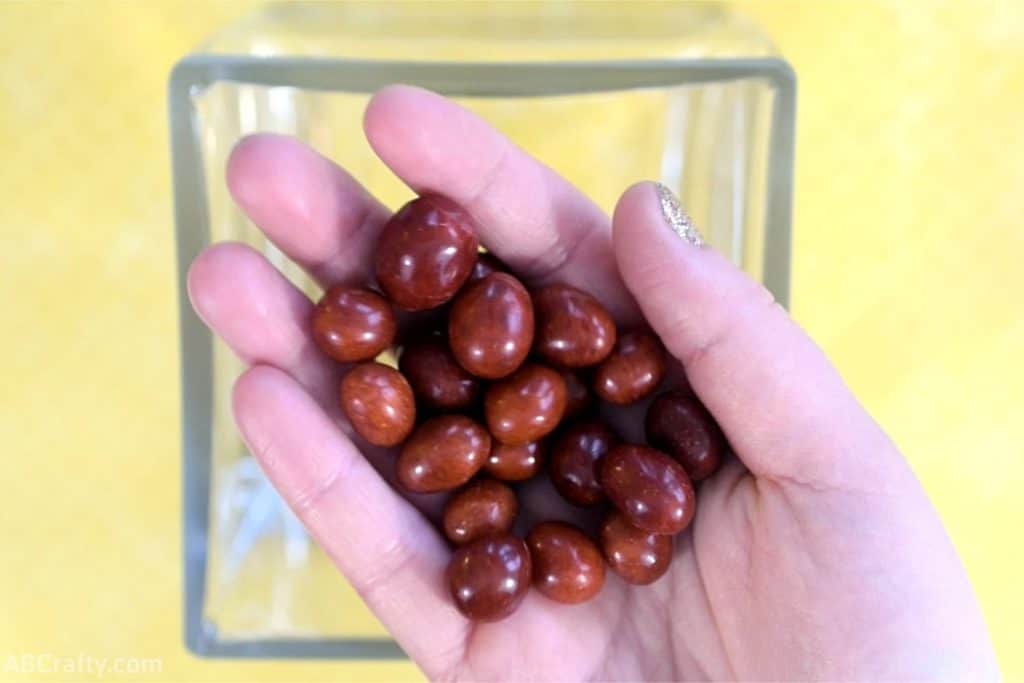
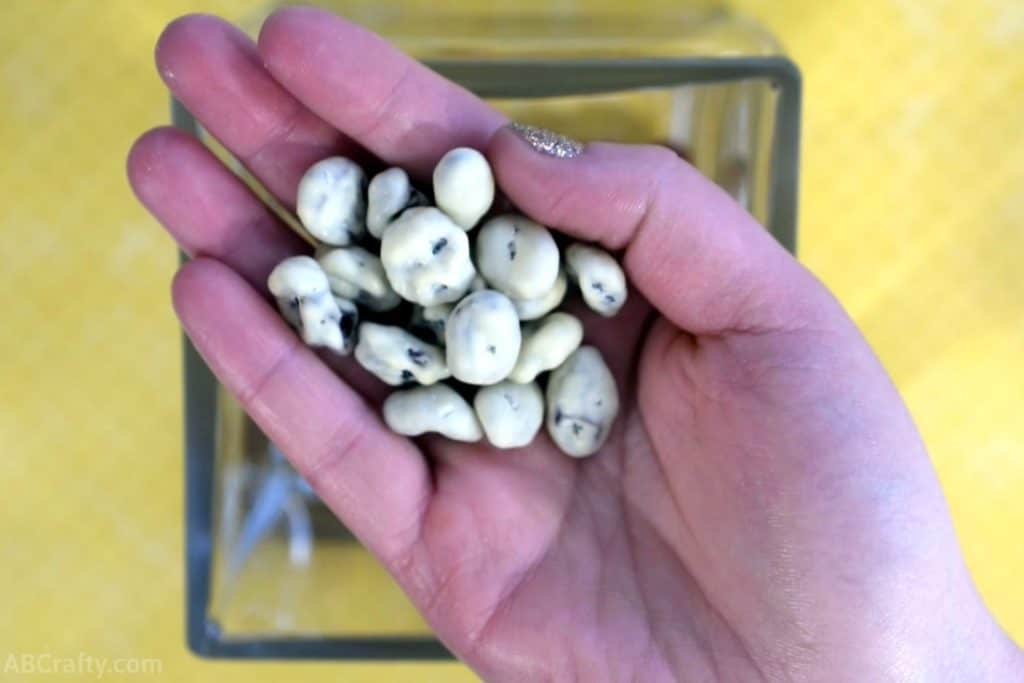
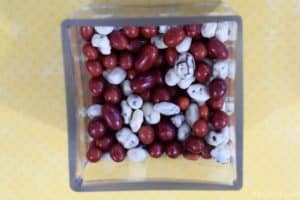
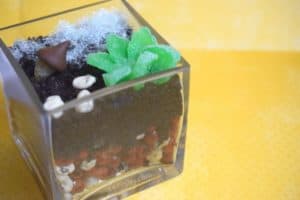
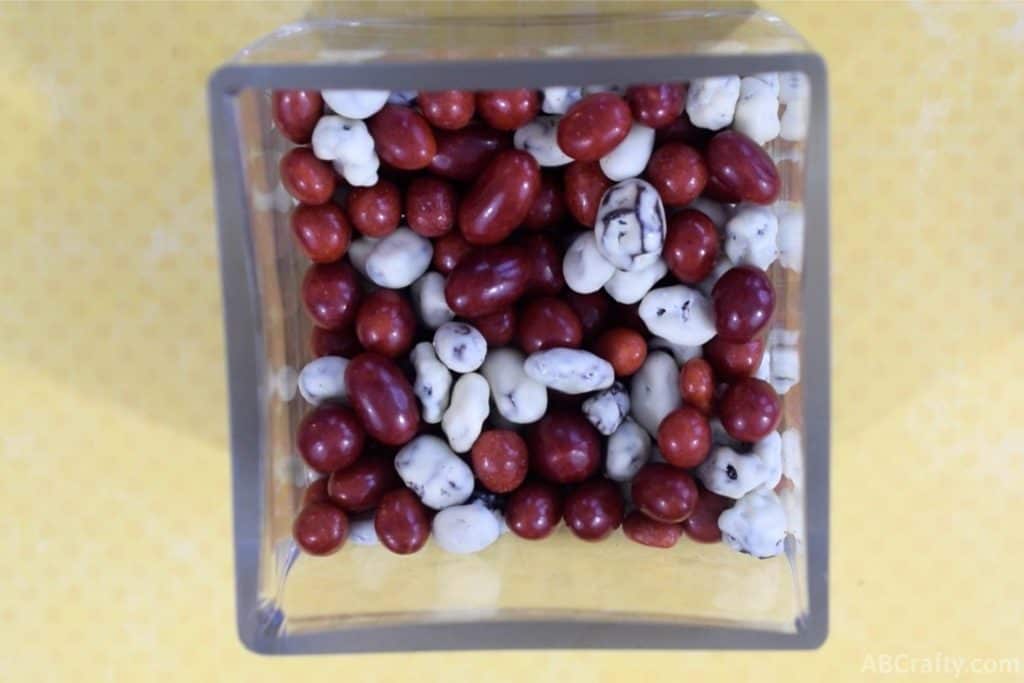
The key to the edible terrarium (or really any DIY terrarium) is the layers. Therefore start your layers with some “rocks.” I used a combination of yogurt covered raisins and Boston Baked Beans (Amazon). This gave it more color.
You can keep them separated or mix them up like I did. I filled the container about 1/3 of the way full with the candy “rocks.”
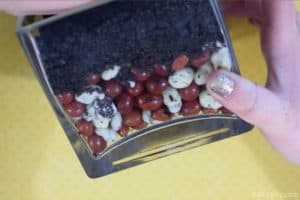
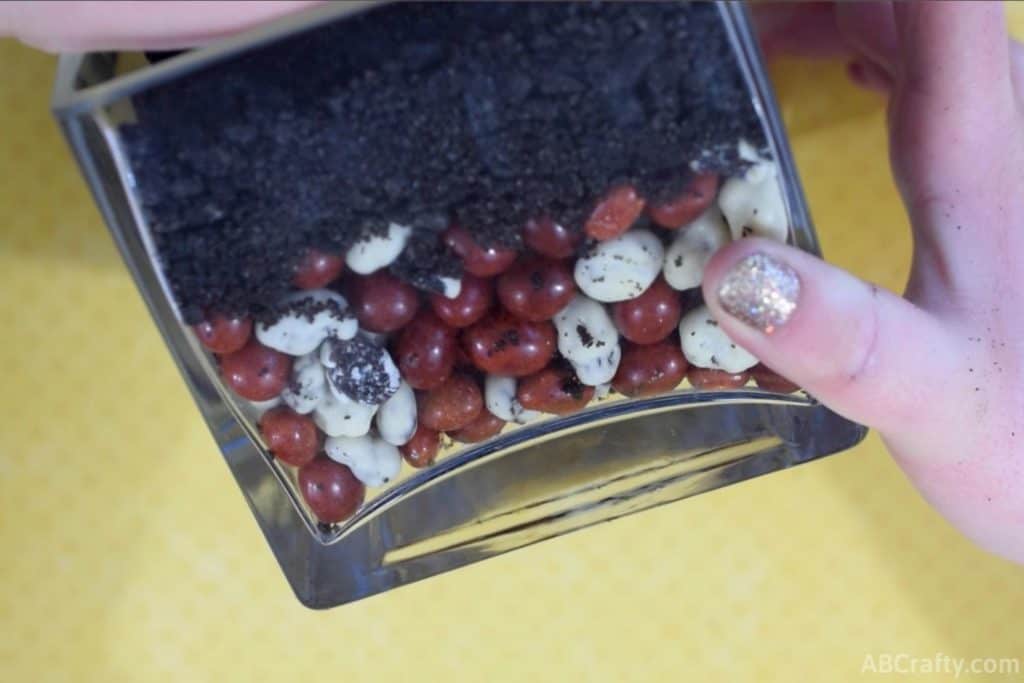
Now add the crushed Oreos for the dirt. Fill the container roughly an inch from the top.
Next you’re going to make all of the plants to go on top of the dirt.
How to Make an Edible Succulent
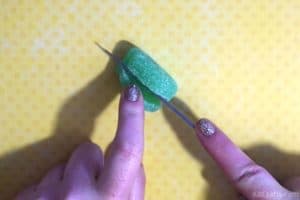
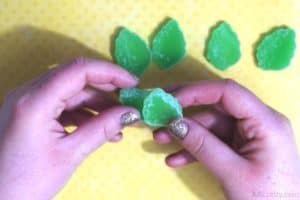
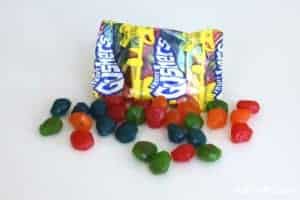
You can use leaf gummies (like these) to create the edible succulents. Cut off the sides of the candy so that you have the middle section to work with.
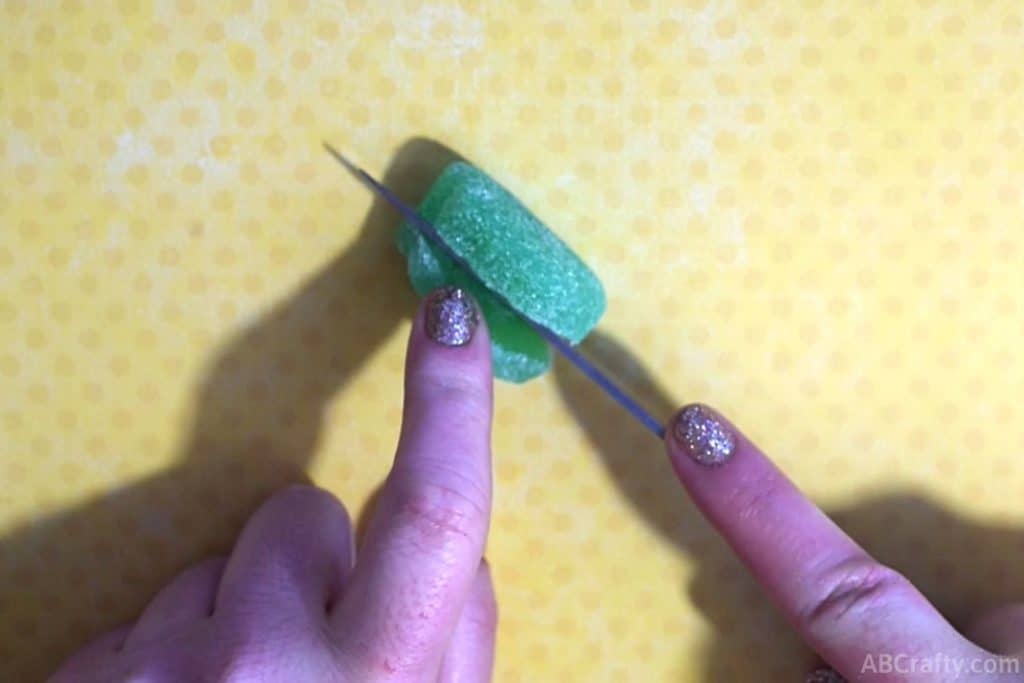
Repeat the process so you have 6 gummies for the edible succelents
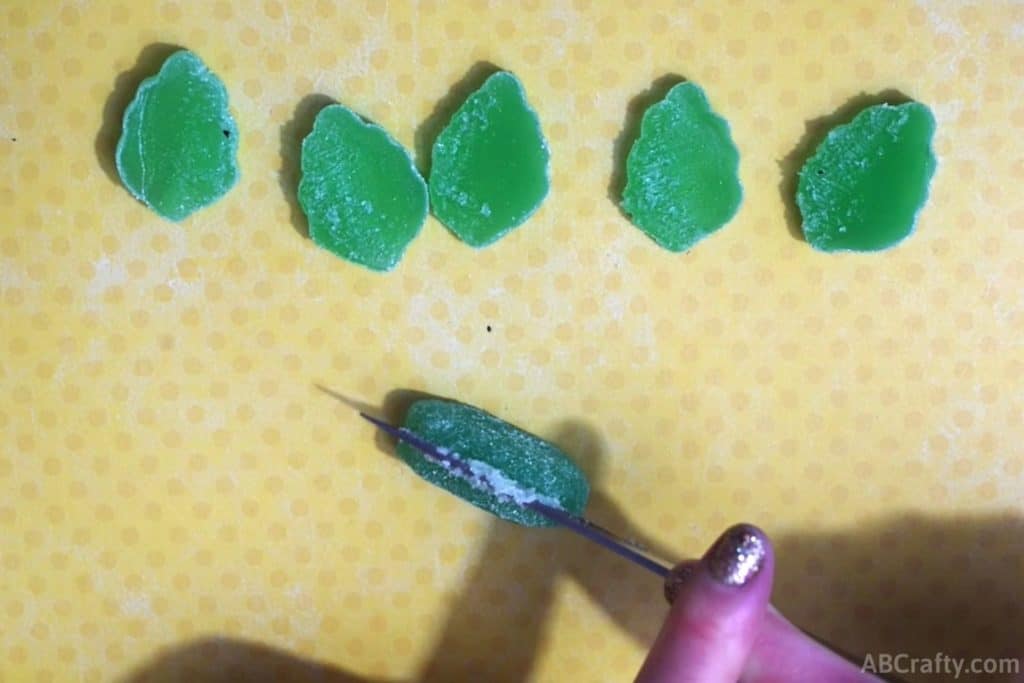
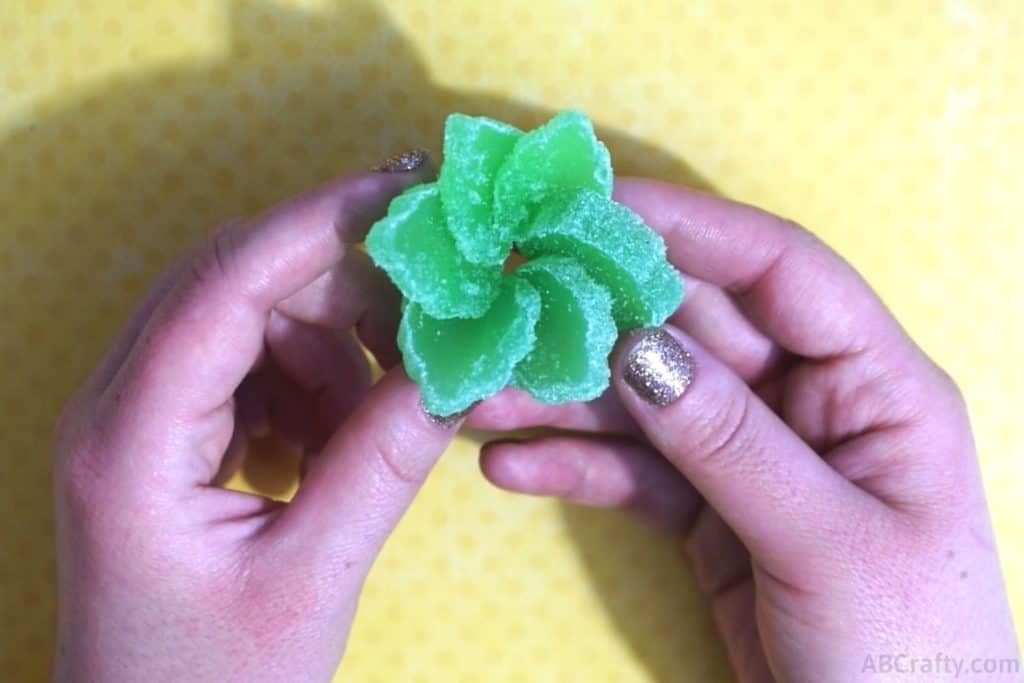
Overlap one leaf candy on top of another.
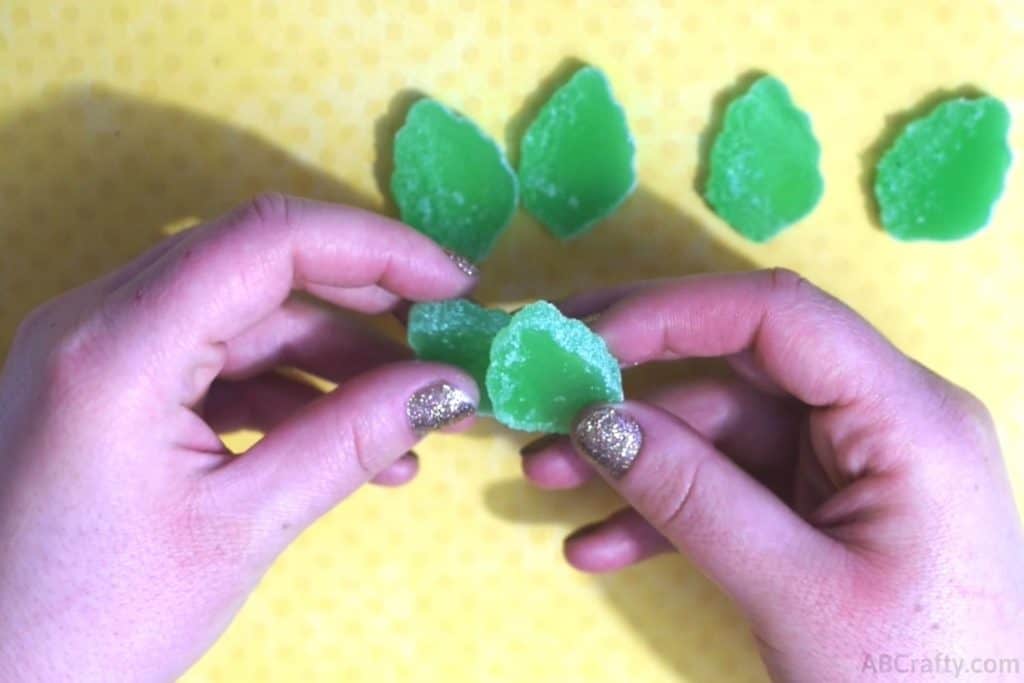
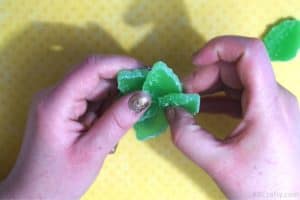
Repeat this, shaping them into a circle as you go.
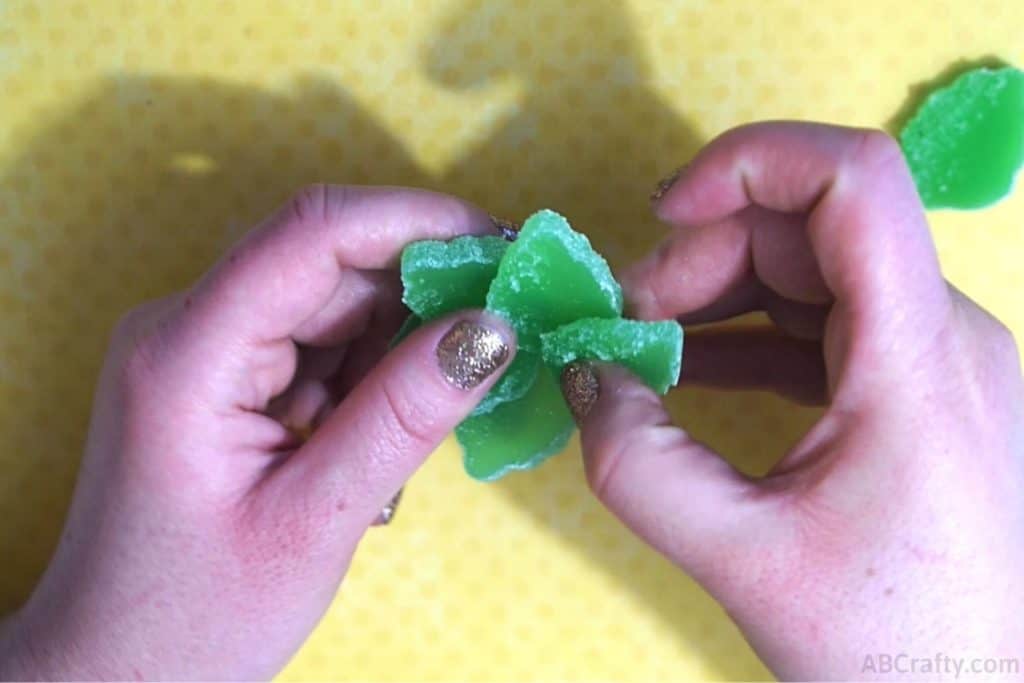
For the last leaf, tuck it under the first to complete the pattern. Then your candy succulent is ready for the terrarium.
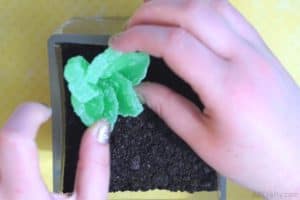
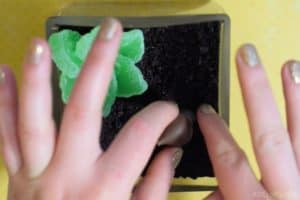
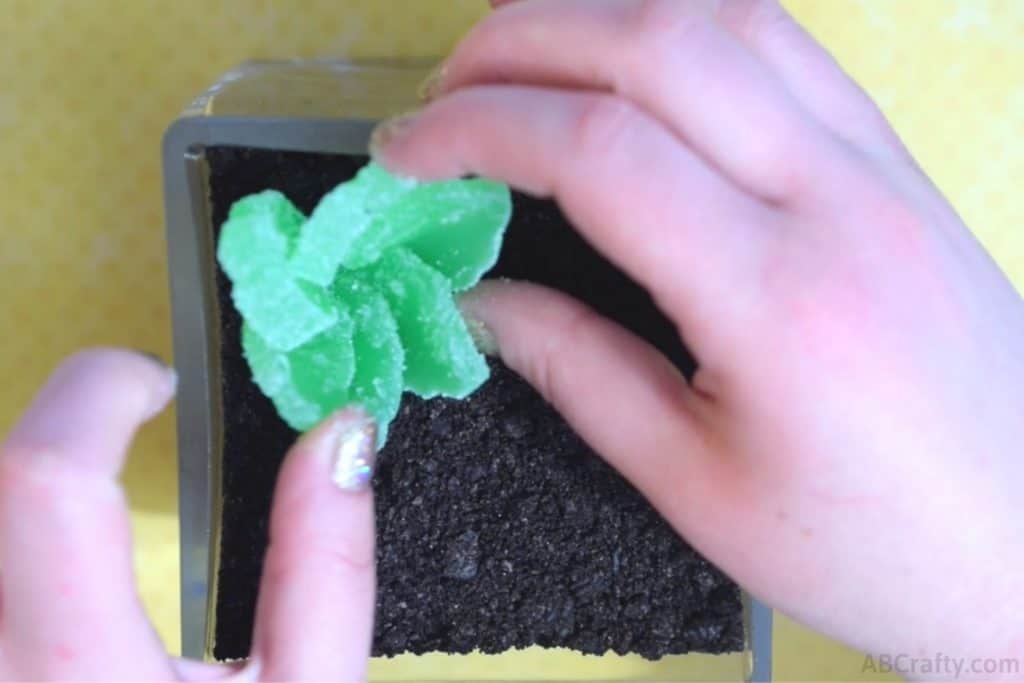
Place your finished edible succulent into the terrarium. Make sure to push it a bit into the Oreo dirt so that it’s secure.
How to Make a Mushroom out of Candy
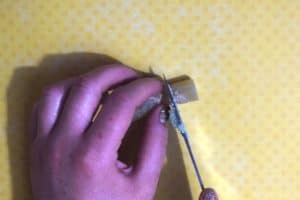
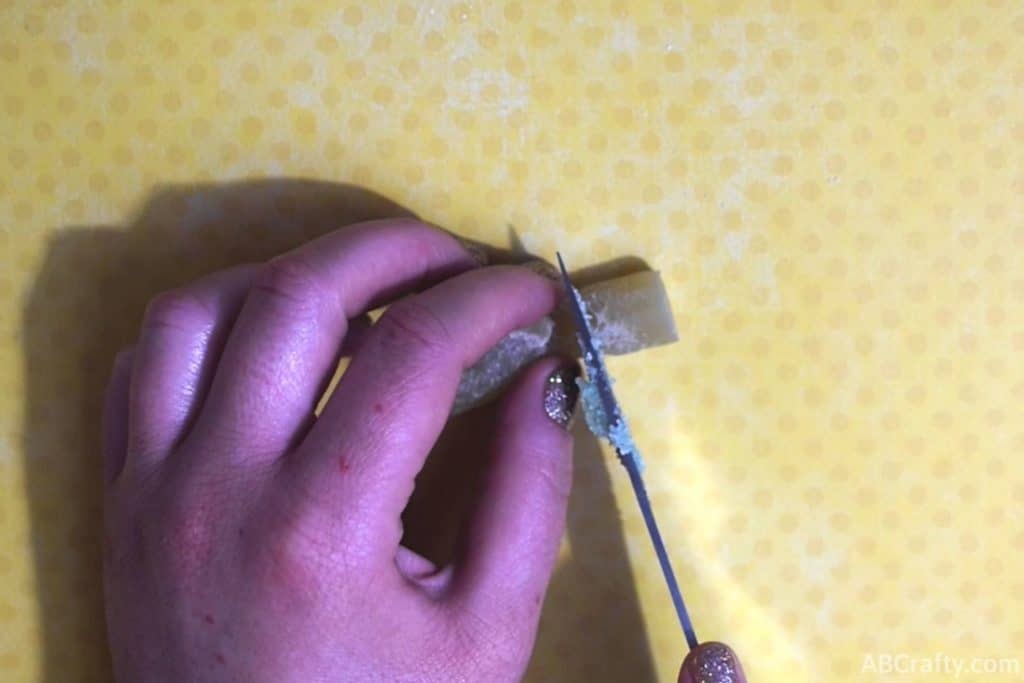
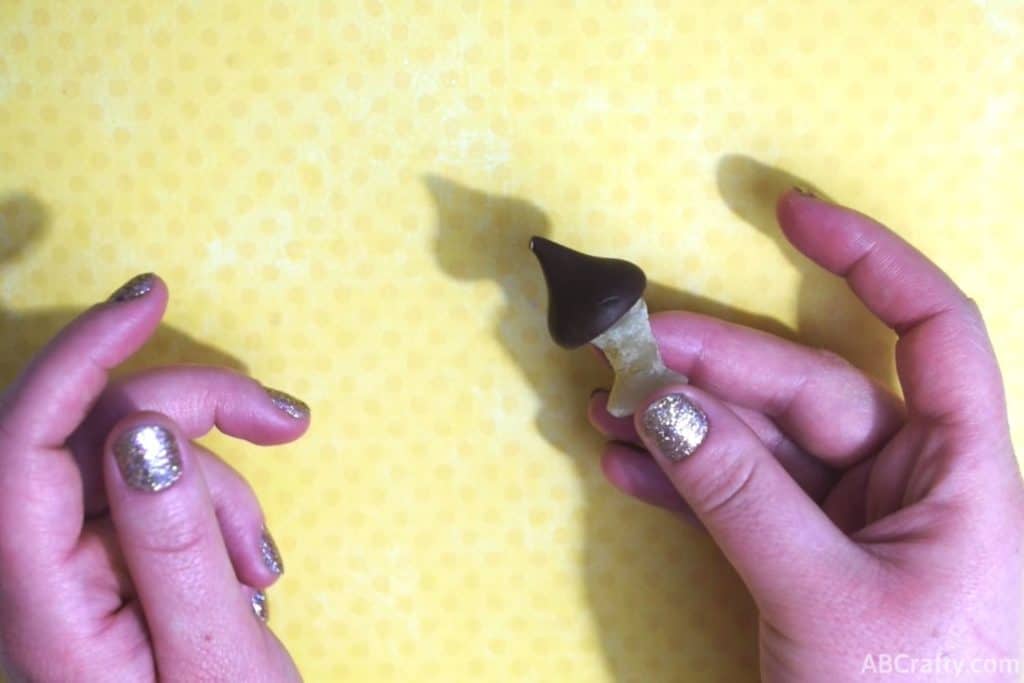
Cut a piece off of a candy rope to roughly the length you want the candy mushroom to be.
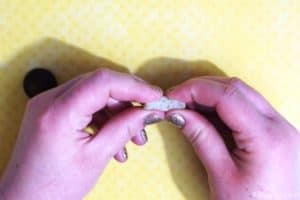
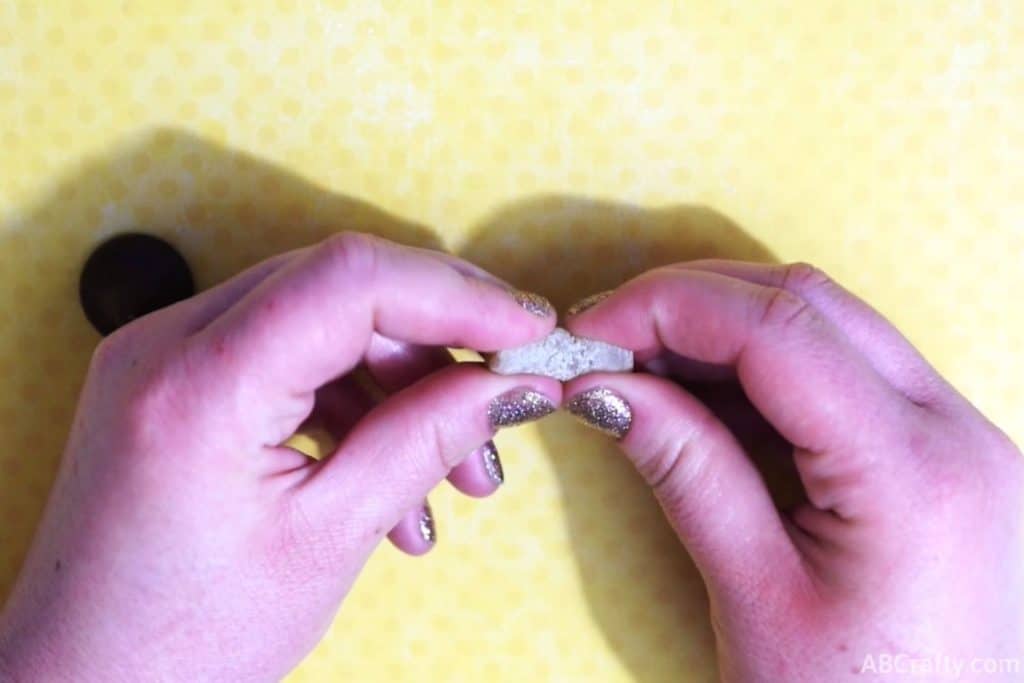
Shape the candy into a mushroom stem. It helps to have the base wider than the top.
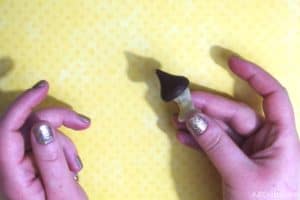
Attach one of the sticky ends of the candy onto the bottom of a Hershey’s Kiss. Now you have an adorable candy mushroom!
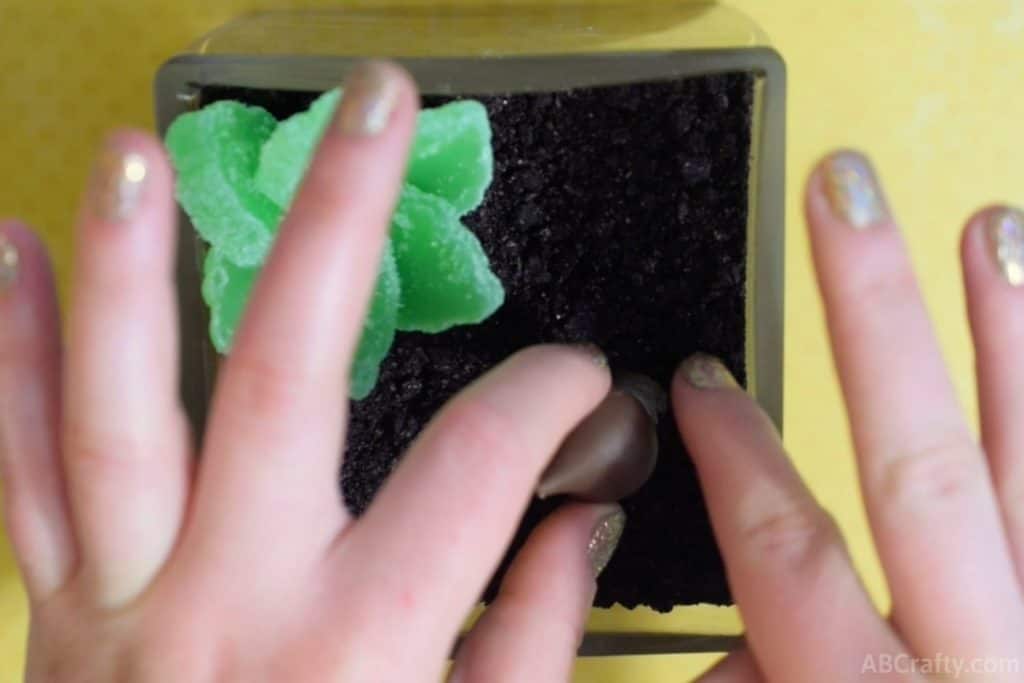
Place it into the terrarium and push the Oreo dirt around it for support.
Finishing the Edible Terrarium
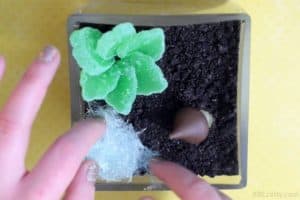
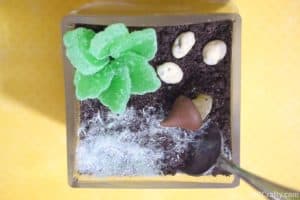
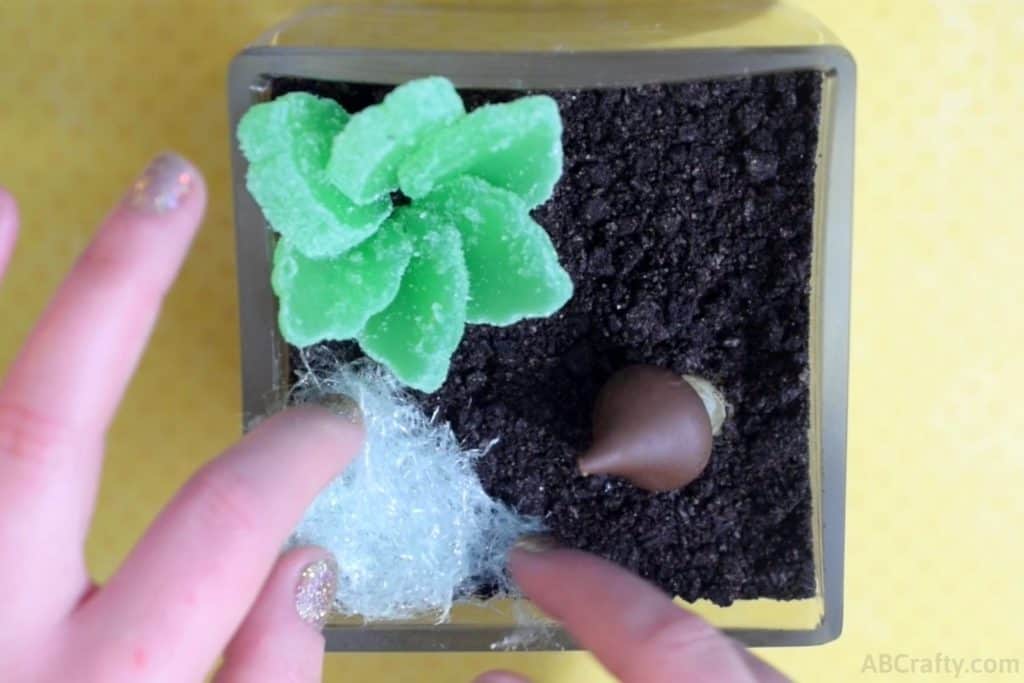
Of course, no terrarium is complete without some moss or grass. Cotton candy makes for perfect edible moss so place some green cotton candy wherever you would like moss or grass in your terrarium.
Add some yogurt raisins for rocks on top.
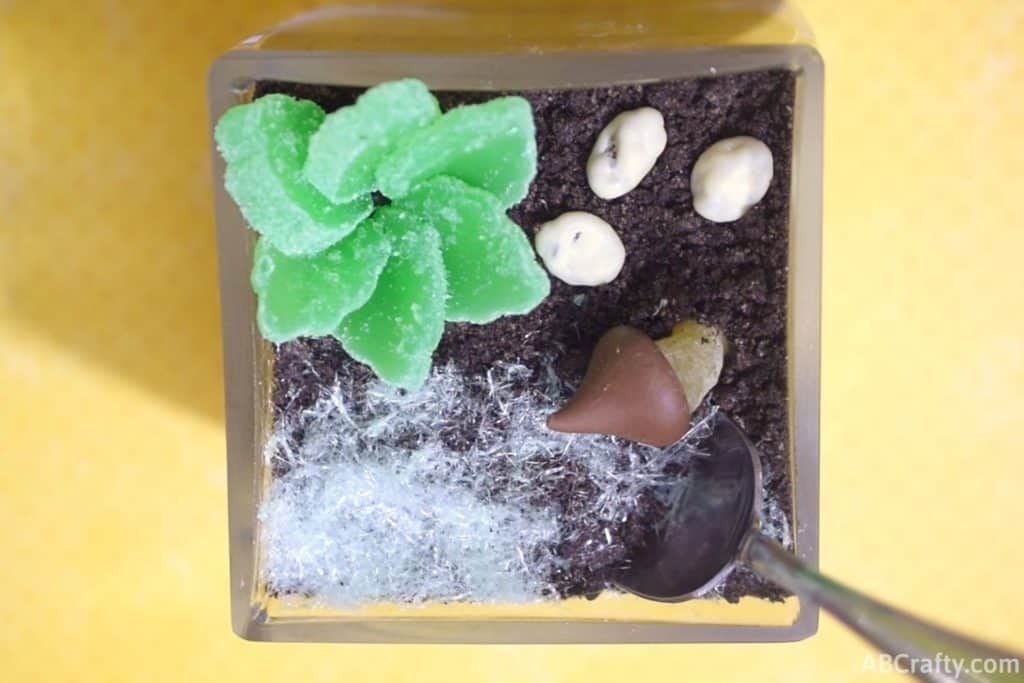
Now all that’s left to do is “dig” in to your DIY edible terrarium! Or leave it as a display and eat parts of it from time to time like I did.
You could even use some tractor toys for kids as a fun way to eat it (just make sure they’re clean)!
Get the latest DIY tutorials, reviews, and crafting updates
You'll never be spammed and can unsubscribe at any time
More Edible DIYs to Try
- Make a different kind of rocky candy with these candy agate slices
- Make some unique martini cupcakes, sugared rim and all
- Enjoy your very own giant homemade Tootsie Pop
- Get festive with these pumpkin cinnamon rolls
Get the latest DIY tutorials, reviews, and crafting updates
You'll never be spammed and can unsubscribe at any time
Edible Terrarium
Materials
- Oreos
- Yogurt Covered Raisins
- Boston Baked Beans
- Leaf Gummies
- Hershey’s Kiss
- Candy Rope
- Green Cotton Candy
Equipment
- Plastic Bag
- Heavy Object
- Glass Container
- Knife
Instructions
Create the Base Layers
- Place Oreos into a plastic bag and smash them with a heavy object. You want the cookies crushed up into nice and fine crumbs so they resemble dirt. Set aside.
- The key to the edible terrarium (or really any DIY terrarium) is the layers. Therefore start your layers with some “rocks,” by combining yogurt covered raisins and Boston Baked Beans.
- Now add the crushed Oreos for the dirt. Fill the container roughly an inch from the top.
Make an Edible Succulent
- You can use leaf gummies to create the edible succulents. Cut off the sides of the candy so that you have the middle section to work with.
- Overlap one leaf candy on top of another.
- Repeat this, shaping them into a circle as you go.
- For the last leaf, tuck it under the first to complete the pattern. Then your candy succulent is ready for the terrarium.
- Place your finished edible succulent into the terrarium. Make sure to push it a bit into the Oreo dirt so that it’s secure.
Make a Mushroom out of Candy
- Cut a piece off of a candy rope to roughly the length you want the candy mushroom to be.
- Shape the candy into a mushroom stem. It helps to have the base wider than the top.
- Attach one of the sticky ends of the candy onto the bottom of a Hershey’s Kiss. Now you have an adorable candy mushroom!
- Place it into the terrarium and push the Oreo dirt around it for support.
Finishing the Edible Terrarium
- Of course, no terrarium is complete without some moss or grass. Cotton candy makes for perfect edible moss so place some green cotton candy wherever you would like moss or grass in your terrarium.
- Add some yogurt raisins for rocks on top.
- Now all that’s left to do is “dig” in to your DIY edible terrarium! Or leave it as a display and eat parts of it from time to time like I did.

