Wet Felted Mini Top Hat
Home » Blog » DIYs and Craft Projects » Wet Felted Mini Top Hat
-
Daniela Kretchmer
- Updated: Oct 27, 2023
- Accessory, Felting, Wet Felting, Wool
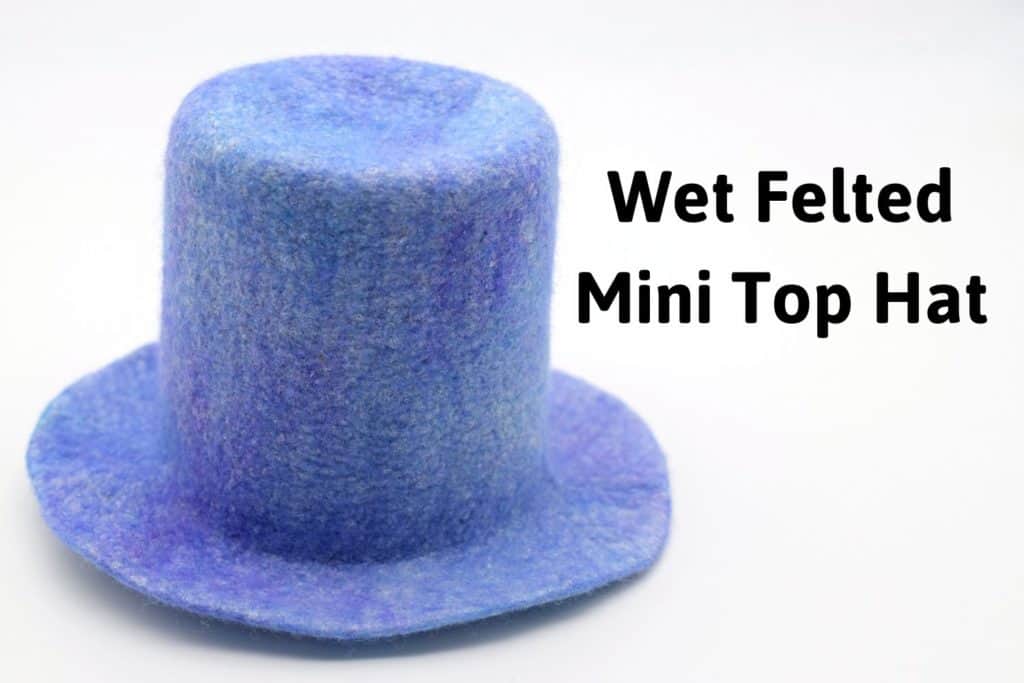
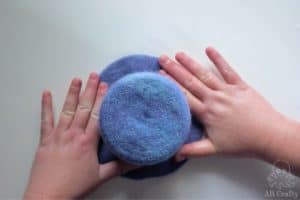
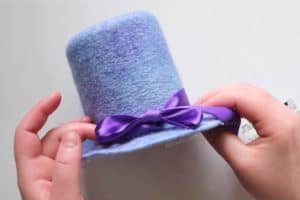
Make a wet felted mini top hat. It’s a great starter wet felting project if you want to start making felt hats, but even on its own it’s adorable whimsical hat!
I designed this wet felted hat to be a perfect project for those wanting to learn how to make a wet felted hat. Because it’s mini, it’s a much faster project than a full size hat, but just as fun! You’ll learn everything you need to know about making a wet felted hat, including how to use a hat form. But don’t worry, you don’t need to get some fancy hat form. I designed it so you can use a household item to make your hat – a standard frosting can!
I’ve also included a free printable template to make it super easy to make this tiny hat.
If you’re new to wet felting, I highly recommend my ultimate guide to wet felting in which you learn the basics.
Get the latest DIY tutorials, reviews, and crafting updates
You'll never be spammed and can unsubscribe at any time
Note: Some links in this post may contain affiliate links, which means at no cost to you, I may earn a commission.
Table of Contents
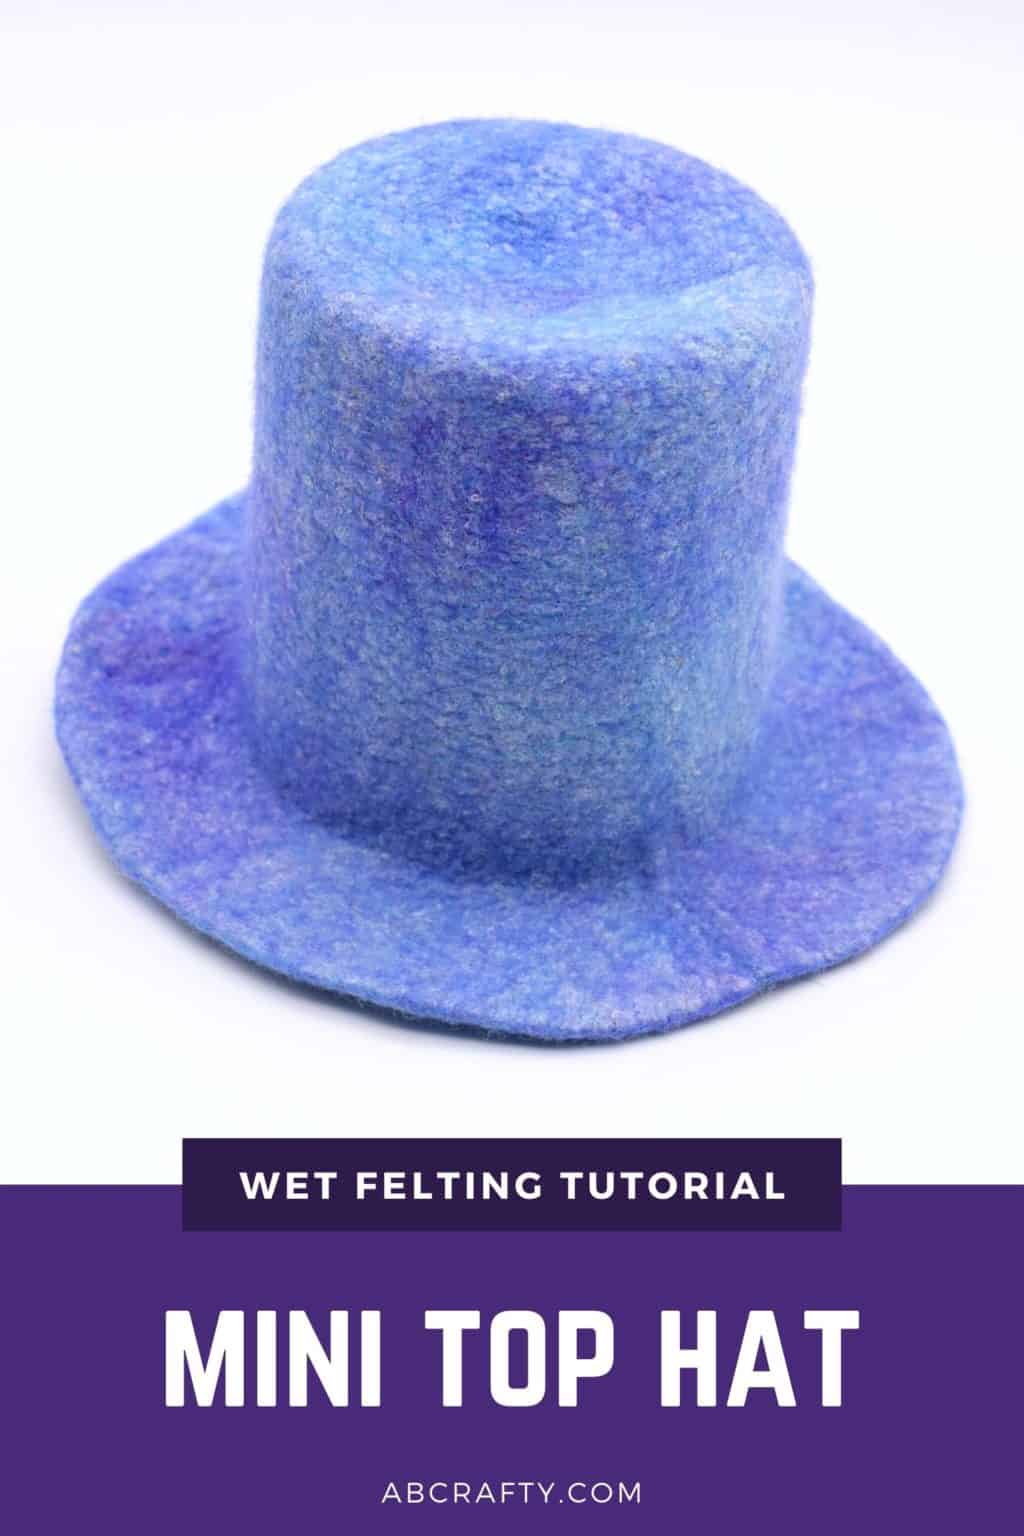
Materials to Make a Wet Felted Mini Top Hat
- 0.5-1 oz of Wool Fiber (these are some of my favorites) – Make sure the wool you get isn’t labelled “superwash” – this is wool that has been treated so that it won’t felt!
- Frosting Container – Wash out a standard 16oz frosting container to use as the hat form (in case you don’t already have one, here’s one on Amazon. And you can use the frosting for something else!)
- Resist Material (this can be any flexible non-porous material. I personally like to use the Amazon packing material for this as well) – If you’ve never worked with a resist or made a 3D felted item, it’s what you use to make sure your item does not felt to itself.
- Resist Template (download below)
- Ribbon, optional (Amazon)
- Alligator Clip, optional (Amazon)
- Headband, optional (Amazon)
- Glue Gun
Wet Felting Supplies You Will Also Need
- Bubble Wrap (this is for rolling the project – I like to reuse plastic Amazon packaging. You want it bigger than your resist)
- Tulle or Mesh Fabric (Amazon)
- Olive Oil Soap (Amazon)
- Pool Noodle (Amazon)
- Towel
- Ball Brause, optional (Etsy)
- Wooden Dowel, optional (Amazon)
- Palm Washboard, optional (Etsy)
Free Printable Mini Top Hat Pattern
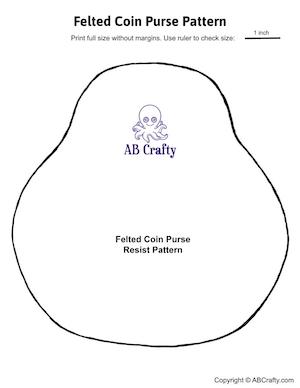
I have created a free printable mini top hat pattern you can use for this felting project. Download below or from the shop. This is the actual resist pattern I use for my own mini top hats. It is designed for 30-40% shrinkage and to work with a standard frosting container.
Note: When printing, be sure to print without margins and at actual size. I have included a 1 inch ruler on the page so you can double check it printed correctly.
If you’d like to make your own resist, I’ve created a wool shrinkage calculator you can use. Simply input your shrinkage percentage and the final measurements you want after felting.
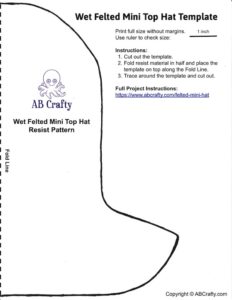
Download the Mini Top Hat Resist Pattern
We’re committed to your privacy. AB Crafty uses the information you provide to contact you about relevant content and products. You may unsubscribe from these communications at any time.
Video Instructions
Instructions to Make a Wet Felted Mini Top Hat
Make the resist using the printable mini top hat pattern
Download and print the free pattern to make the resist. (be sure to print it out full sized without margins). Cut out the pattern.
Fold the resist material in half and place the pattern on top along the fold line. Trace along the pattern. Then cut out the resist and unfold.

Download the Mini Top Hat Resist Pattern
We’re committed to your privacy. AB Crafty uses the information you provide to contact you about relevant content and products. You may unsubscribe from these communications at any time.
Lay Out the Wool on the Resist
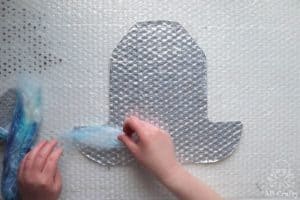
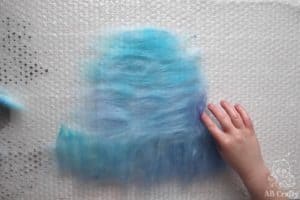
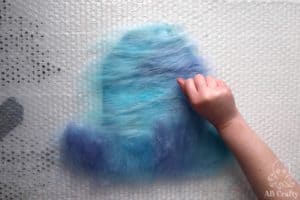
Place the large bubble wrap down and place your resist in the middle. Start by pulling off a small amount of fiber and laying it in one direction on top of the resist. Make sure the wisps hang off the side a bit.
Tip: If it’s difficult to pull off the fiber, bring your hands further apart. The fiber length (staple length) is probably longer than the distance between your hands so by widening that distance you’ll be able to full off the fiber much more easily.
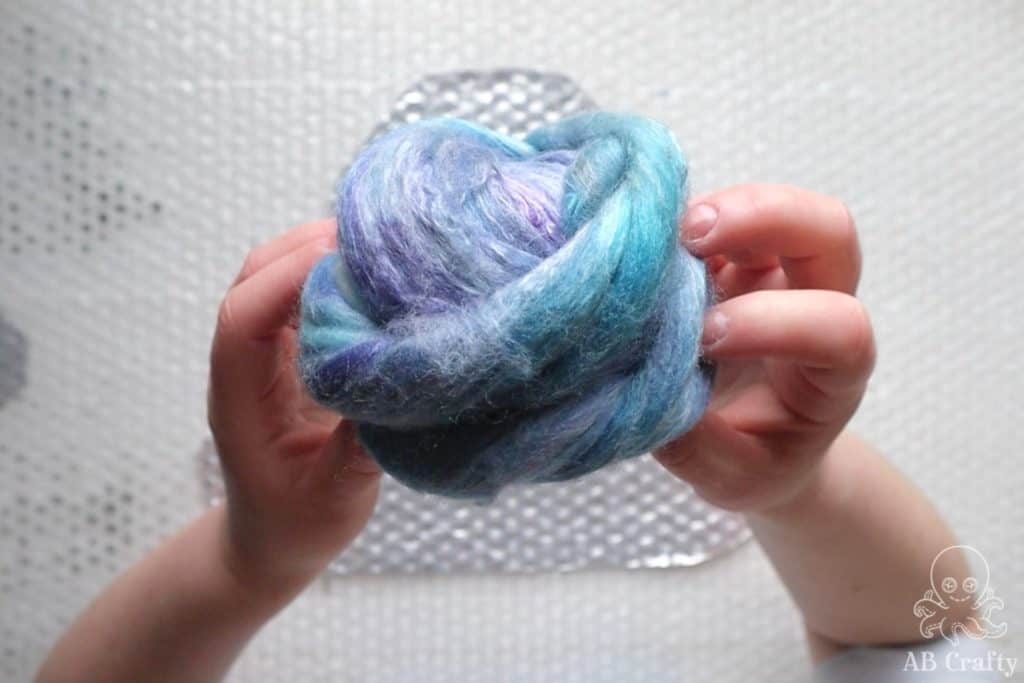
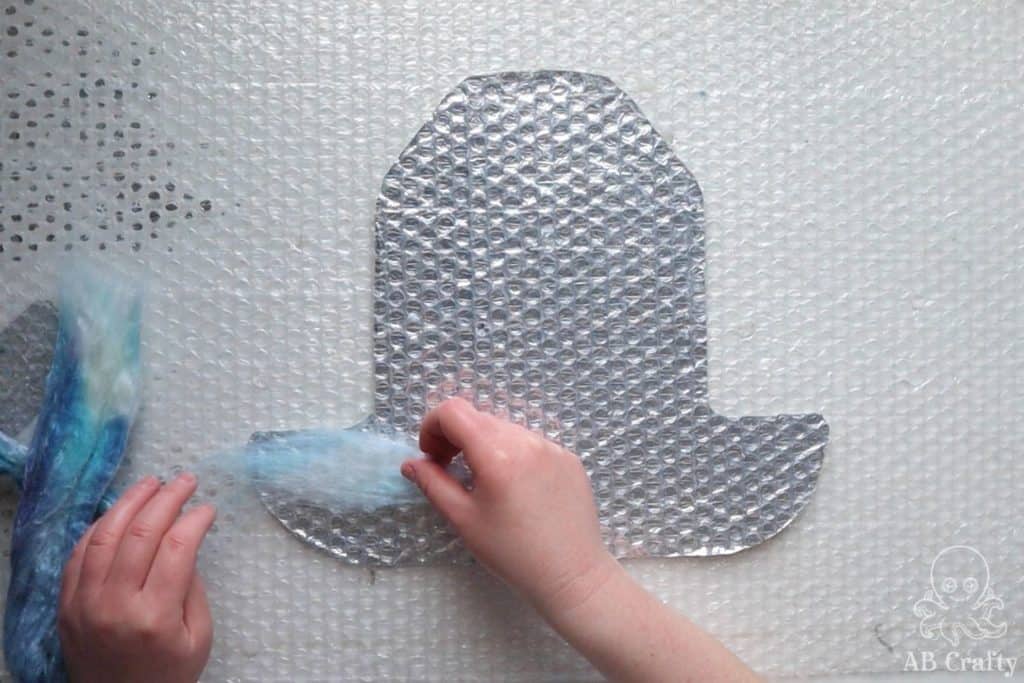
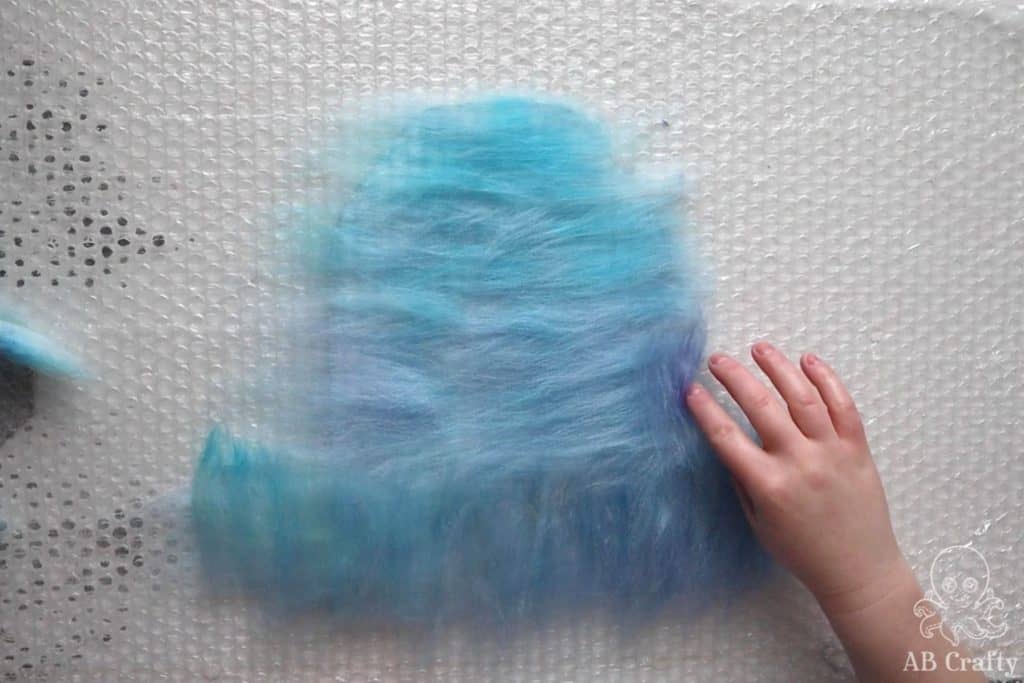
After you have your first layer of wool, start laying down the fiber in a layer perpendicular to the first. So if you started your first layer going left and right, like I did, place the next layer up and down.
Overlap the ends of the fiber and again, make sure the wisps hang over the edge.
Get the latest DIY tutorials, reviews, and crafting updates
You'll never be spammed and can unsubscribe at any time
Wet the Wool
Mix warm water with some olive oil soap. I like to do this by simply dropping the bar into the water and swirling it around a bit.
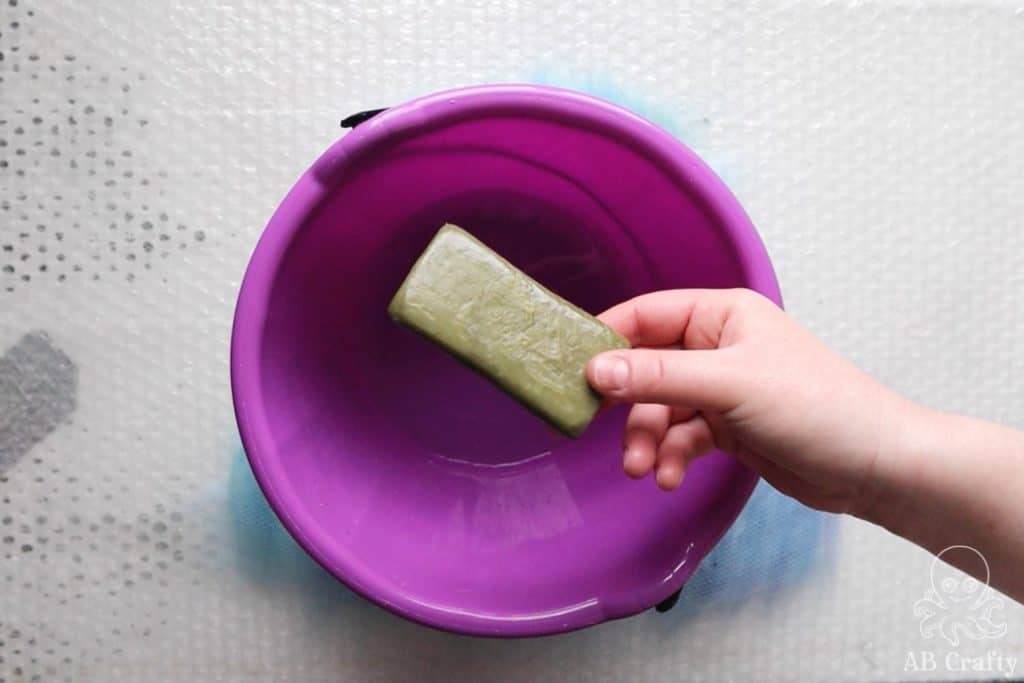
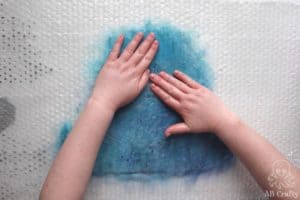
Cover the wool with the mesh fabric and wet it with the soapy water.
I like to use a ball brause (like this one), but you can use a sprinkler or even a sponge to push the water in.
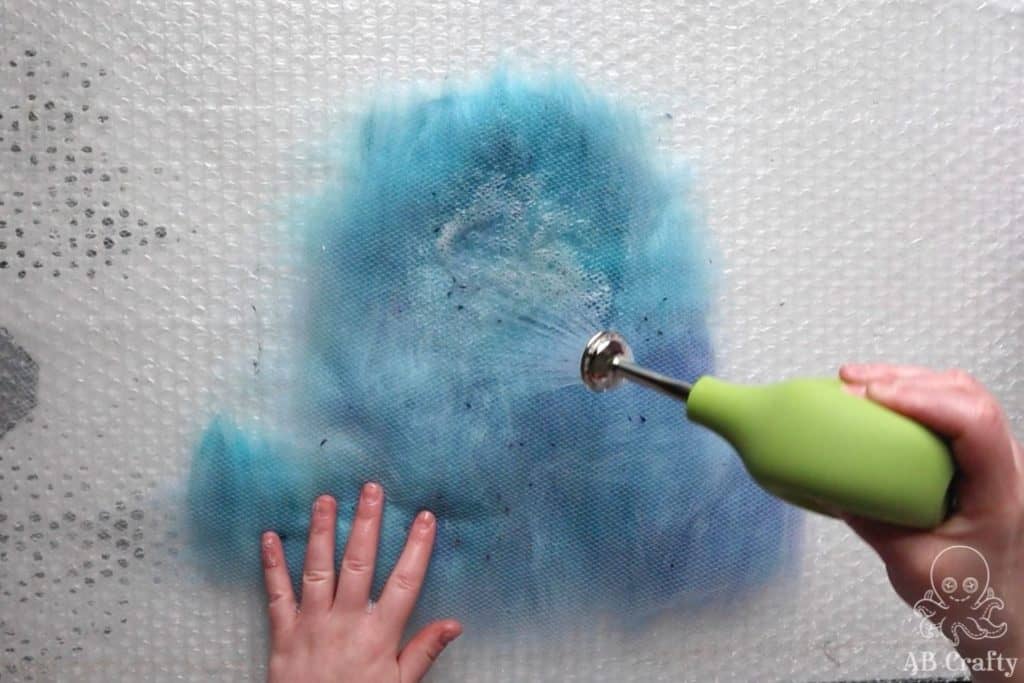
Gently press the water into the wool.
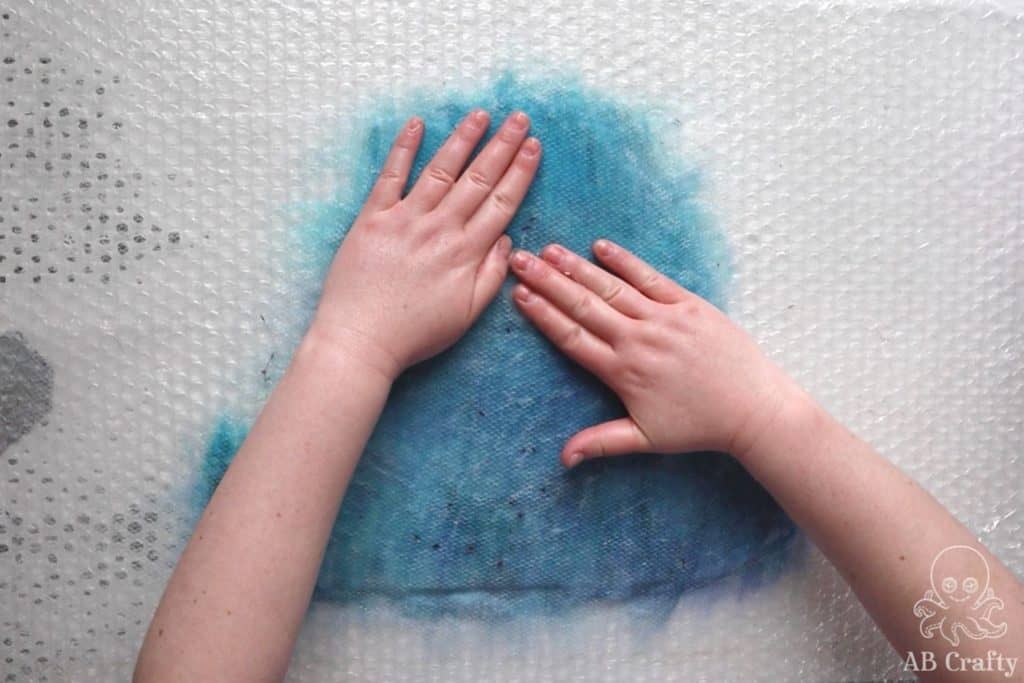
Add Wool to the Other Side of the Mini Top Hat
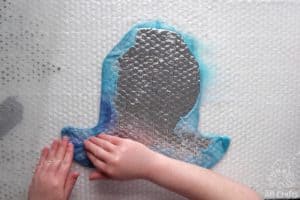
After the wool fiber is all wet, grab one end, tucking in the fiber and carefully flip it over. As you flip it over, remove the mesh netting.
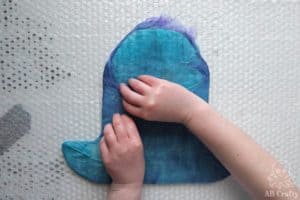
Once on the opposite side, go around the edge and fold over the wisps. Be sure that they’re pressed against the edge. If you don’t, it will felt against itself on the edge and you’ll have a crease along the edge.
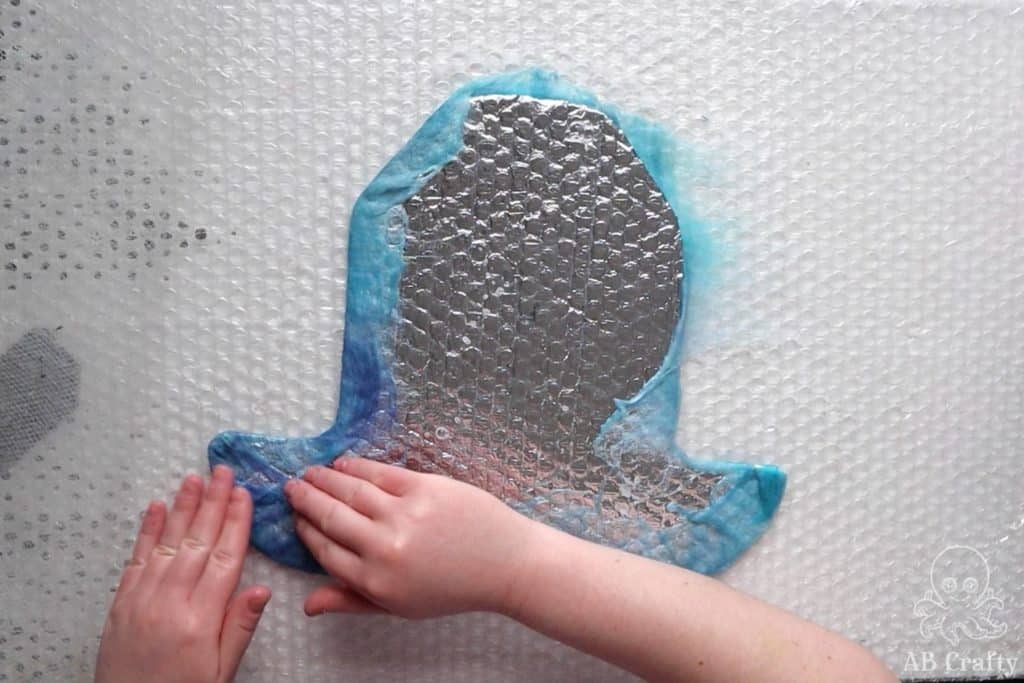
Start layering the wool on this side. Repeat the same process as before, placing the wool in the same direction that you started with on the first side and then add a second layer perpendicular to the first.
Again, make sure there are some ends of the wool hanging off the edge.
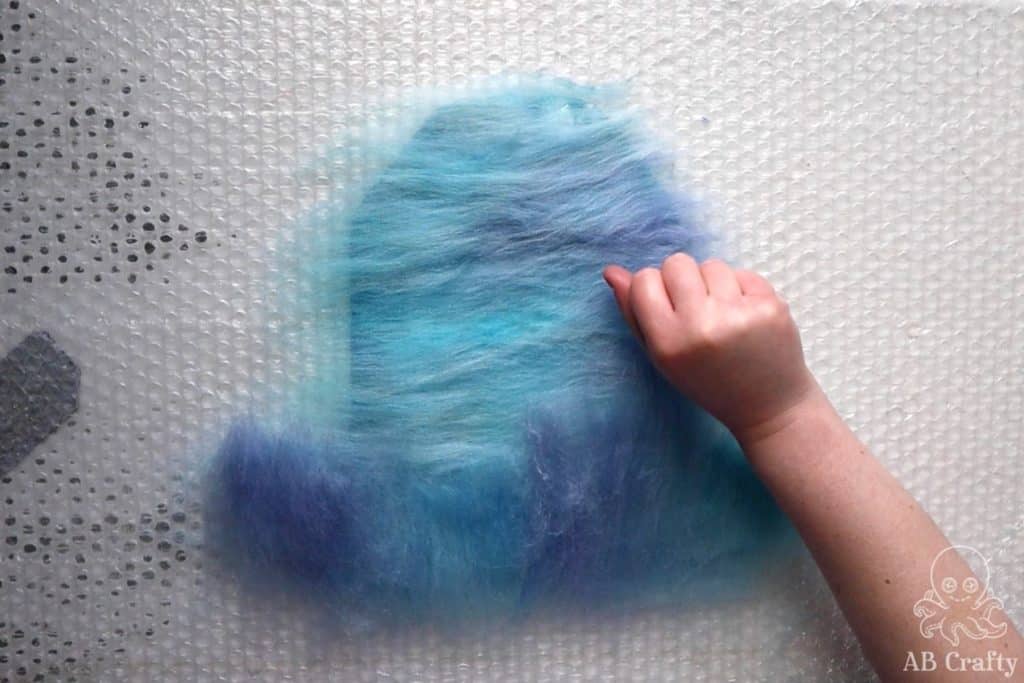
Cover it with the mesh and wet it out again. Repeat the process of flipping it over and tucking in the wisps.
Then repeat it all over again so that there are 4 layers of wool in total on each side. However, for the next layers, put less towards the edge. Otherwise it will be too bulky along the edge.
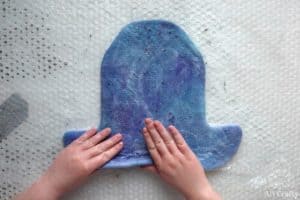
Once you complete all the layers, cover it with the mesh and get your hands nice and soapy. Gently rub across the top for a few minutes to create a skin to the top layer of wool.
Tip: Lift up the mesh occasionally to make sure the wool isn’t sticking to it. If it is, use less pressure.
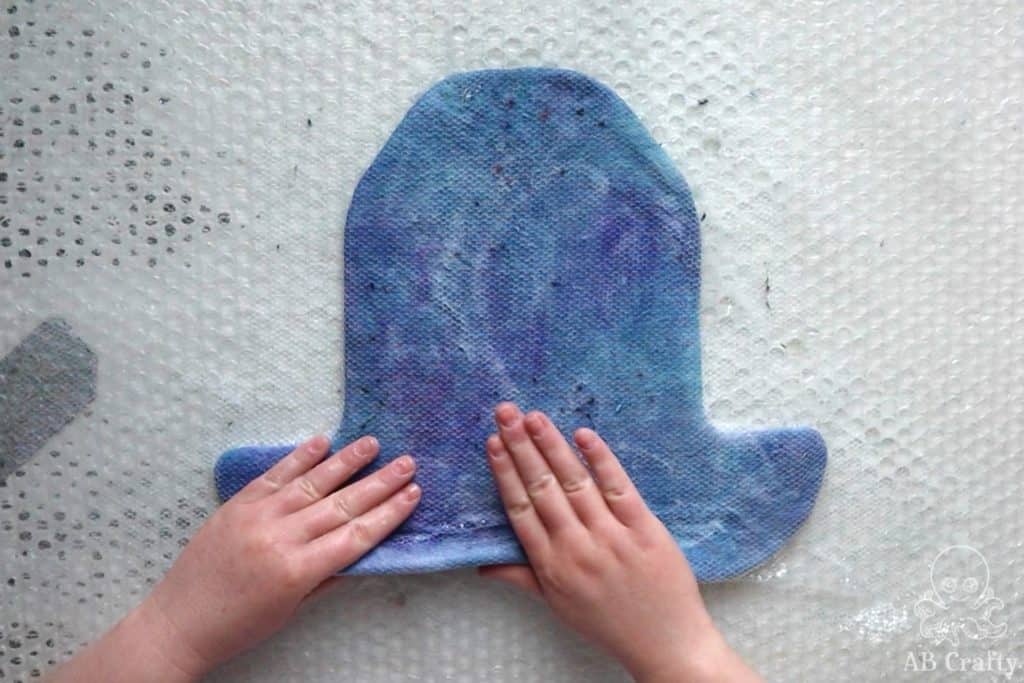
Start Felting the Mini Top Hat
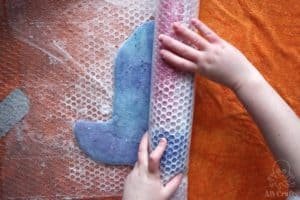
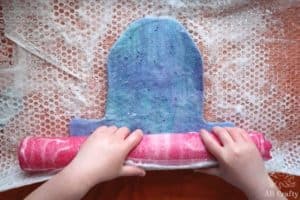
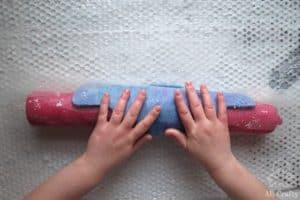
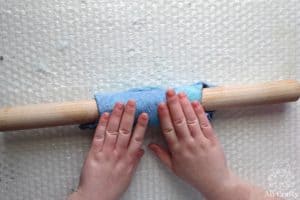
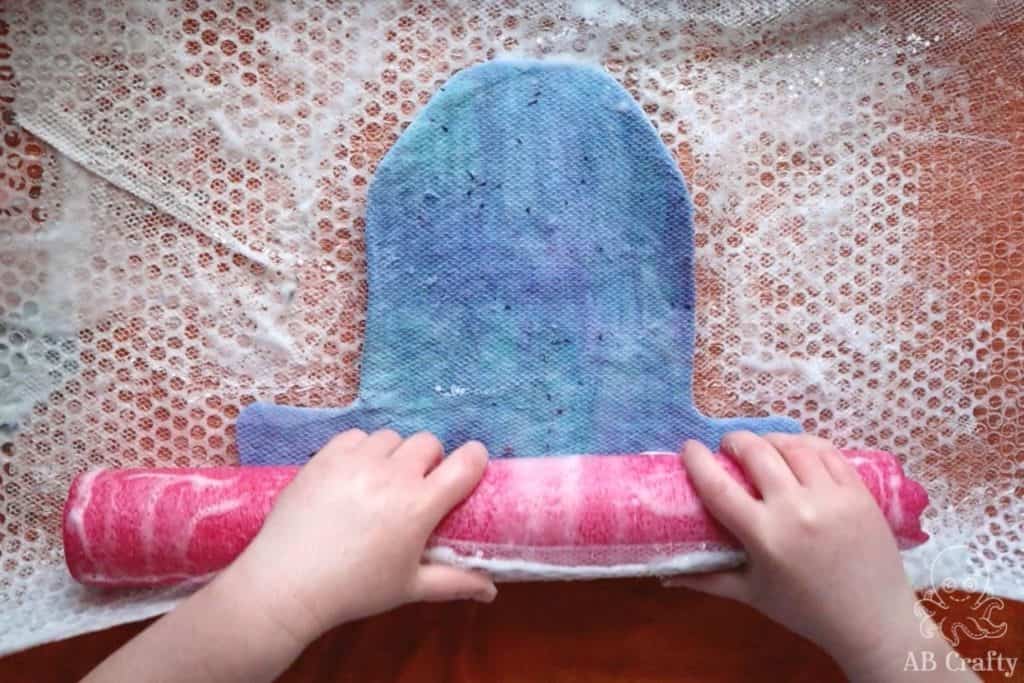
Once the wool isn’t sticking to the mesh, it’s time to start felting. Place the pool noodle to one side of the bubble wrap and roll it all around the noodle. Roll the towel around everything.
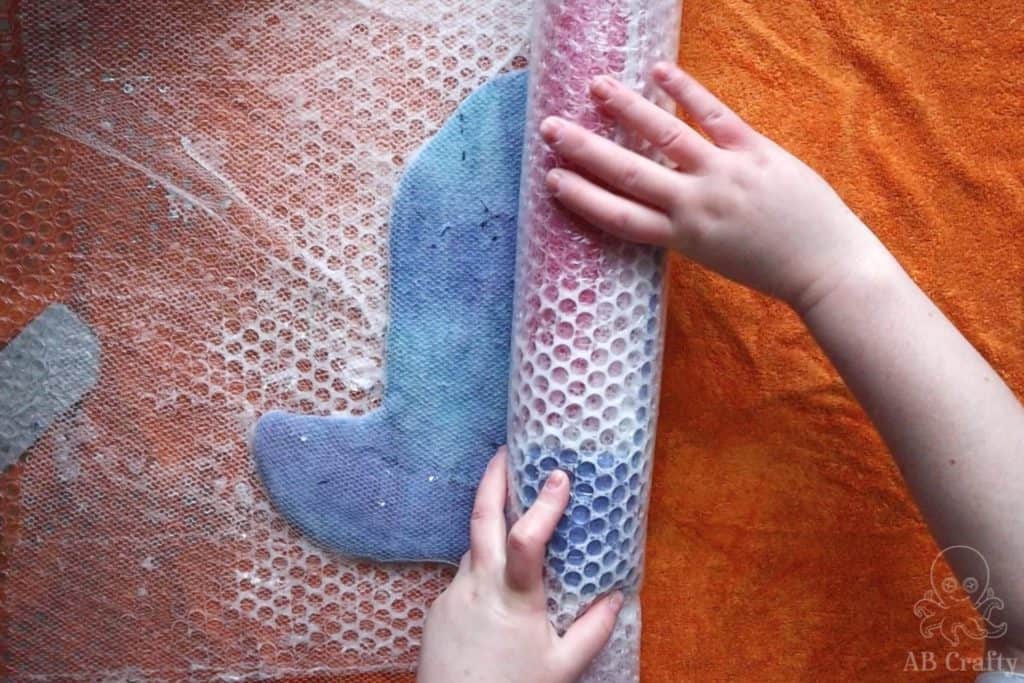
Roll it 100 times. I like to roll it 25 times, just the distance of my hands. Then I give the log a quarter turn and repeat until I get 100 turns.
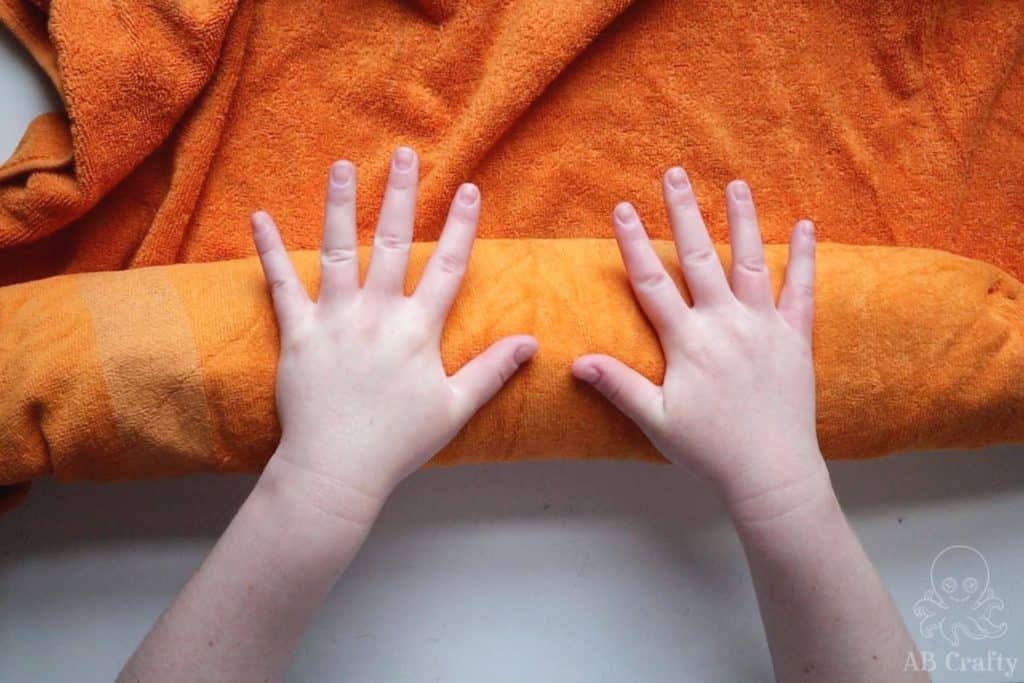
Then unroll it all, check the mesh, and roll from the bottom.
Repeat the process so that you roll from all 4 sides. Then flip the hat over and roll from all 4 sides again. Yes, it’s a lot of rolling! I definitely recommend watching a show or listening to a podcast while you do this.
Get the latest DIY tutorials, reviews, and crafting updates
You'll never be spammed and can unsubscribe at any time
Fulling the Wet Felted Mini Top Hat
After rolling, the wet felted hat should pass the pinch test. This is when you pinch the wool and lift up. If it comes up as one, it’s technically felted and can move to the fulling stage in which you shrink the wool. I go more into this in my full guide to wet felting.
At this fulling stage you can get more aggressive and start by rolling the hat on just a pool noodle.
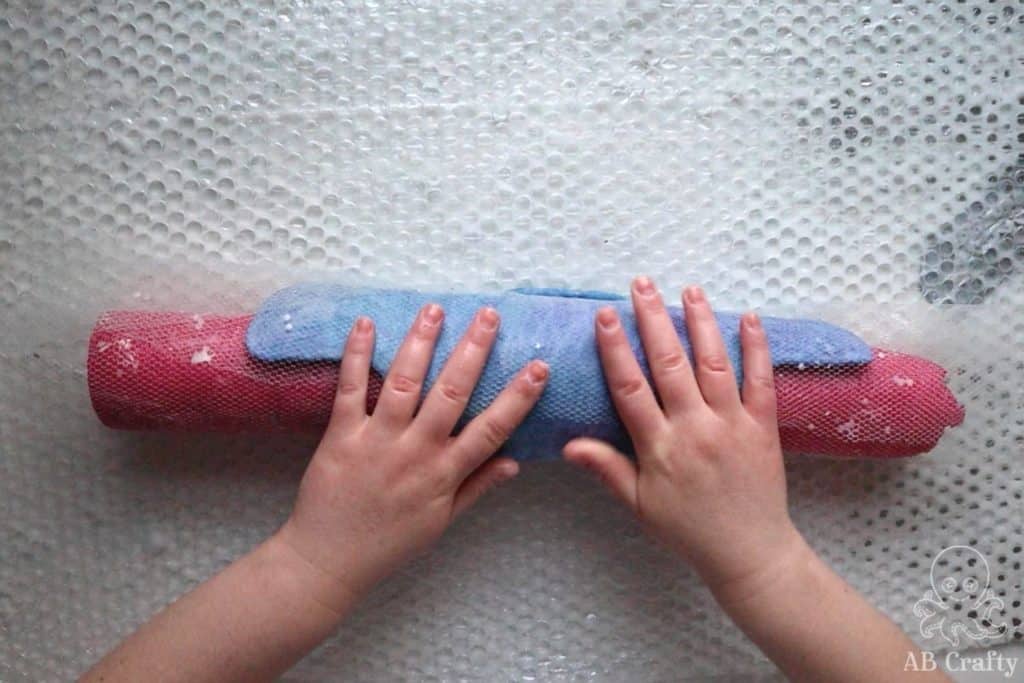
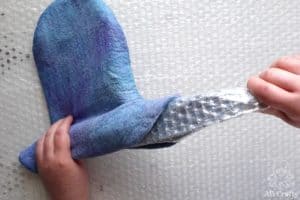
Once you can feel it shrinking down and can feel the resist is now to small, remove the resist.
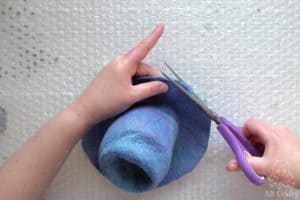
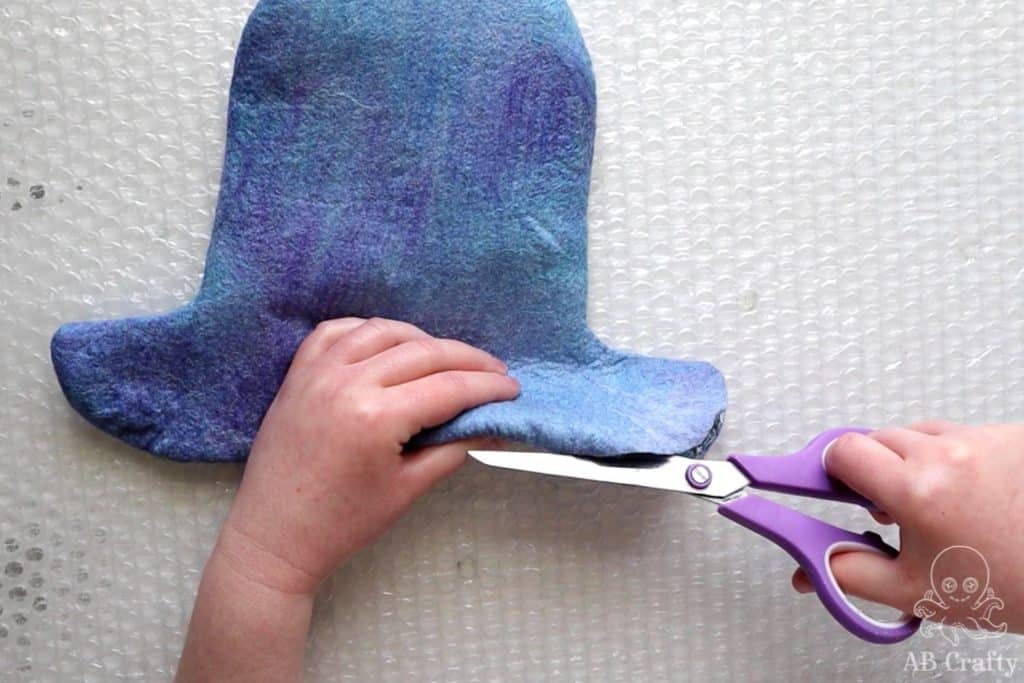
Cut the bottom of the hat from each corner. Be careful not to cut the resist if you want to use it again.
Pull out the resist.
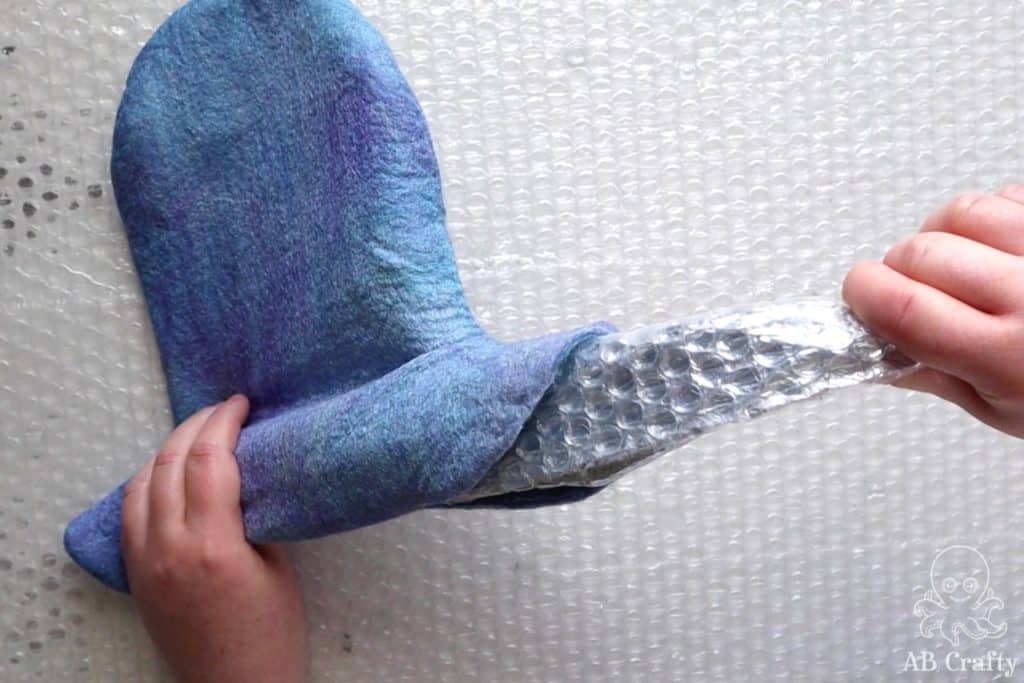
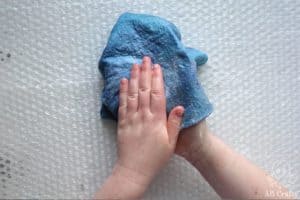
Flip the wet felted hat inside out. Then get your hands nice and soapy again and rub the inside of the hat (now on the outside). You again want to create a layer of felted skin.
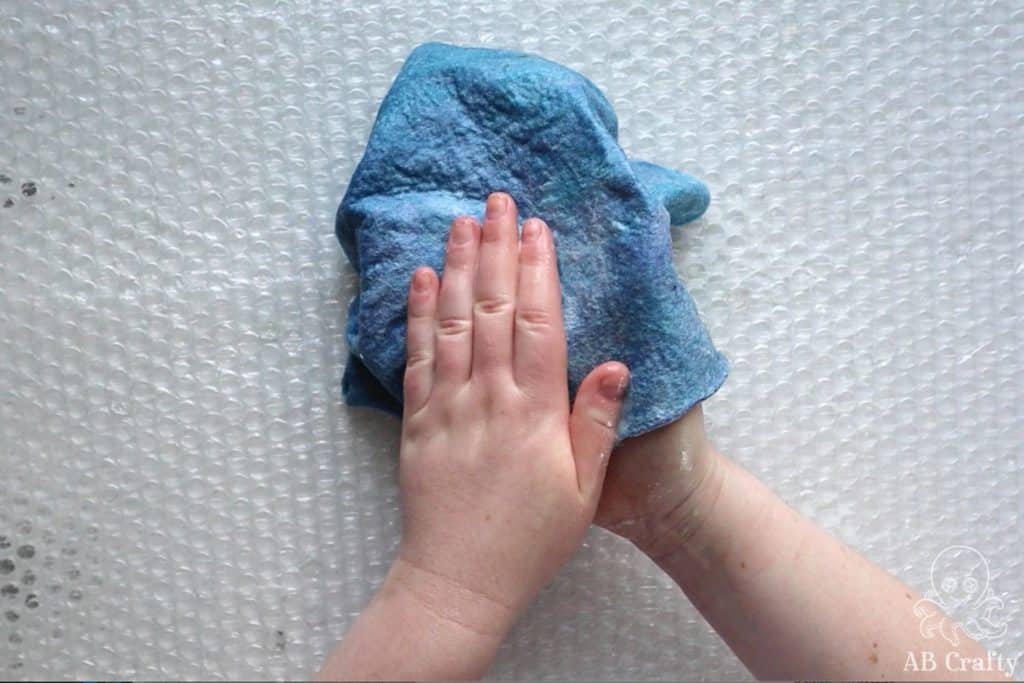
Now it’s time to really shrink it down using whichever wet felting technique you would like. I go over various methods in my ultimate guide to wet felting.
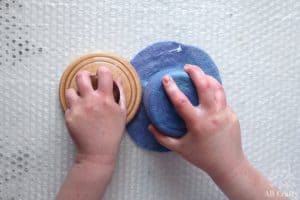
I personally like to start by using a wooden dowel. Just as before, make sure to roll it evenly from all sides.
Tip: Rub along the sides to smooth out an seam that may have formed.
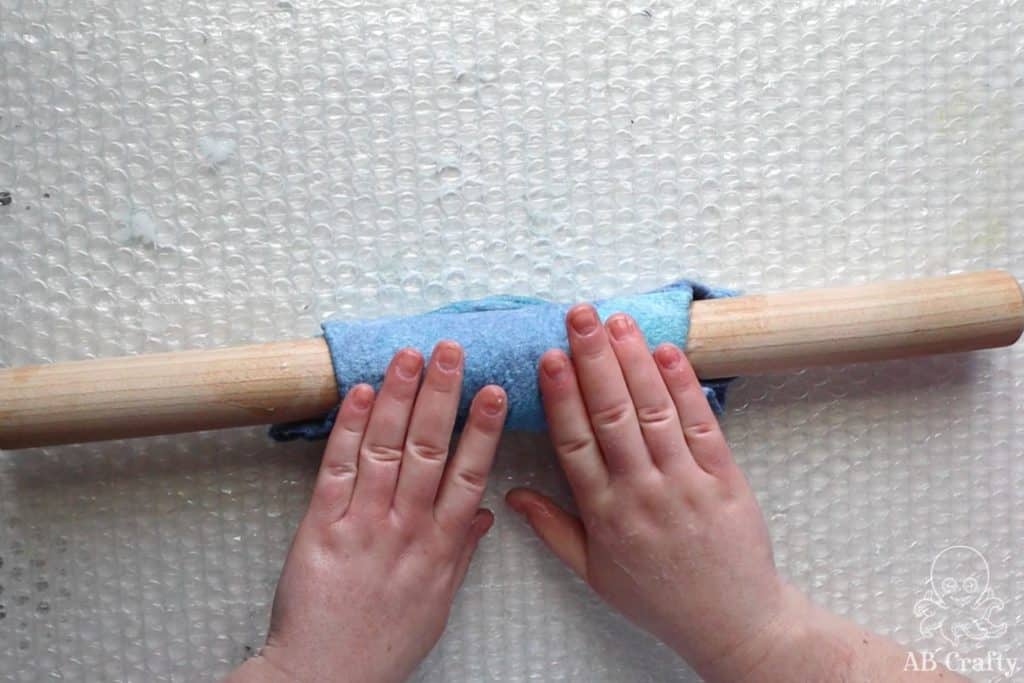
Shape the Mini Top Hat with the Hat Form
I’ve specifically created this wet felted mini top hat to be made using a hat form that you may already have at home. Make sure you clean the frosting container before using it.
Place the container upside down onto the table.
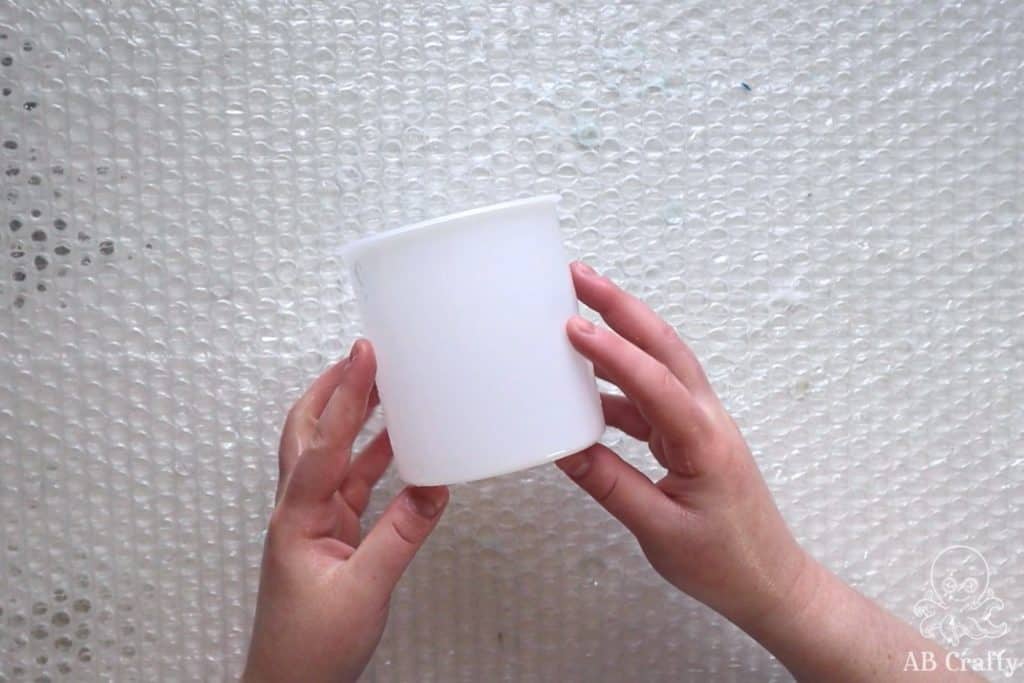
When the hat has shrunk a good amount, pull it over the frosting container hat form.
Trim the brim so it’s even all around.
Note: It’s okay if it’s not fully shrunk at this point. As you can see in the photo below, there’s still a lot of room on top.
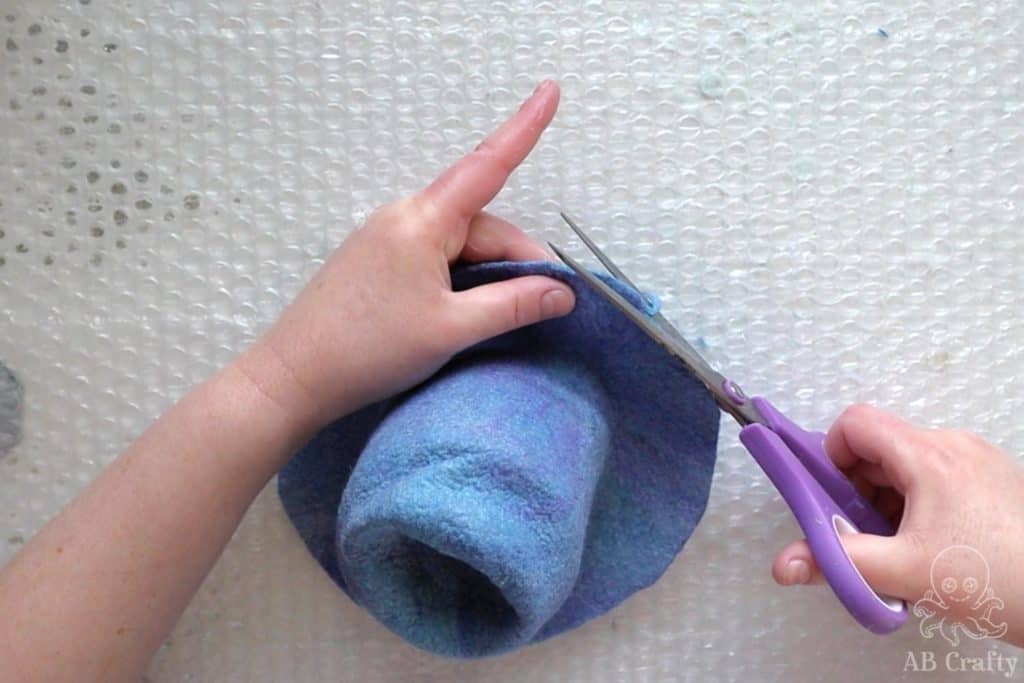
Continue fulling and shrinking the hat. Eventually it’ll get to the point where you’ll need to keep it on the hat form and rub all around it. I find using a palm washboard really helps finish it off, especially the top. This is the one I have.
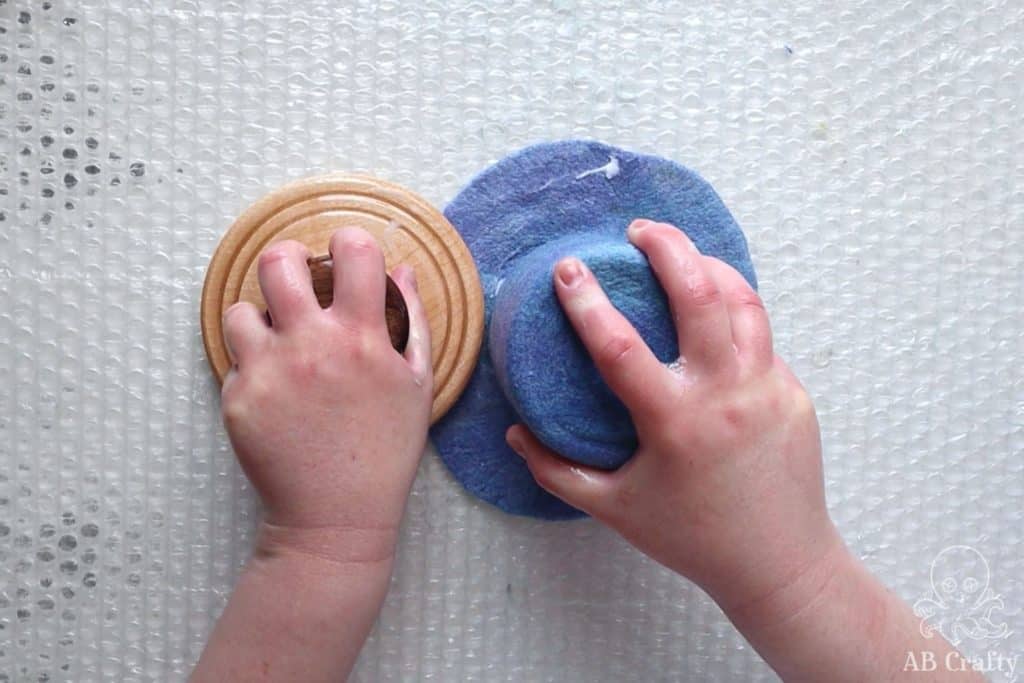
The last thing to do is to heal the edge of the brim. Get your hands soapy and rub the brim so it’s no longer a rough edge.
Tip: The sooner you cut the brim, the more time it’ll have to heal itself while you continue felting and fulling. But you don’t want to cut it too soon in case you end up cutting off too much and the brim isn’t as big as you want.
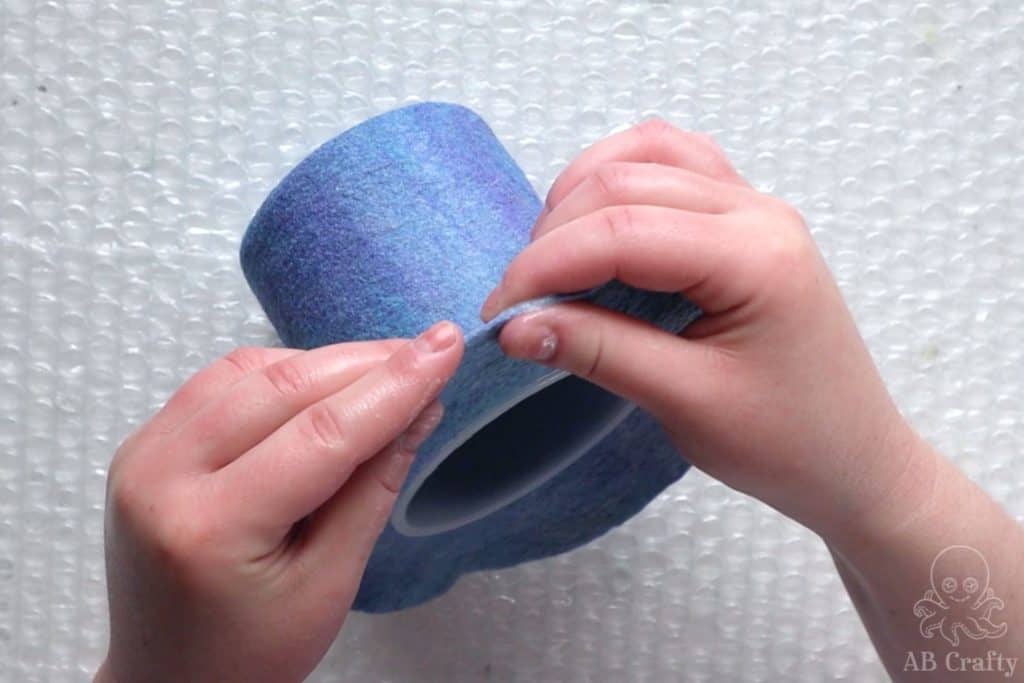
Finish the Wet Felted Mini Top Hat
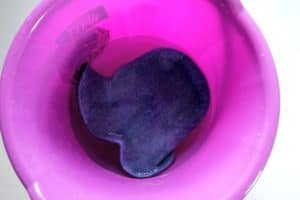
Once you like look how it looks, rinse the felted mini top hat and then soak it in water with a splash of vinegar. This brings the wool back up to it’s normal acidity so it’s more durable and brings back some of the shine.
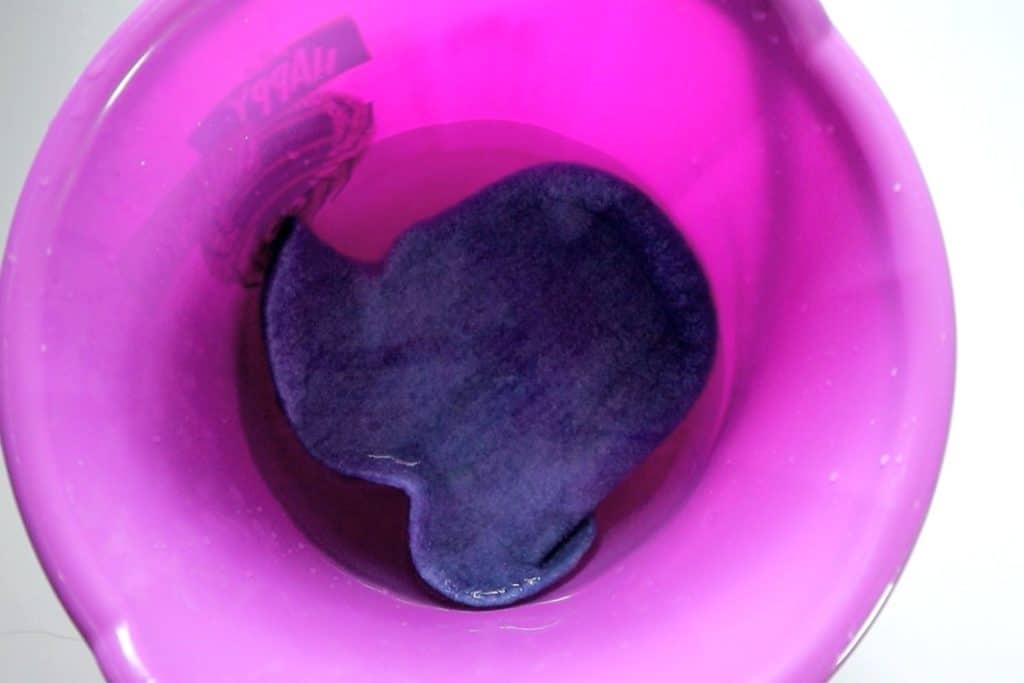
Squeeze out the excess water or run it through a spin dryer (this is the one I have).
Then pull it over the hat form and let it dry completely.
Tip: After letting it dry and removing the hat form, the inside might still be a little wet so let the inside continue to dry.
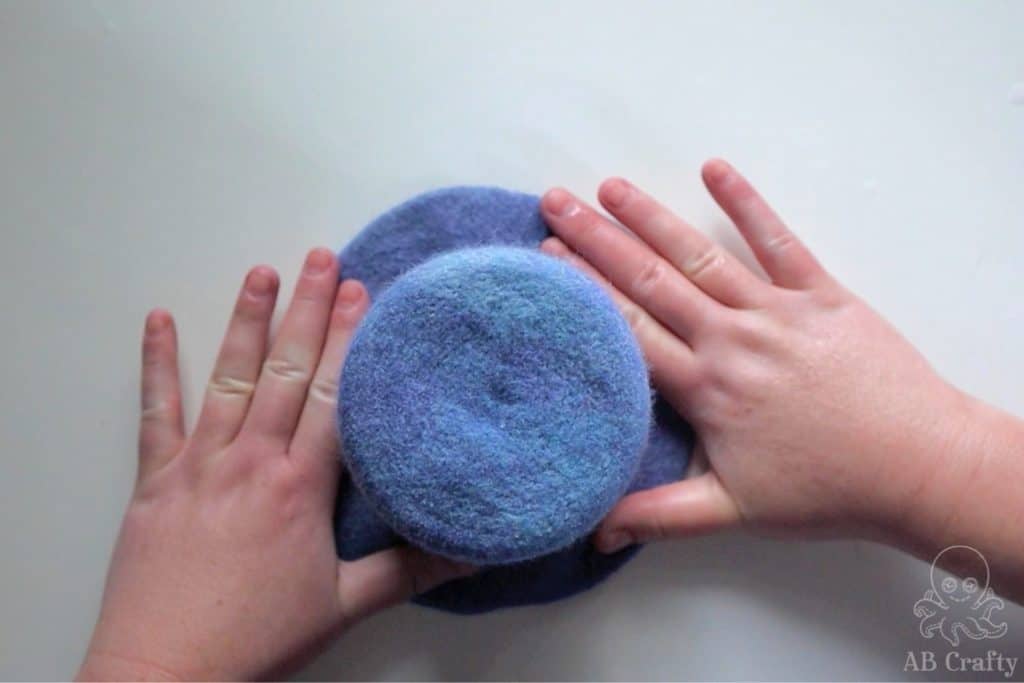
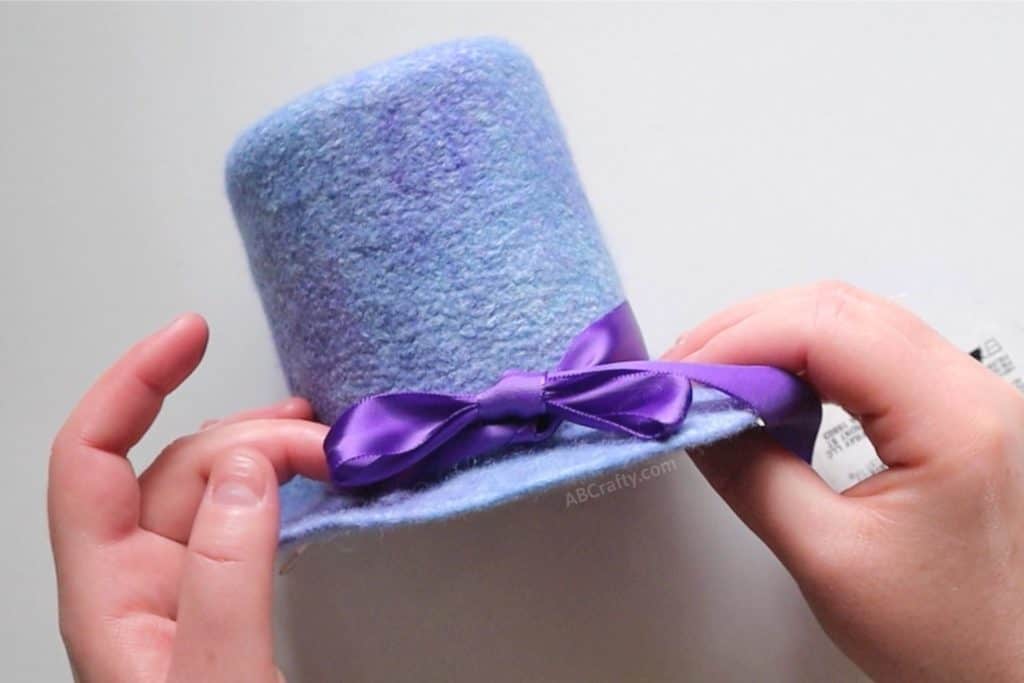
To complete the look you can also wrap a ribbon around it and tie it into a bow. I personally preferred this one without the bow so I ended up taking it off to keep it as a simple blue mini hat.
If you make your own tiny hat, I’d be absolutely love to see it! Tag me on Instagram @ab.crafty!
Get the latest DIY tutorials, reviews, and crafting updates
You'll never be spammed and can unsubscribe at any time
How to Keep the Mini Hat on Your Head
Unless you have incredible mini hat wearing skills, chances are you’ll want to attach either a clip or headband to that. Here are the instructions to add either, depending on which you prefer.
Add a Hair Clip to the Wet Felted Mini Top Hat
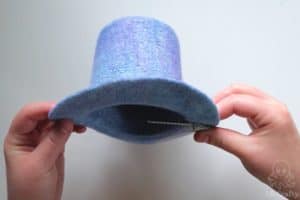
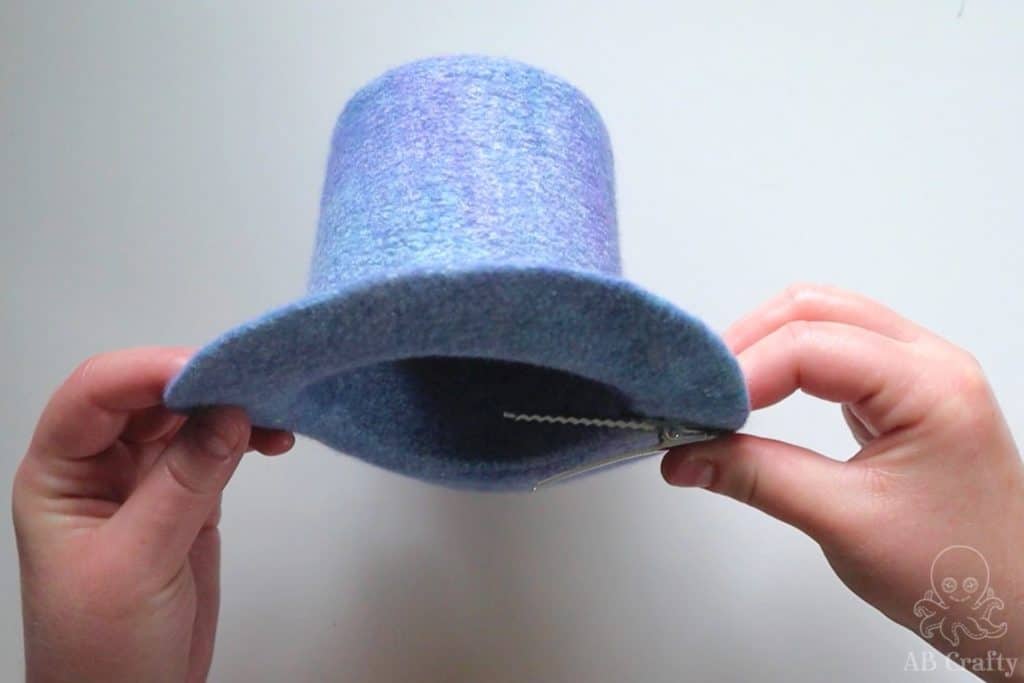
Take an alligator hair clip (this is the set I have) and use a glue gun to glue it to the bottom of the brim.
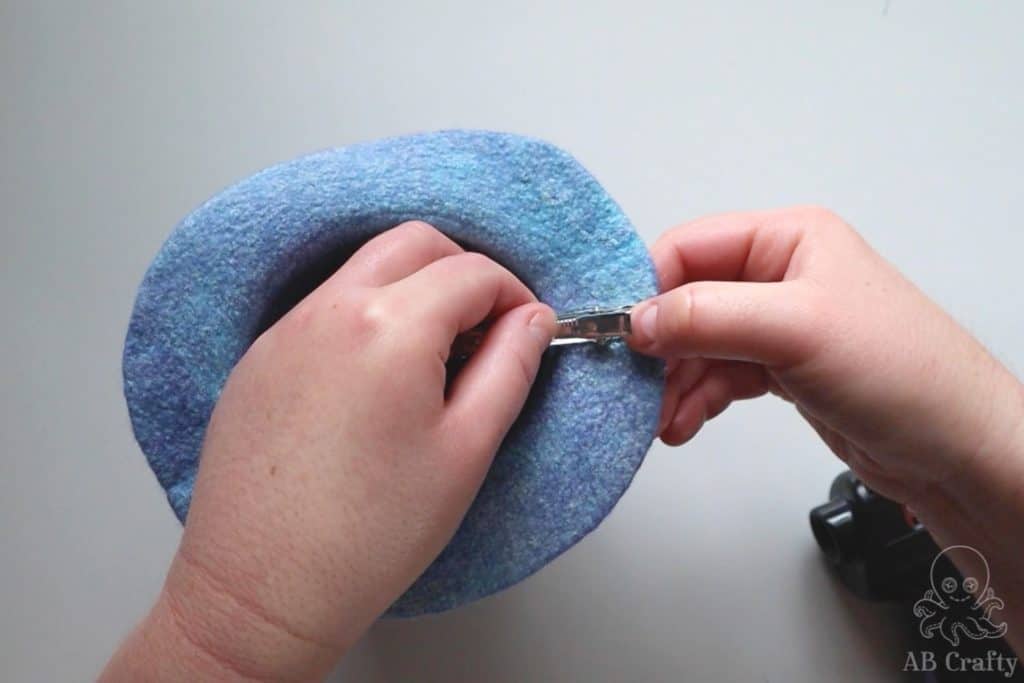
Now you’ll be able to easily clip it to your hair!
Make the Wet Felted Hat into a Headband
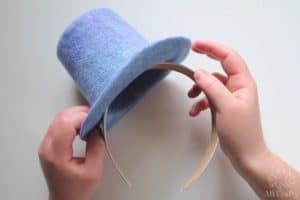
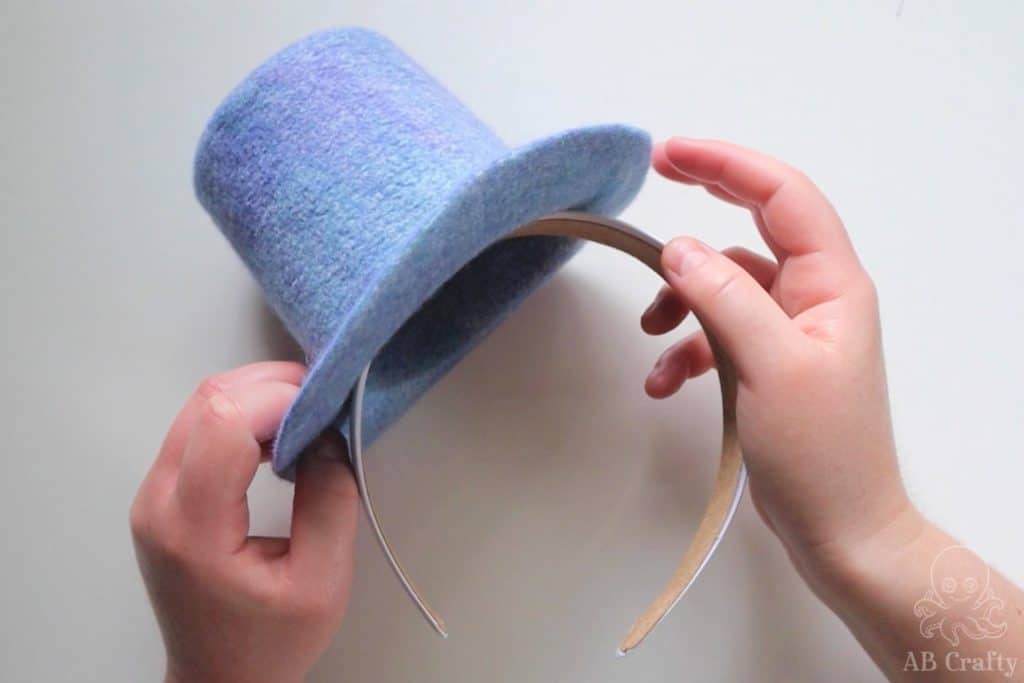
If a headband is more your thing, that’s also an option. Take a satin headband (this is the one I use) and glue the hat at a slight angle with a glue gun.
Add the glue to the inside/bottom of the hat where the headband touches.
Finished Wet Felted Tiny Hats
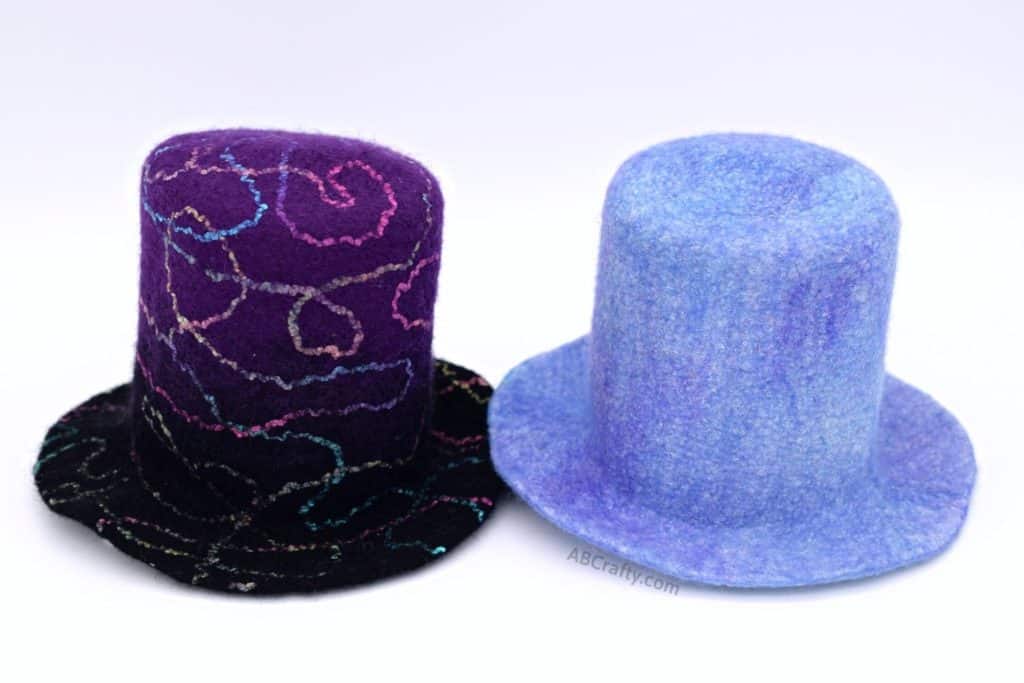
Here’s the finished wet felted tiny hat next to another one I’ve made using black and purple wool. Then it’s top with rainbow silk yarn (similar to this one).
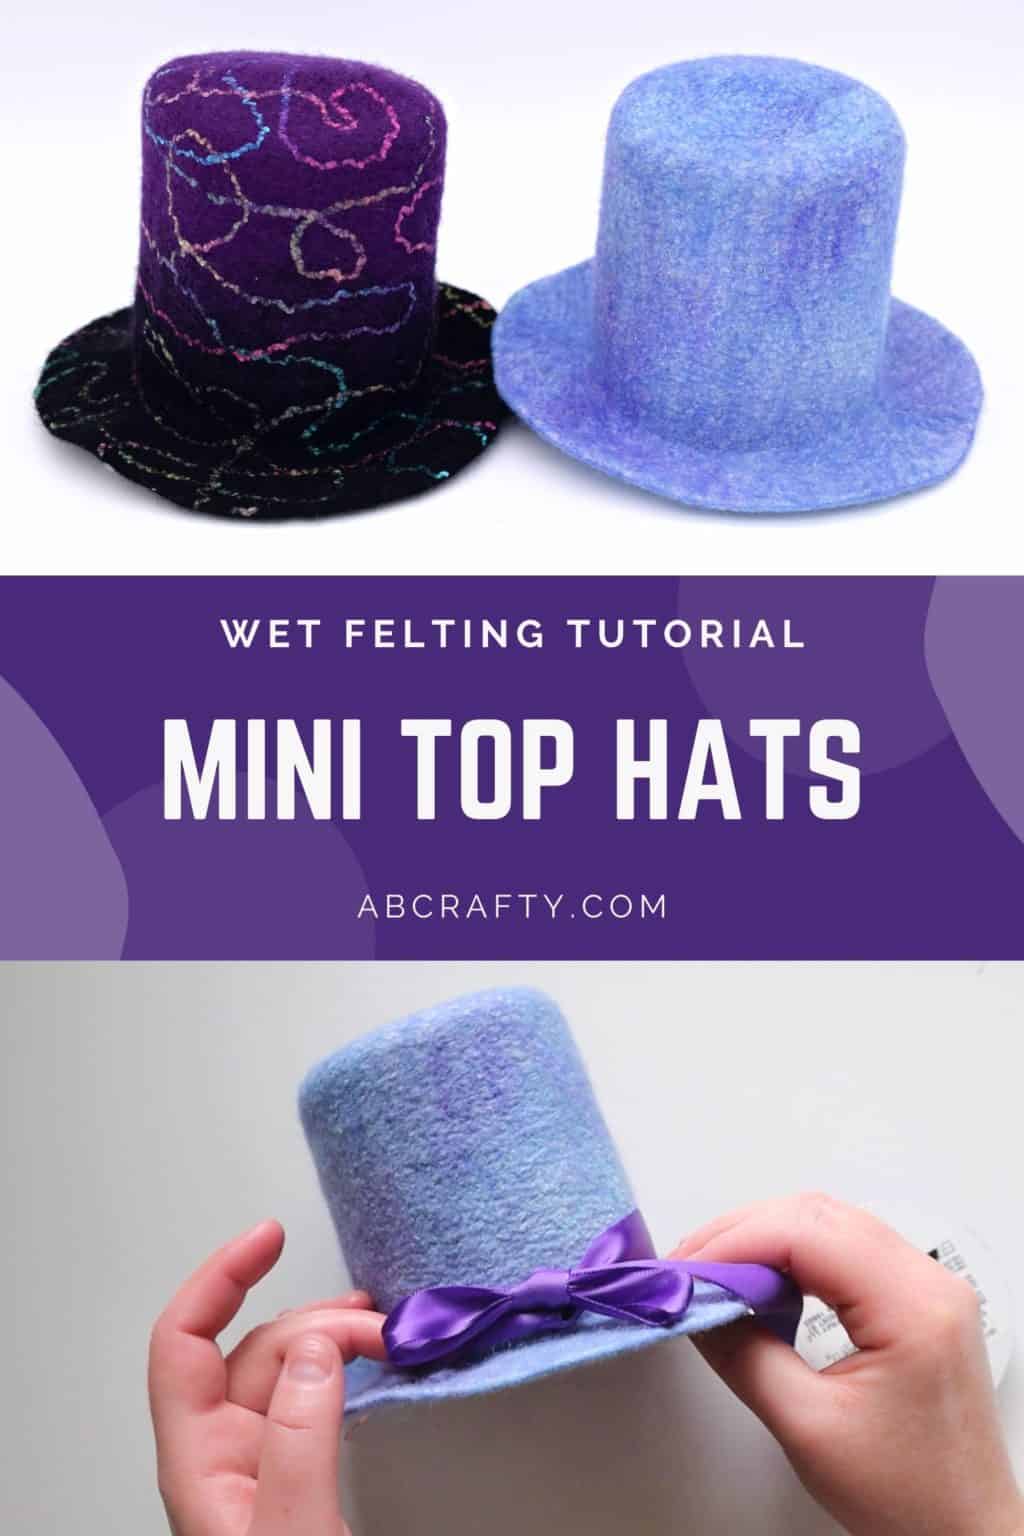
Pin it so you can come back and make your own mini top hat!
More Felting Projects and Fiber Crafts
Get the latest DIY tutorials, reviews, and crafting updates
You'll never be spammed and can unsubscribe at any time
Wet Felted Mini Top Hat
Materials
- 0.5-1 oz Wool Fiber Make sure it's not labelled "superwash" or the wool won't felt.
- Olive Oil Soap
- 1 Frosting Container
- Resist Material
- Resist Template Download link is in the notes
- Ribbon Optional
- 1 Alligator Clip Optional
- 1 Headband Optional
Equipment
- Bubble Wrap
- Mesh Fabric
- Pool Noodle
- Towel
- Wooden Dowel (optional)
- Palm Washboard (optional)
- Glue gun
Instructions
Make the resist using the printable mini top hat pattern
- Download and print the free pattern to make the resist. (be sure to print it out full sized without margins). Cut out the pattern.Resist Template, Resist Material
Lay Out the Wool for the Mini Hat
- Pull off a small amount of fiber at a time and lay it in one direction on top of the resist. Overlap the ends of the wool and make sure the wisps hang off the side a bit.0.5-1 oz Wool Fiber
- Lay down another layer of fiber, perpendicular to the first.
- Cover the wool with the mesh fabric and wet it with water mixed with olive oil soap. Gently press the water into the wool.Olive Oil Soap
- Flip it over and go around the edge and fold over the wisps.
- Layer wool on this side. Again, two layers of wool in opposite directions.
- Cover it with the mesh and wet it out again. Repeat the process of flipping it over and tucking in the wisps. Then repeat it all over again so that there are 4 layers of wool in total on each side.
- Once you complete all the layers, cover it with the mesh and get your hands nice and soapy. Gently rub across the top for a few minutes to create a skin to the top layer of wool.
Wet Felting the Mini Hat
- Place the pool noodle to one side of the bubble wrap and roll it all around the noodle. Roll the towel around everything.
- Roll it evenly 100 times. More tips for rolling can be found in my ultimate guide to wet felting.
- Unroll it and then roll it up again from the bottom. Repeat this from each side. Then flip it the hat over and repeat the rolling process again from all 4 sides.
Fulling the Hat
- After rolling, the wet felted hat should pass the pinch test (which is when all the fibers come up at once if you pinch it). Then you can be more aggressive and roll around just the pool noodle.
- Once you can feel it shrinking down and can feel the resist is now to small, remove the resist by cutting the bottom.
- Rub the inside of the hat with soapy hands to make a skin.
- Full the hat however you would like, such as rolling the wet felted hat on a wooden dowel, evenly from all sides.
Shape the Mini Top Hat with the Hat Form
- When the hat has shrunk a good amount, pull it over the frosting container hat form and trim the brim.1 Frosting Container
- Rub all around the hat form to shape the hat and rub the brim so there isn't a rough edge. I find using a palm washboard really helps finish it off, especially the top. This is the one I have.
Finish the Wet Felted Hat
- Rinse the felted mini top hat and then soak it in water with a splash of vinegar.
- Squeeze out the excess water or run it through a spin dryer (this is the one I have).Then pull it over the hat form and let it dry completely.
- To complete the look you can also wrap a ribbon around it and tie it into a bow.Ribbon
Add a Hair Clip or Headband to the Wet Felted Mini Top Hat
- Take an alligator hair clip (this is the set I have) and use a glue gun to glue it to the bottom of the brim.1 Alligator Clip
- Or you can make it into a headband. Take a satin headband (this is the one I use) and glue the hat at a slight angle with a glue gun.1 Headband

