


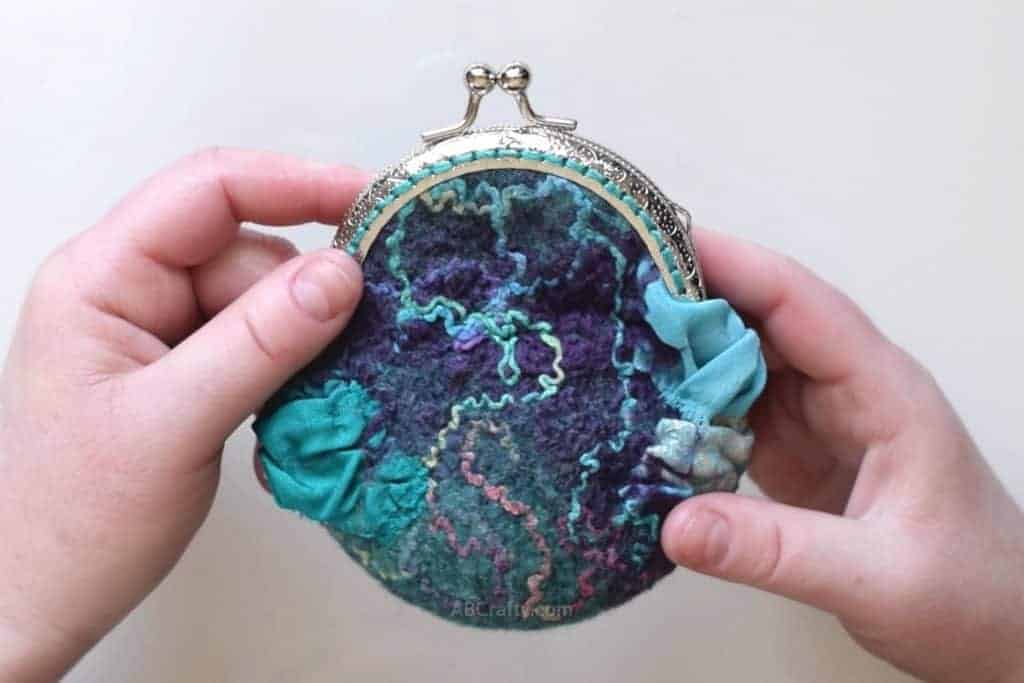
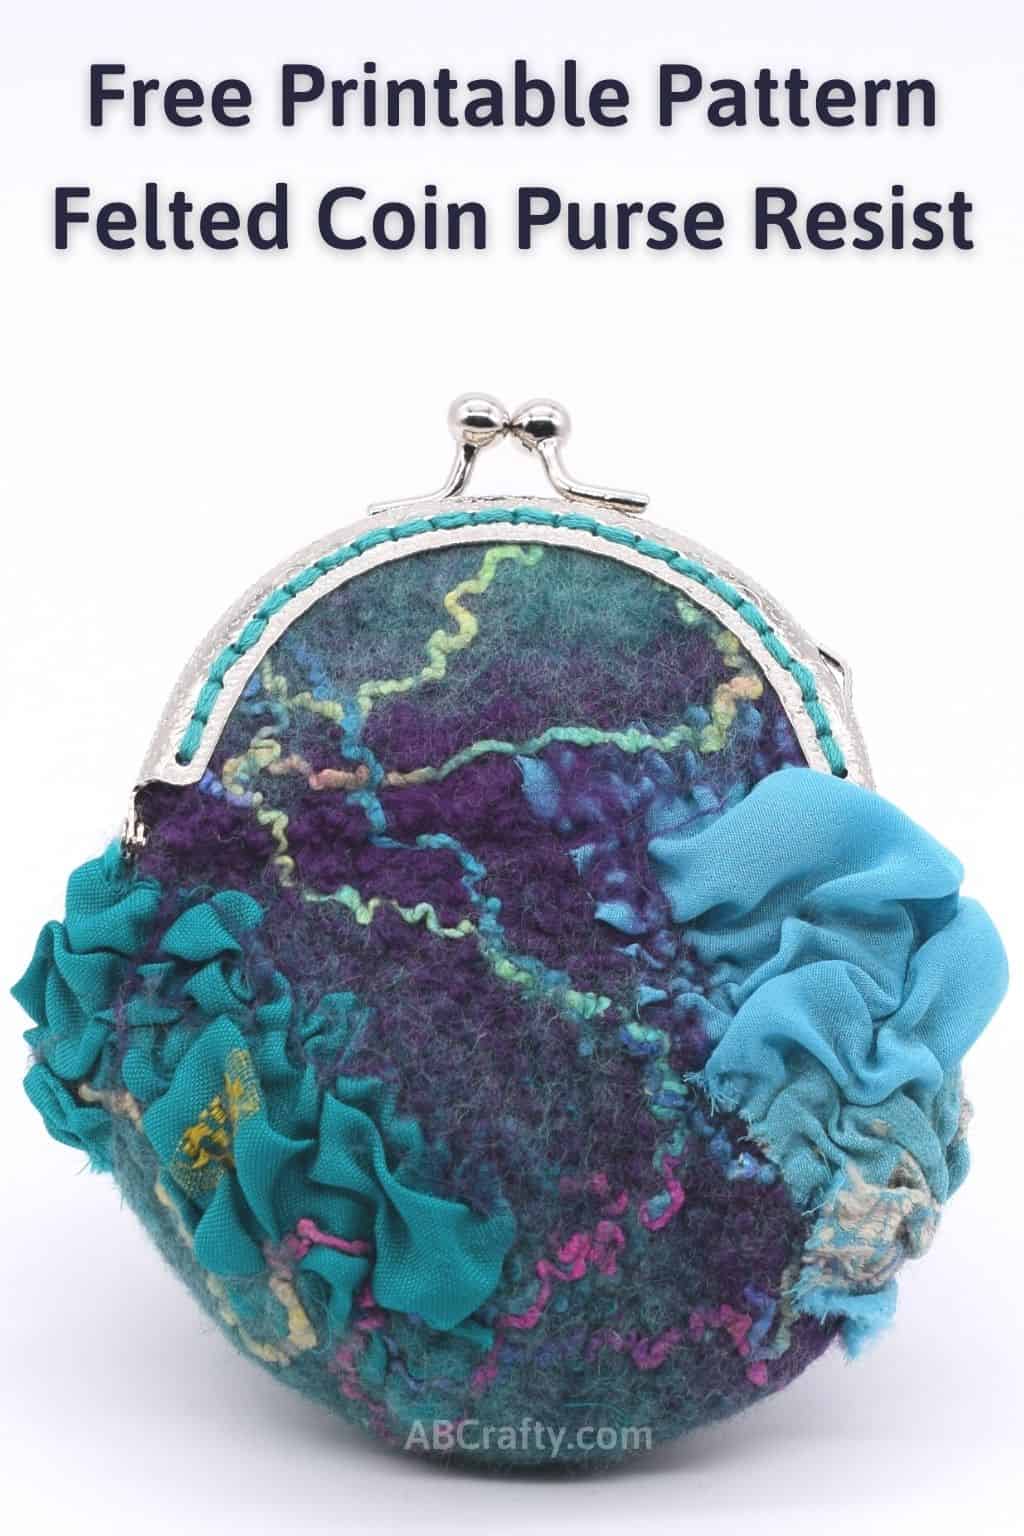
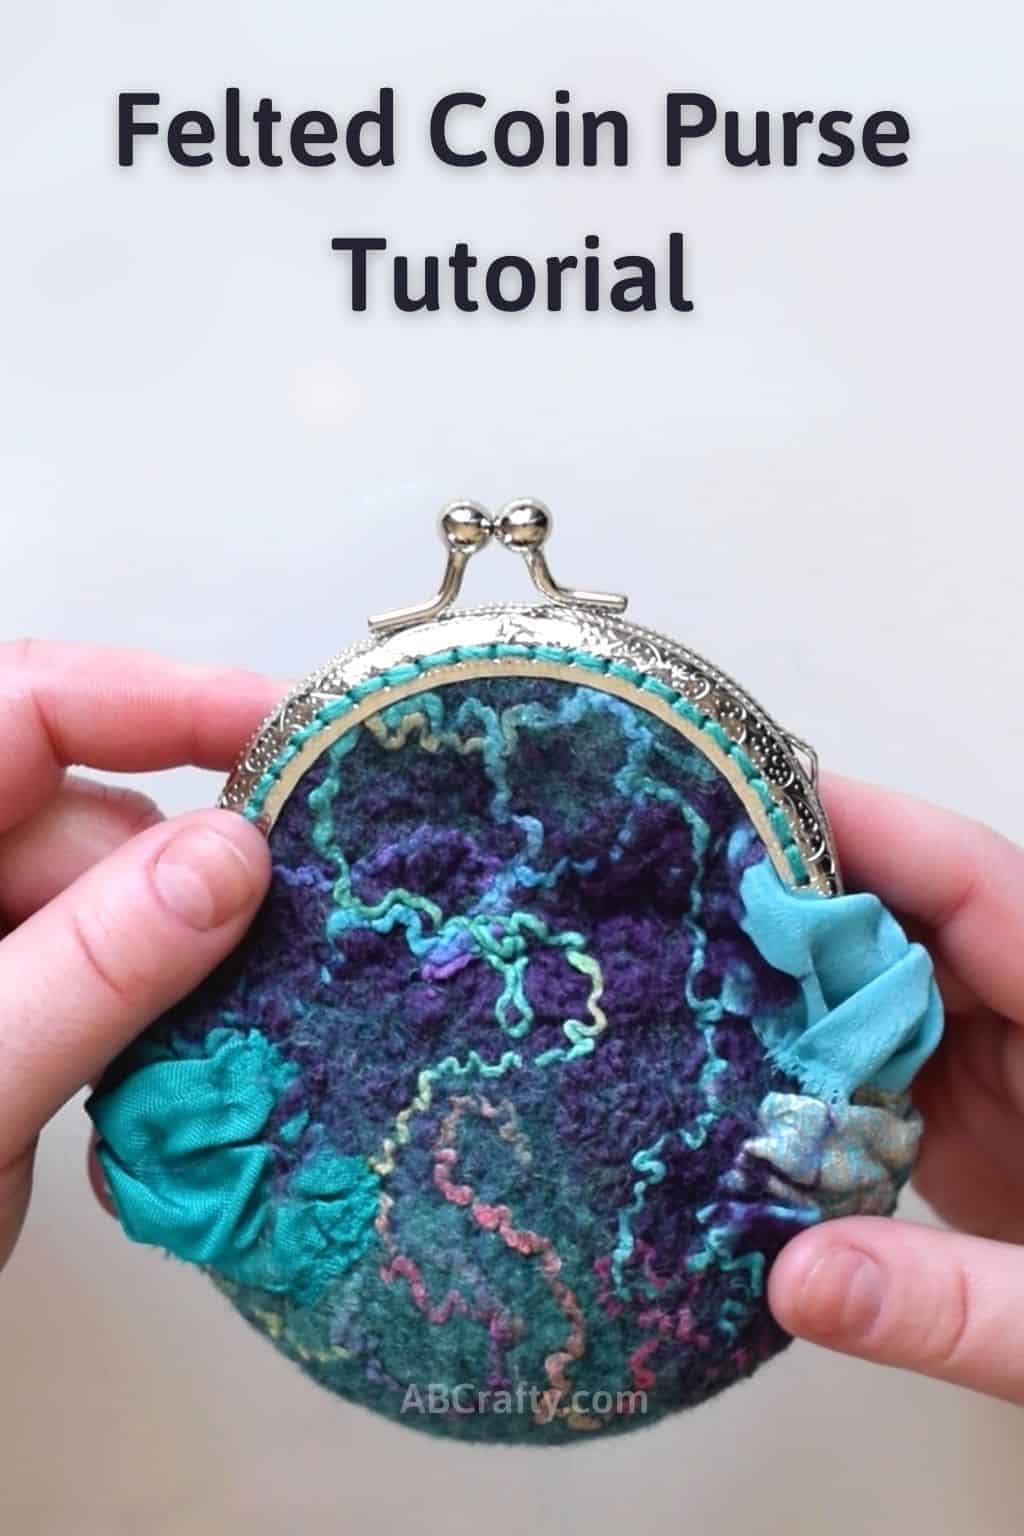


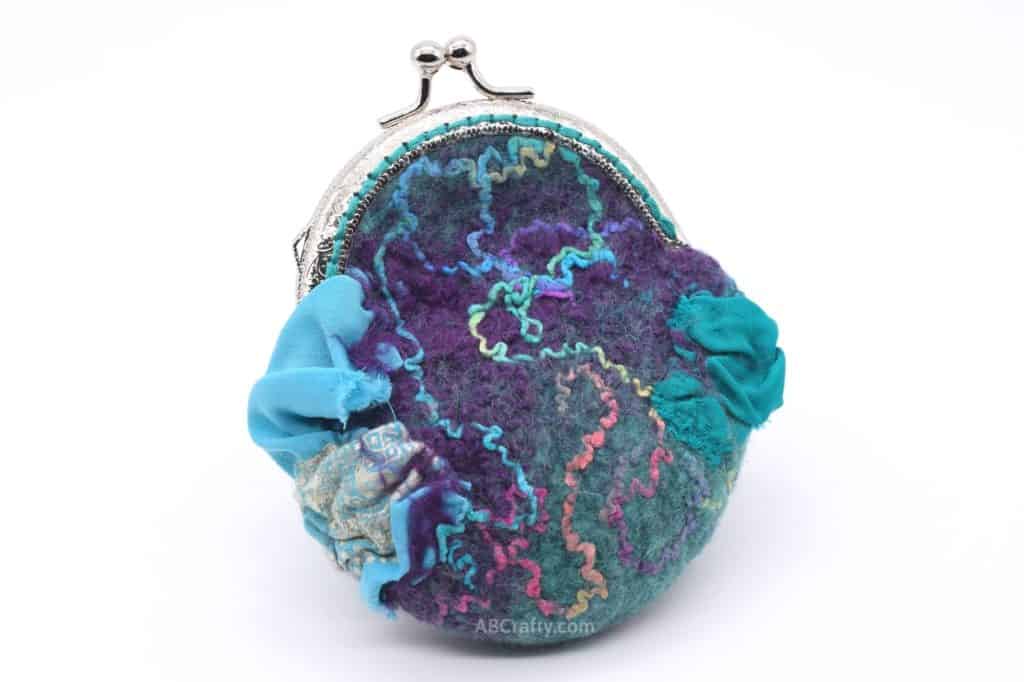
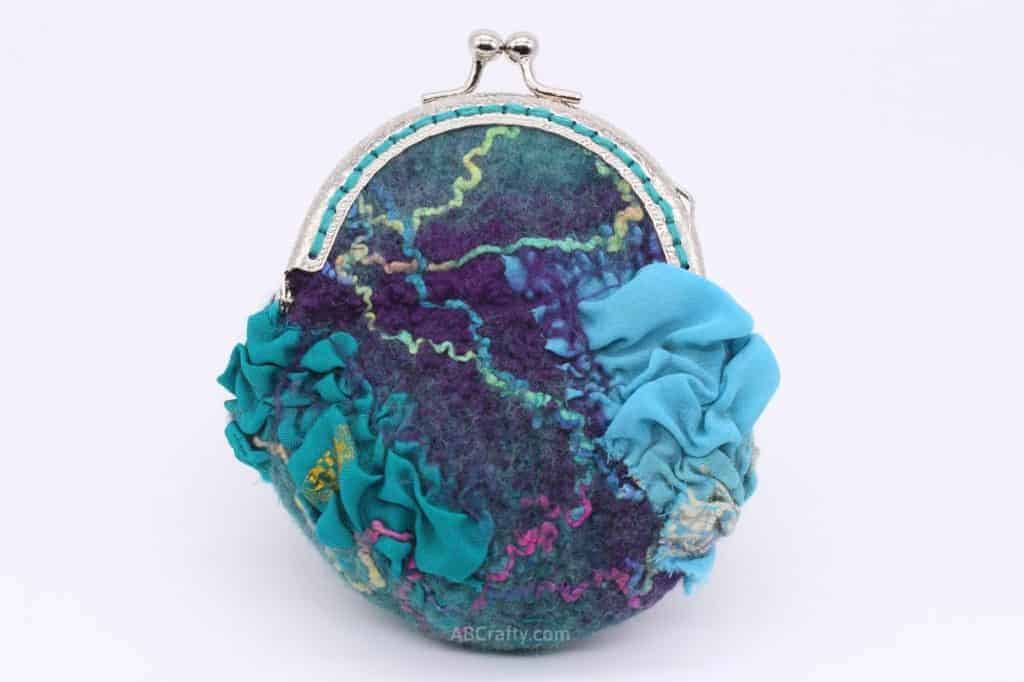
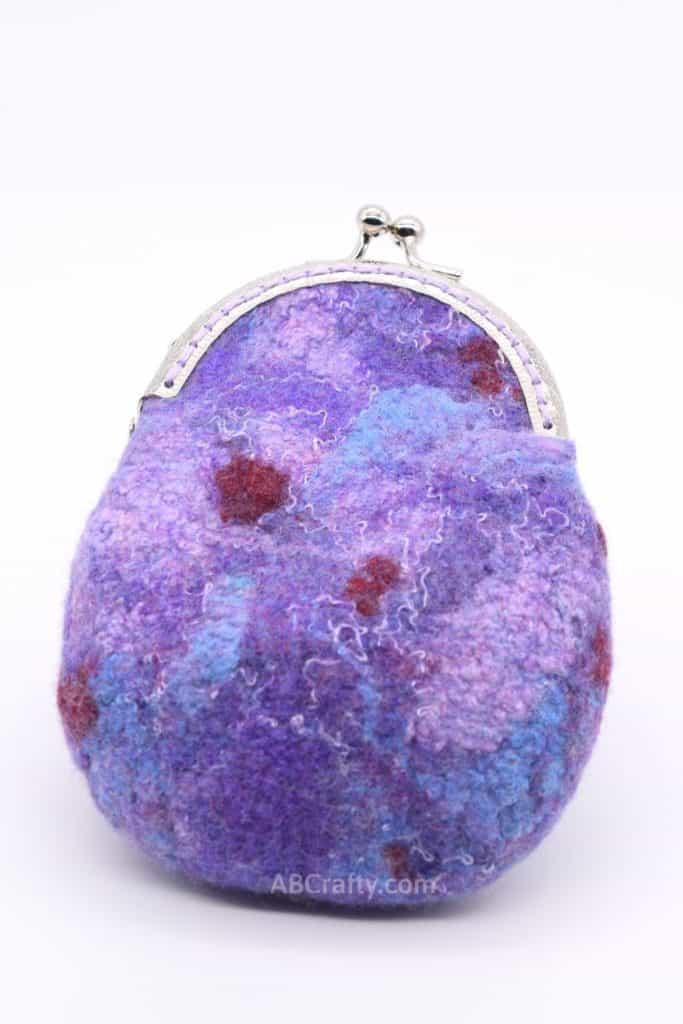
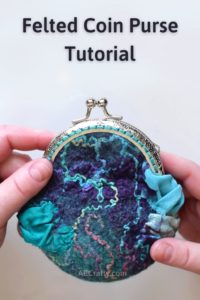
Handmade Felted Coin Purse
Learn how to make a felted coin purse using wet felting and nuno felting techniques. I also give instructions on how to attach a metal purse clasp.
Materials
- Resist Material This can be any flexible non-porous material. I personally like to use the Amazon packing material for this as well
- 0.5 oz Wool Fiber Choose one color or multiple! I used merino. Make sure whatever wool you use is NOT labelled as “SuperWash” – this is treated so that it doesn’t felt
- Sari Silk Fabric Optional
- Silk Yarn Optional
- Coin Purse Clasp
- Embroidery Thread The color should match the wool
Equipment
- Bubble Wrap
- Mesh Fabric
- Olive Oil Soap
- Pool Noodle
- Towel
- Wooden Dowel
- Embroidery Needle
Instructions
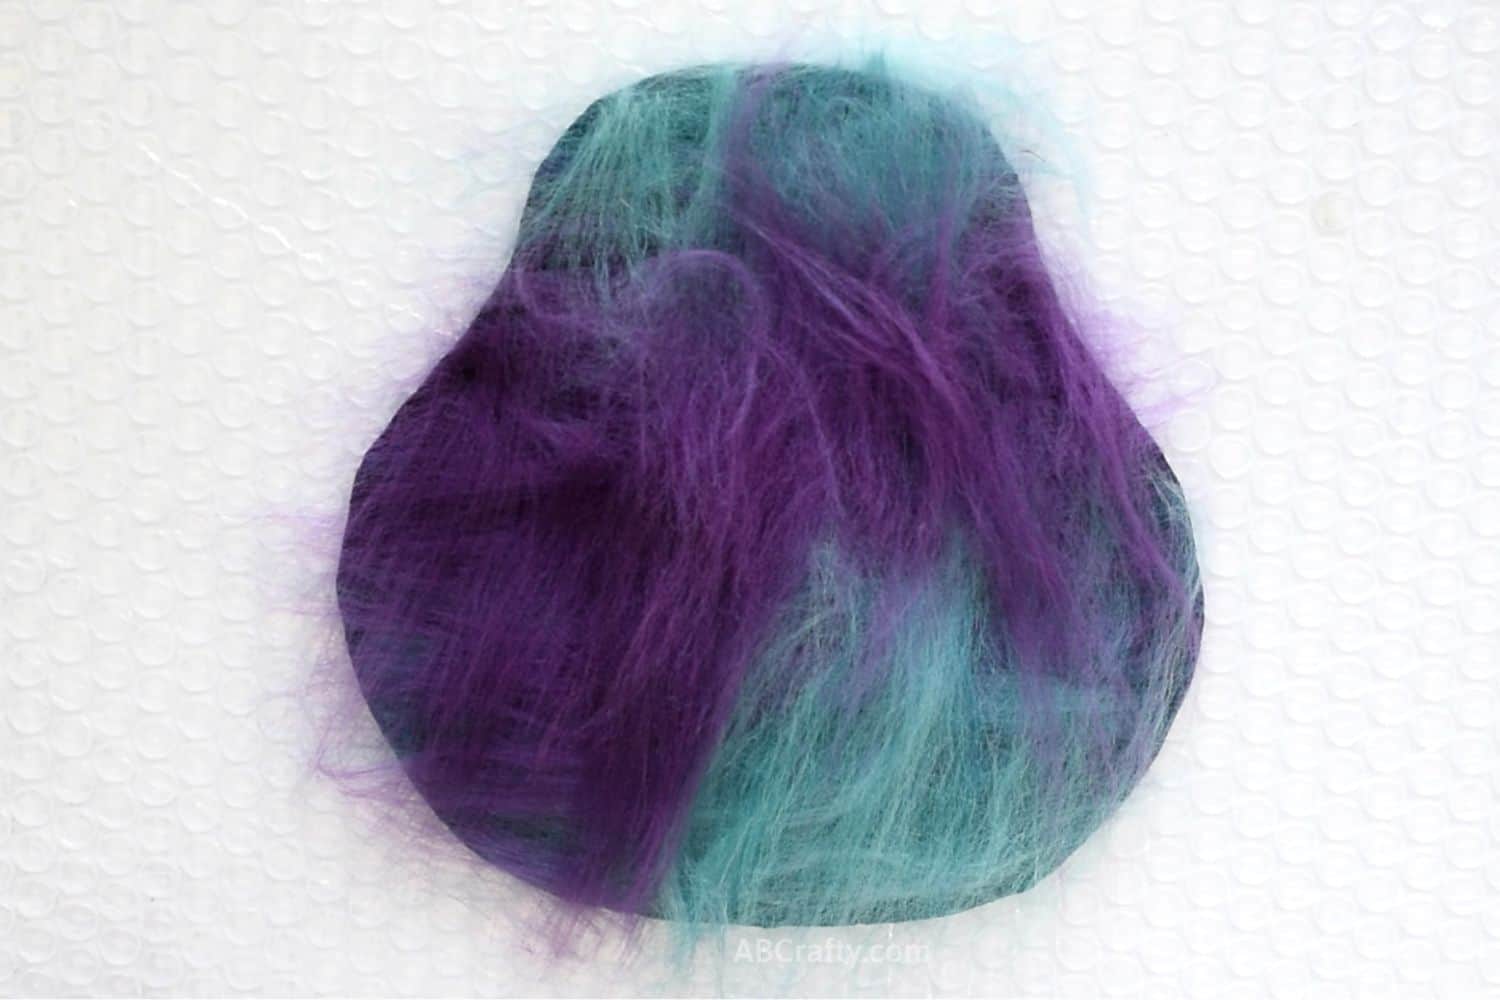
Layer the wool fiber over the resist
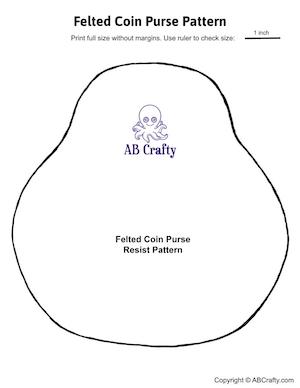
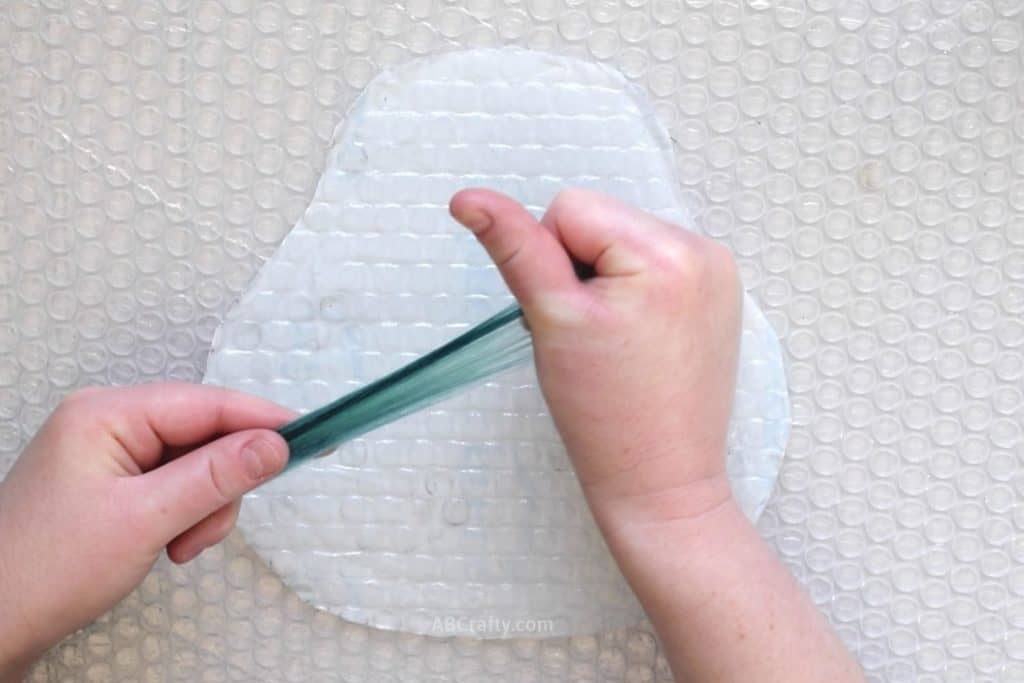
- Pull off a small amount of fiber and lay it in one direction on top of the resist. (You can download the free resist template here)

- Continue laying down fiber in the same direction across one side of the resist. Let a little bit of the fiber lay over the edge as you want some to wrap around the edge.
- After you have your first layer of wool, start laying down the fiber in a layer perpendicular to the first. Again, make sure some hang over the edge.
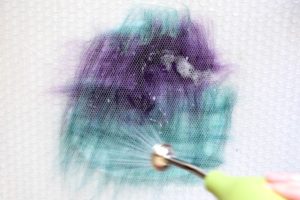
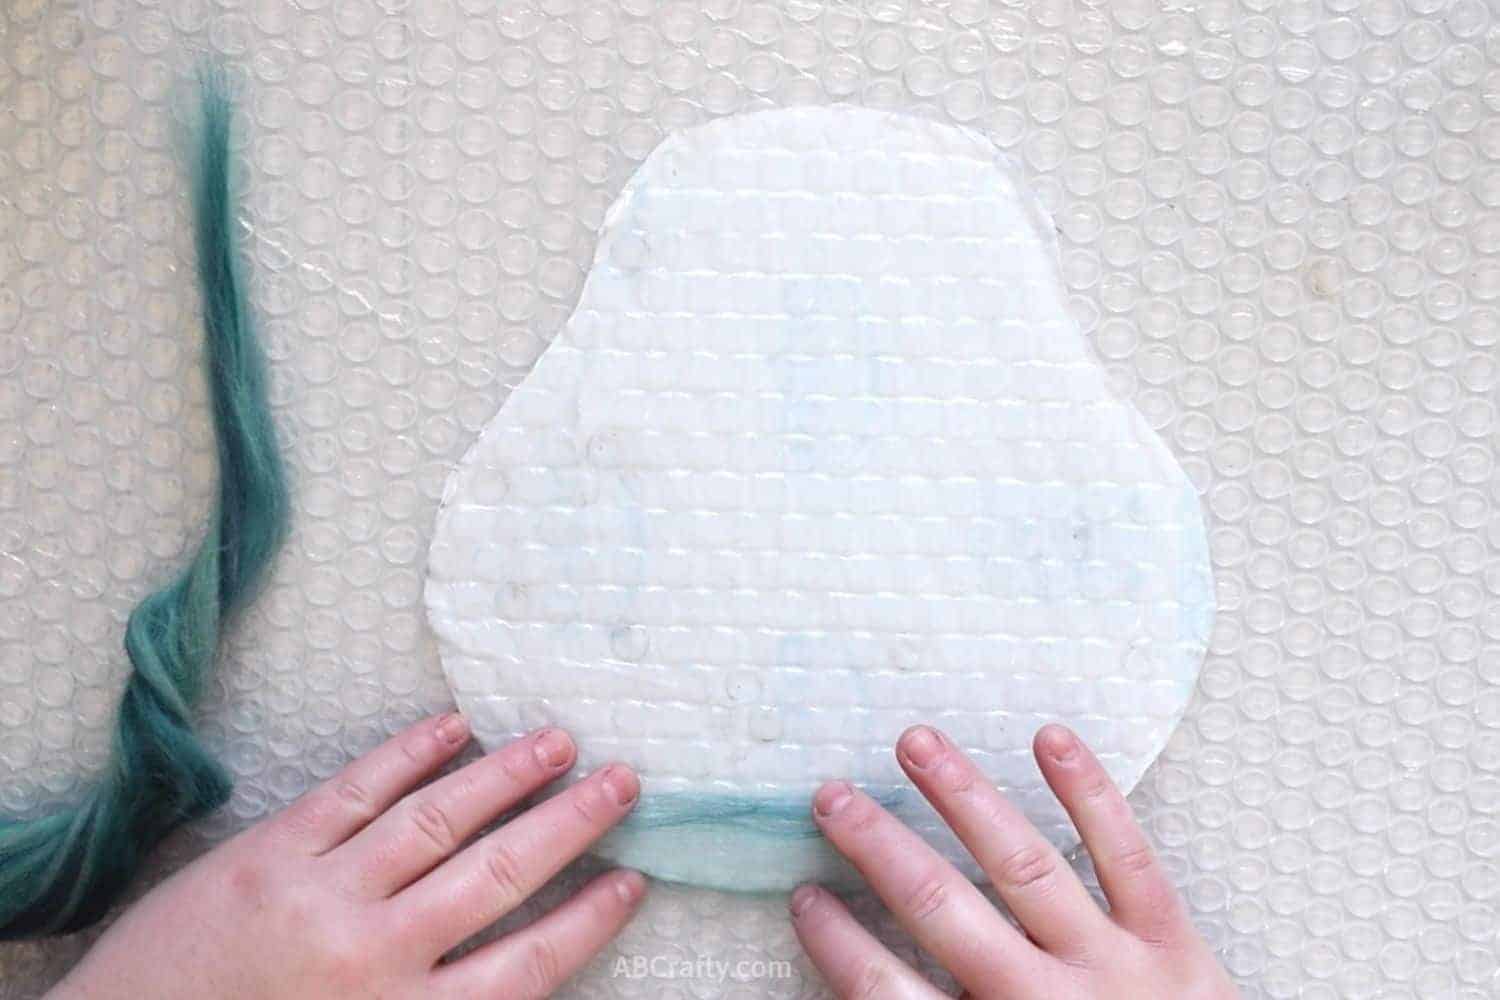
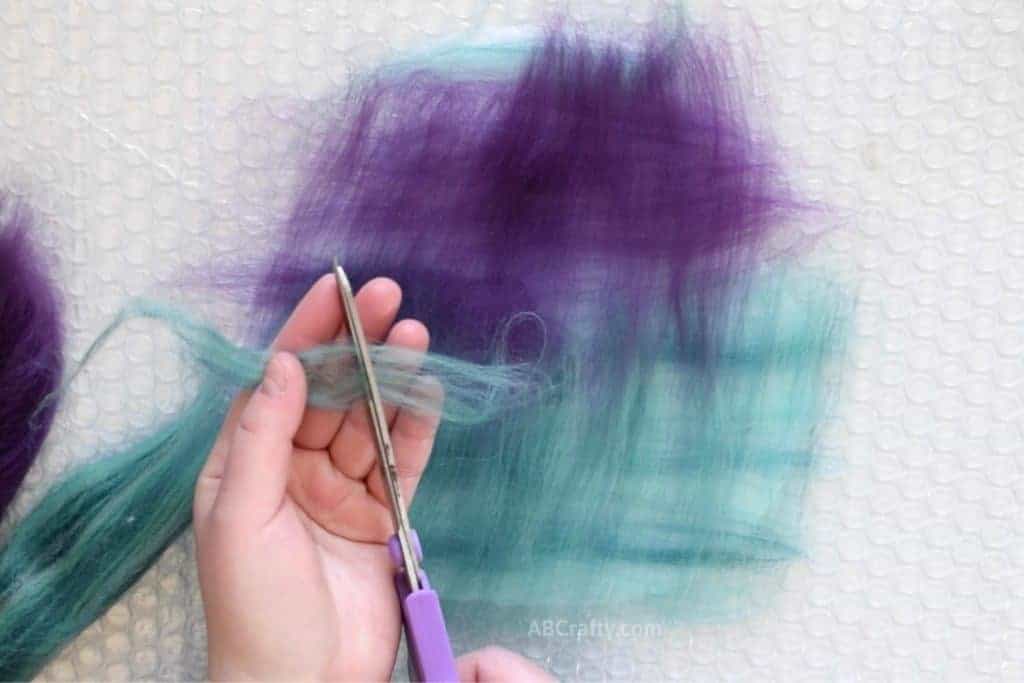
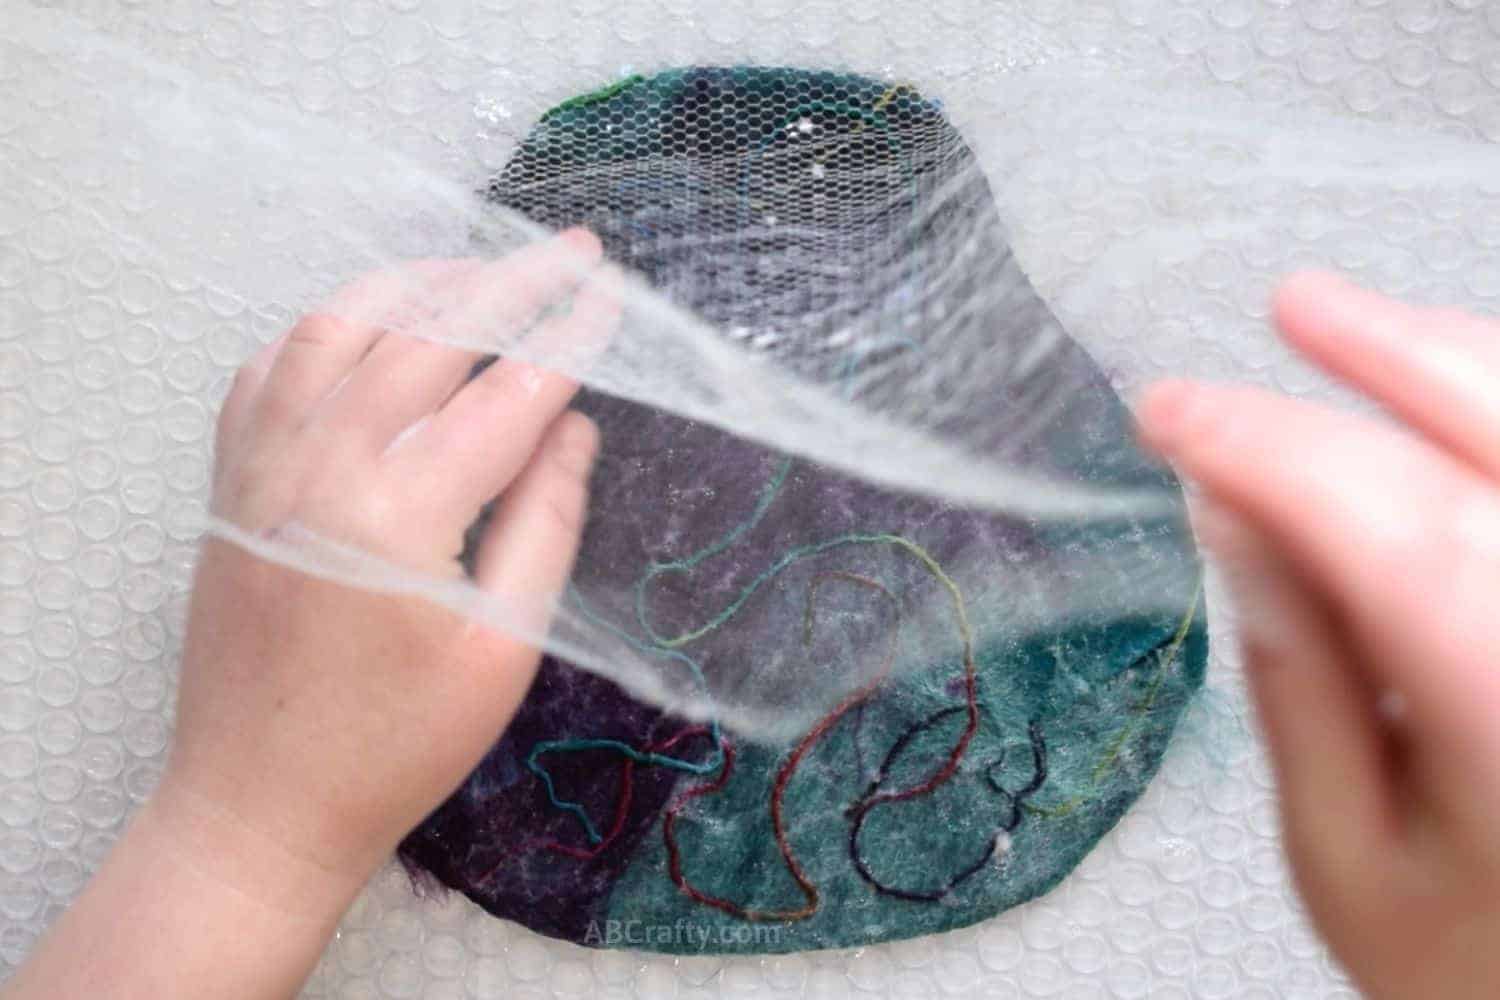
- After you’ve completed your 2 perpendicular layers, take your mesh fabric and place it over the wool. Wet the wool with hot water that has olive oil soap added to it. Gently press the water in and air out with your hands.
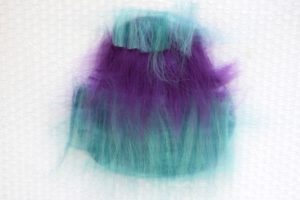
- Grab one side, tucking in the fiber and carefully flip it over. As you flip it over, remove the mesh netting. Once on the opposite set, go around the edge and pull the wisps towards the middle.
- Start layering the wool on this side. You’ll do the same as you did on the other side. Start with the wool in the same direction as you did on the first side and then add a second layer perpendicular to the first.
- Just as with the first side, cover it in the mesh fabric and add the soapy water. Press the water in and air out. Flip it over and pull the wisps to the middle.Then repeat the entire process so that you have 4 total layers of wool on each side.
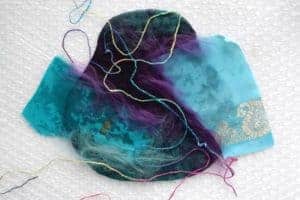
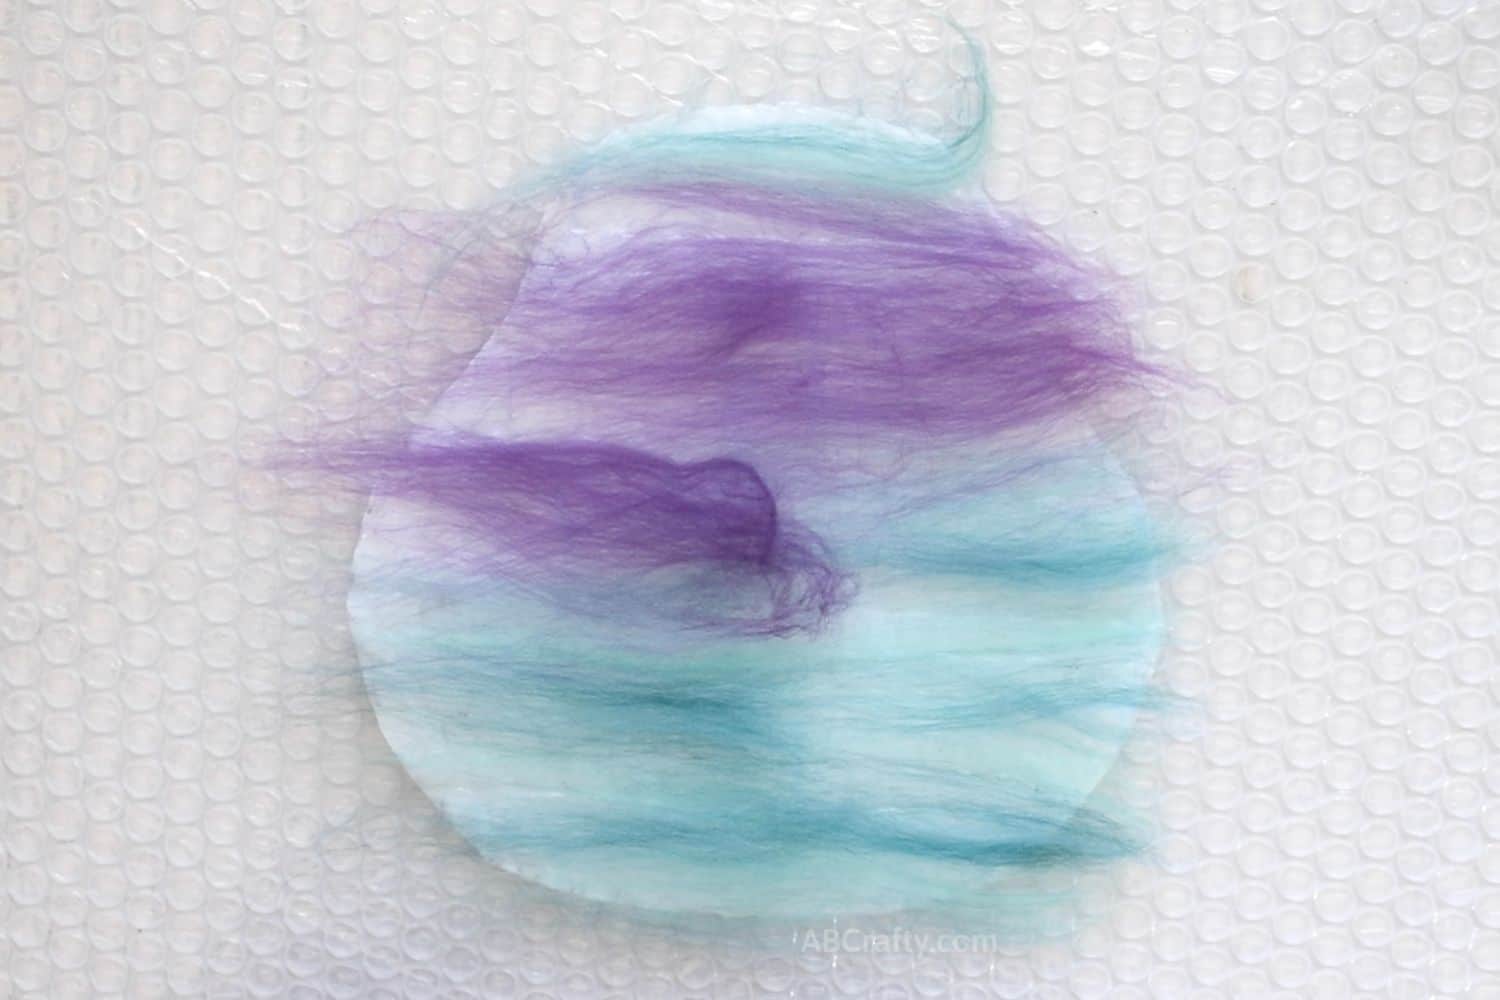
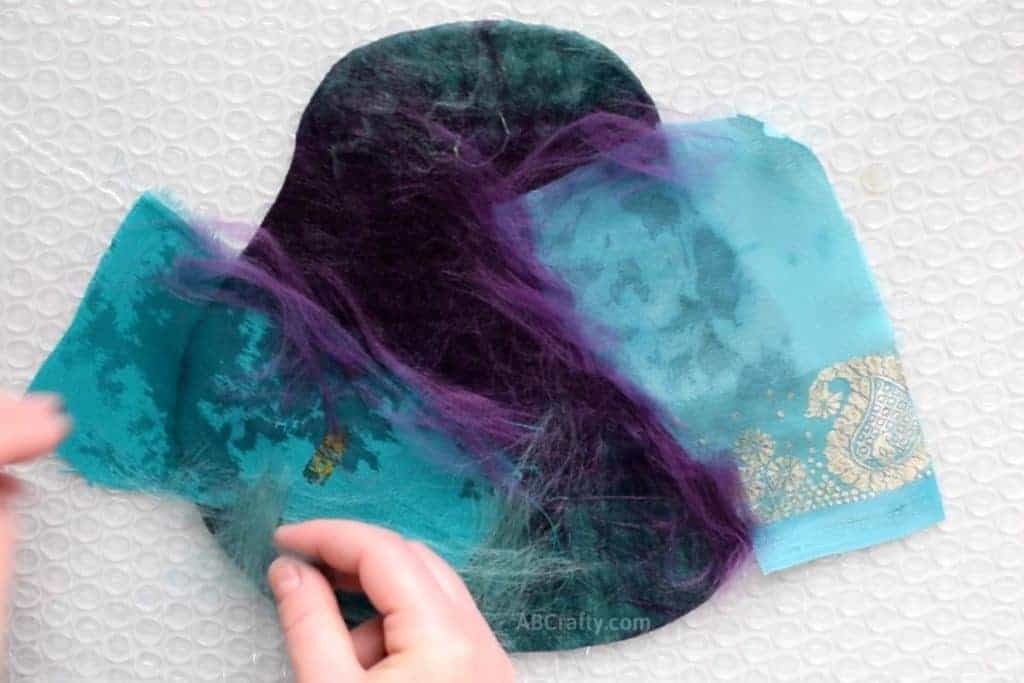
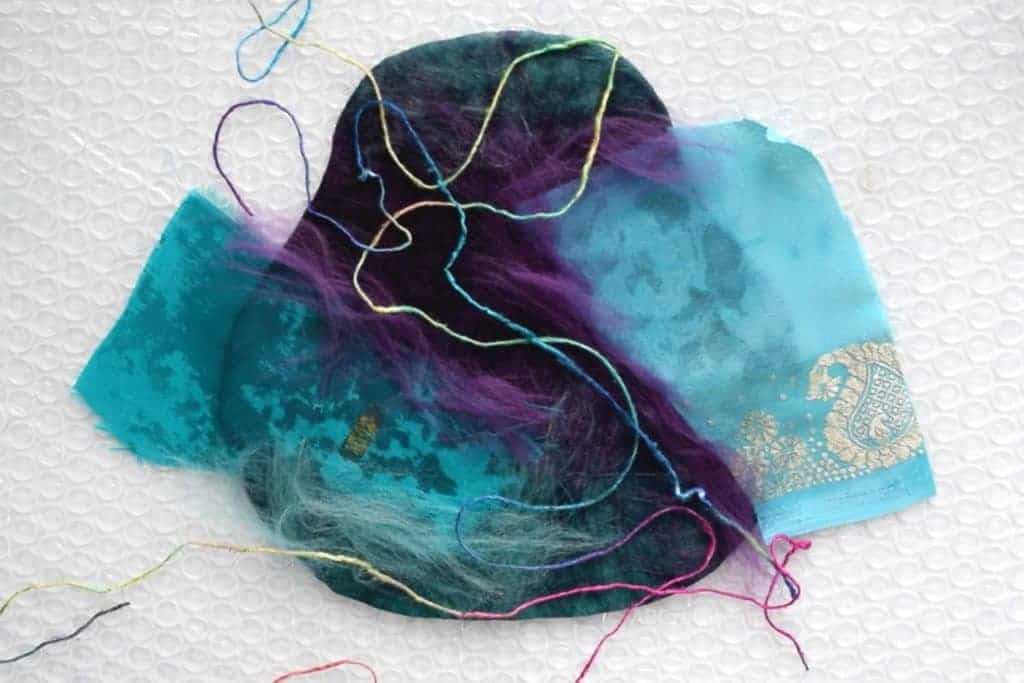
Add Embellishments
- Add the sari silk pieces and then small pieces of wool along the edge to help it felt.
- Add the yarn in a swirling pattern. You typically will not need to add additional wool on top of it. Fold the elements on to the other side and add additional elements onto that side.
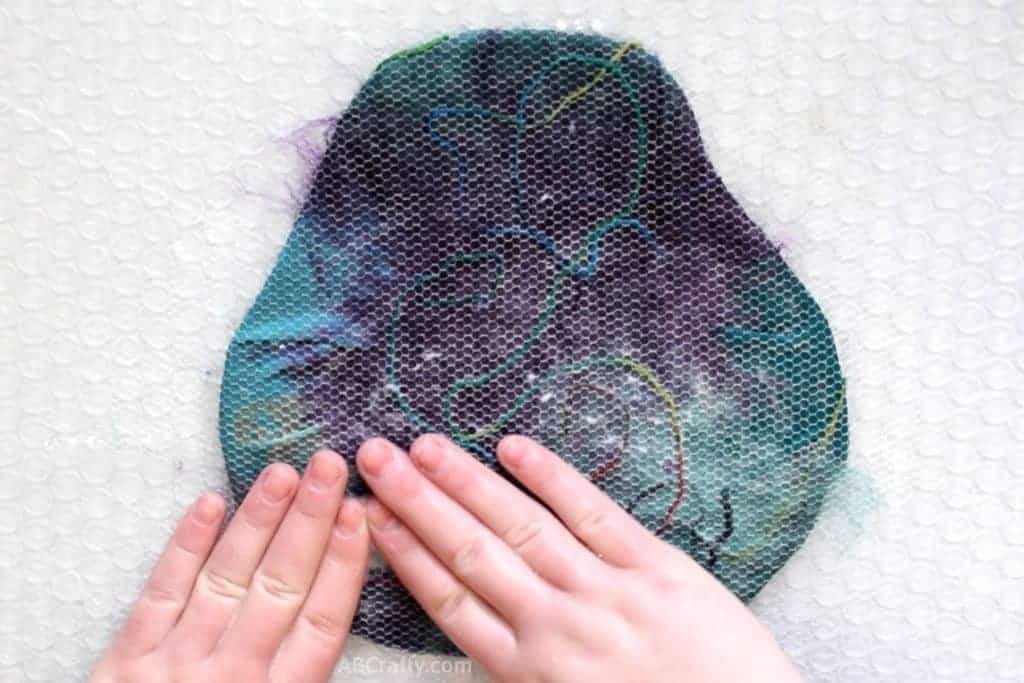
Felt the Wool
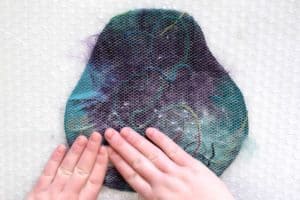
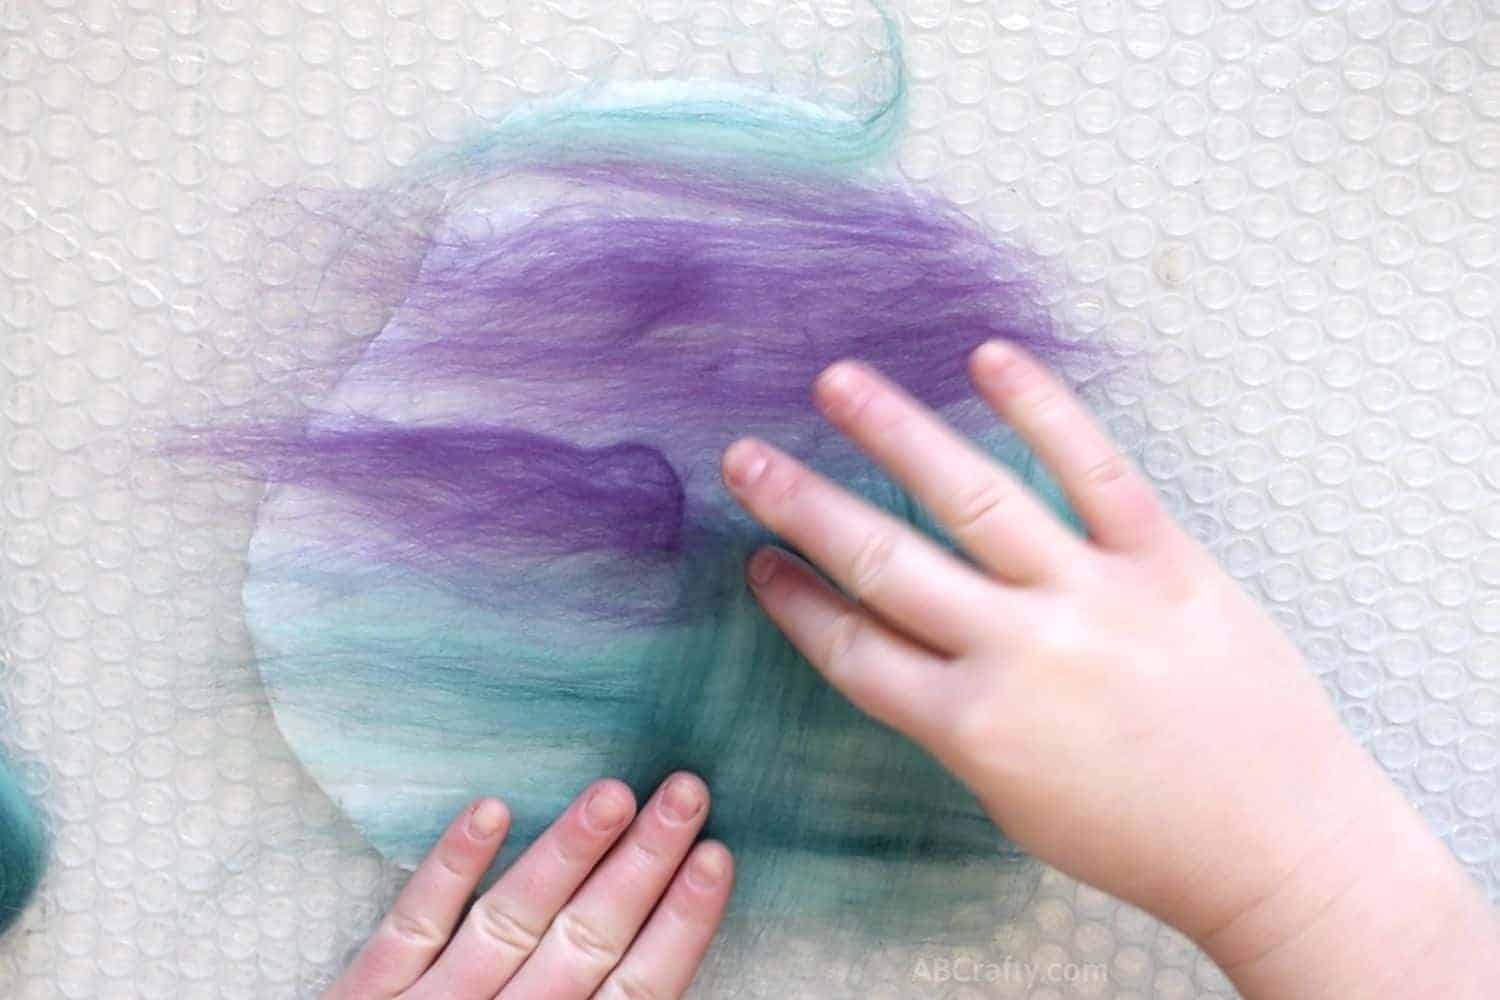
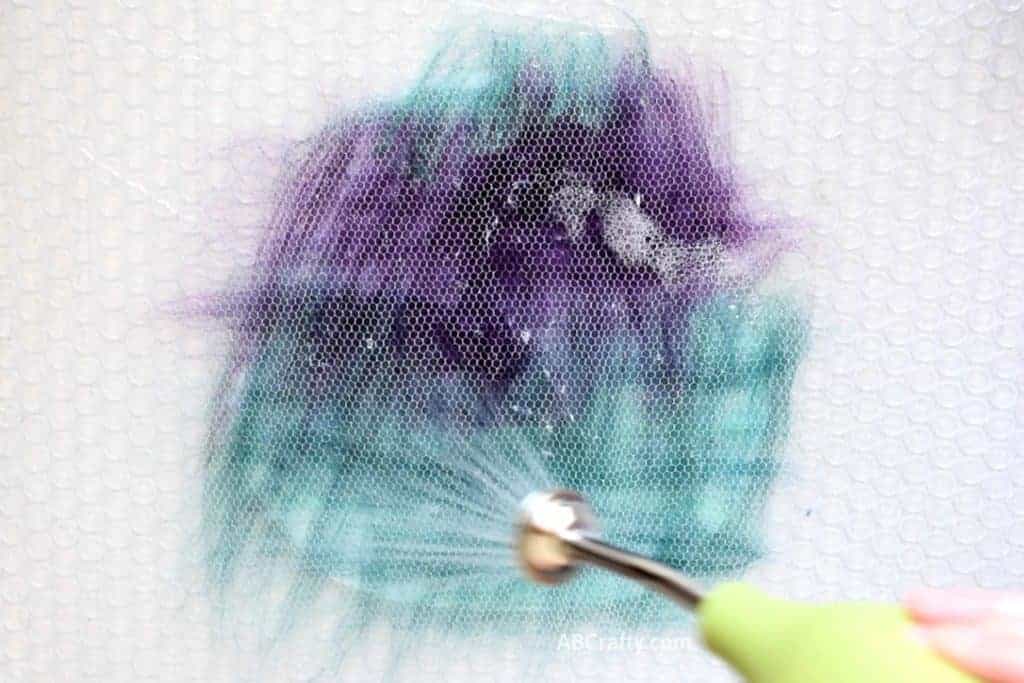
- Get your hands wet and soapy using the olive oil soap and VERY gently rub along the top of the mesh.
- Continue this process on both sides until the embellishments are staying in place. Occasionally lift up the mesh to make sure the fiber and added elements are not sticking to it.
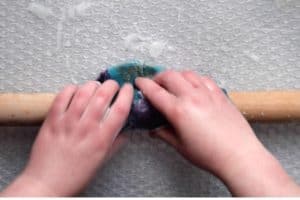
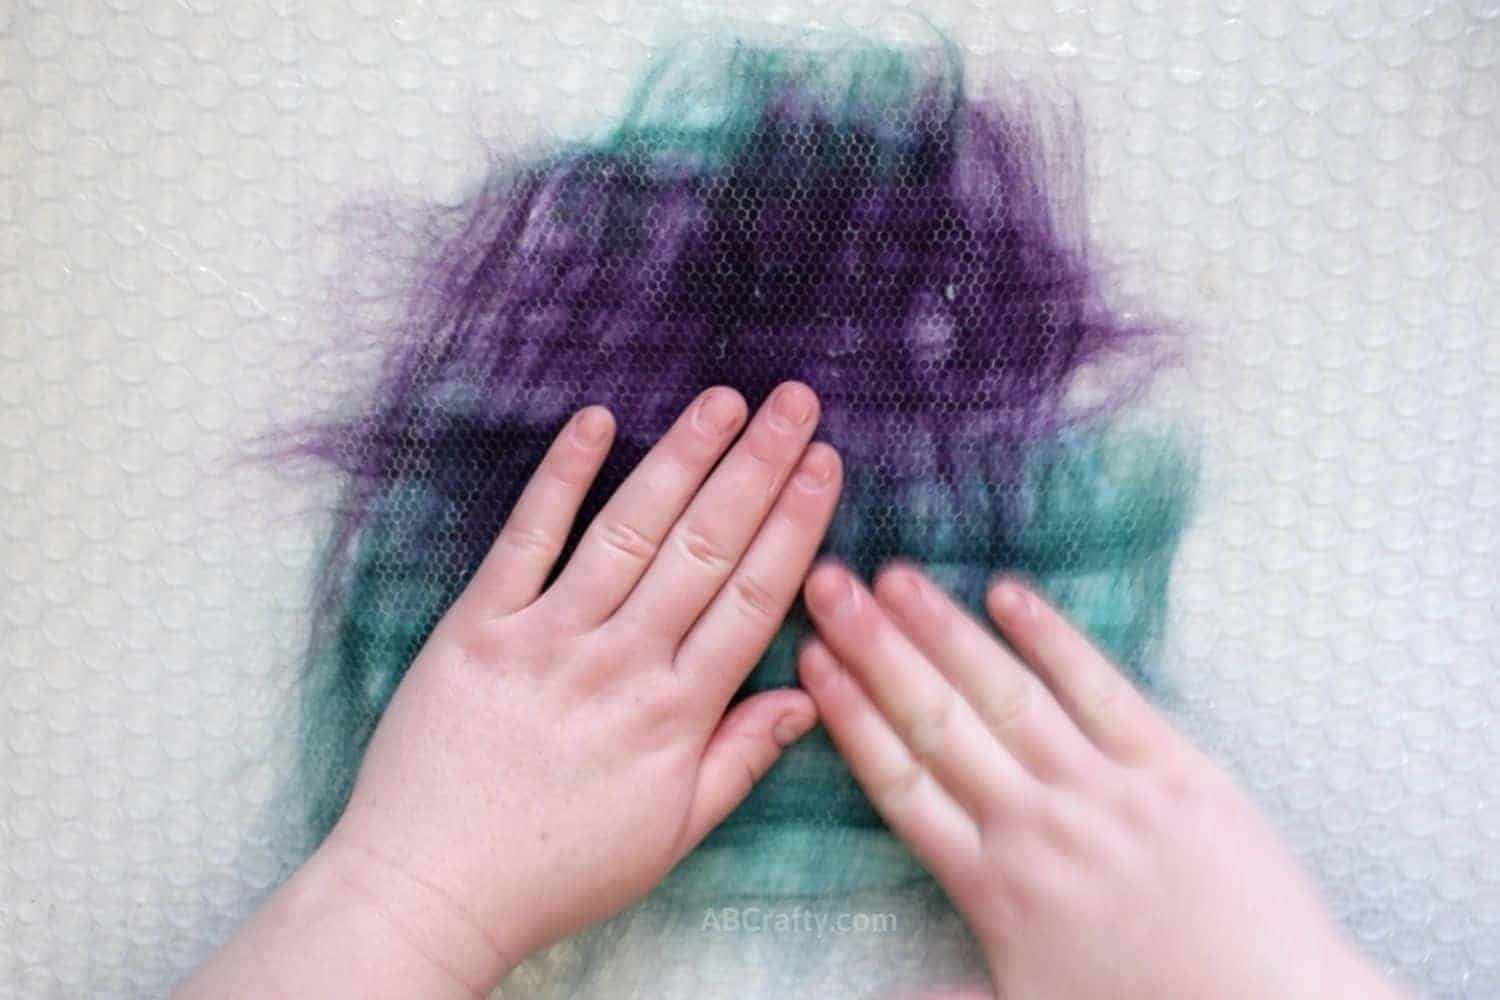
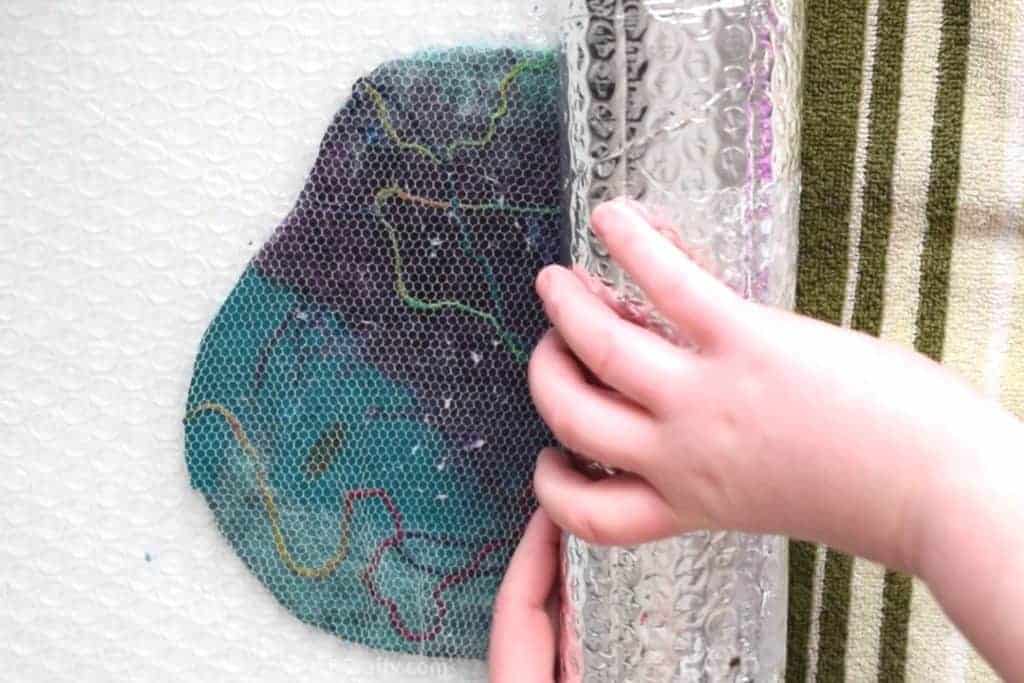
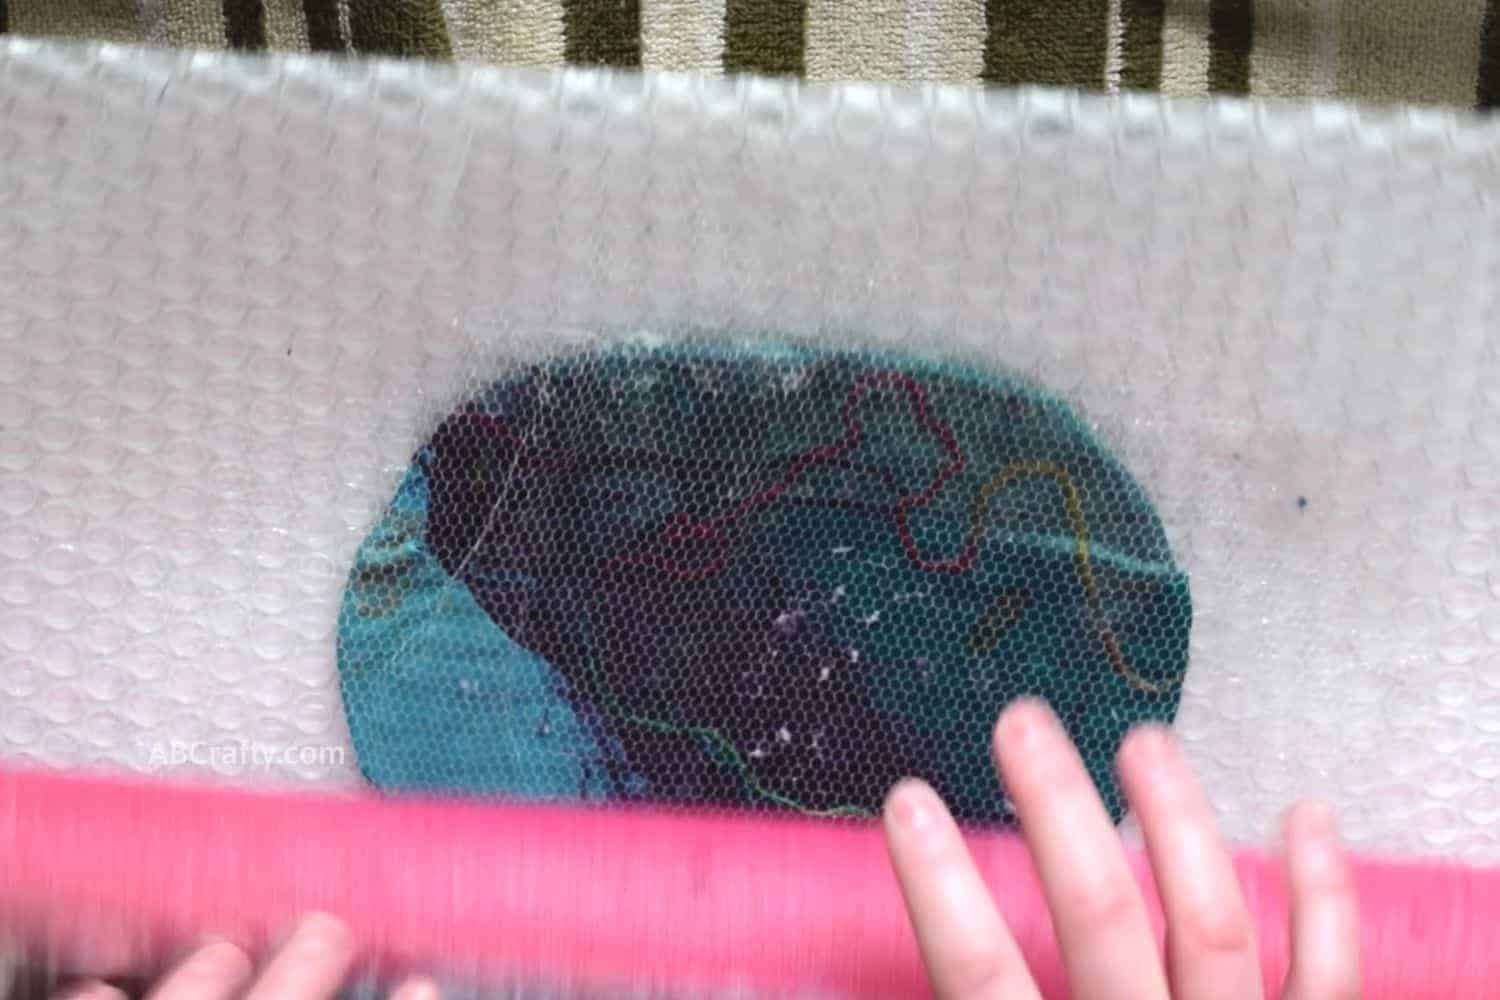
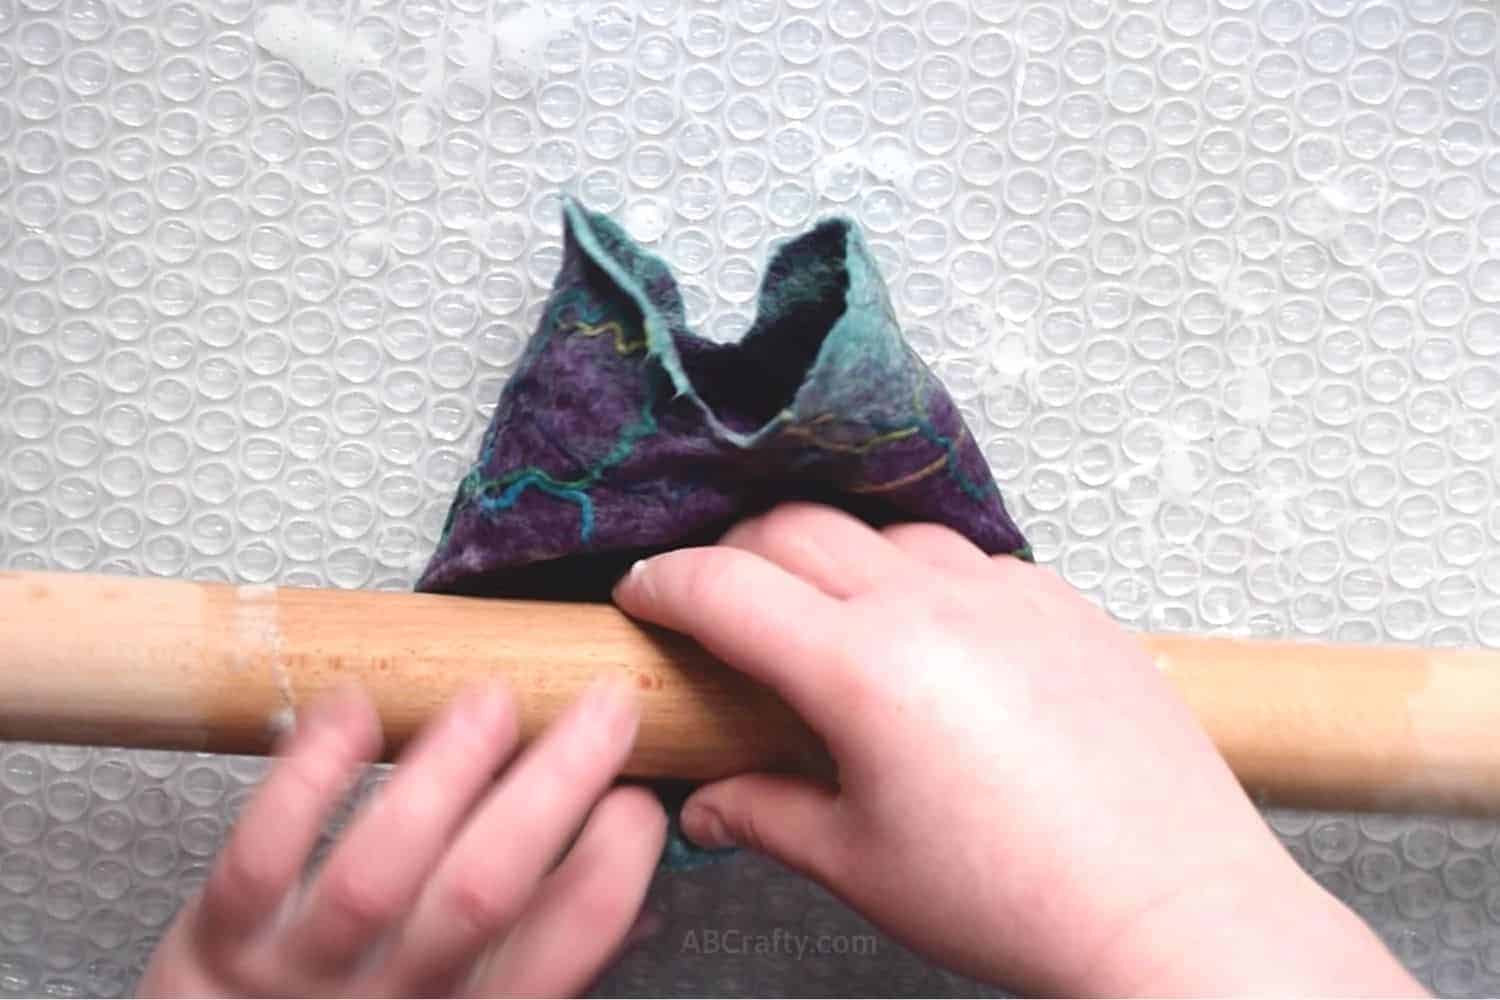
- Keep the mesh over the project and place the pool noodle on top on one side of the bubble wrap you’ve been working on. Roll it all up around the pool noodle. Roll it on all sides and from all sides.
- Lightly pinch the fibers. If they lift together as one then it’s ready. If the fibers are still separate then you need to roll more.
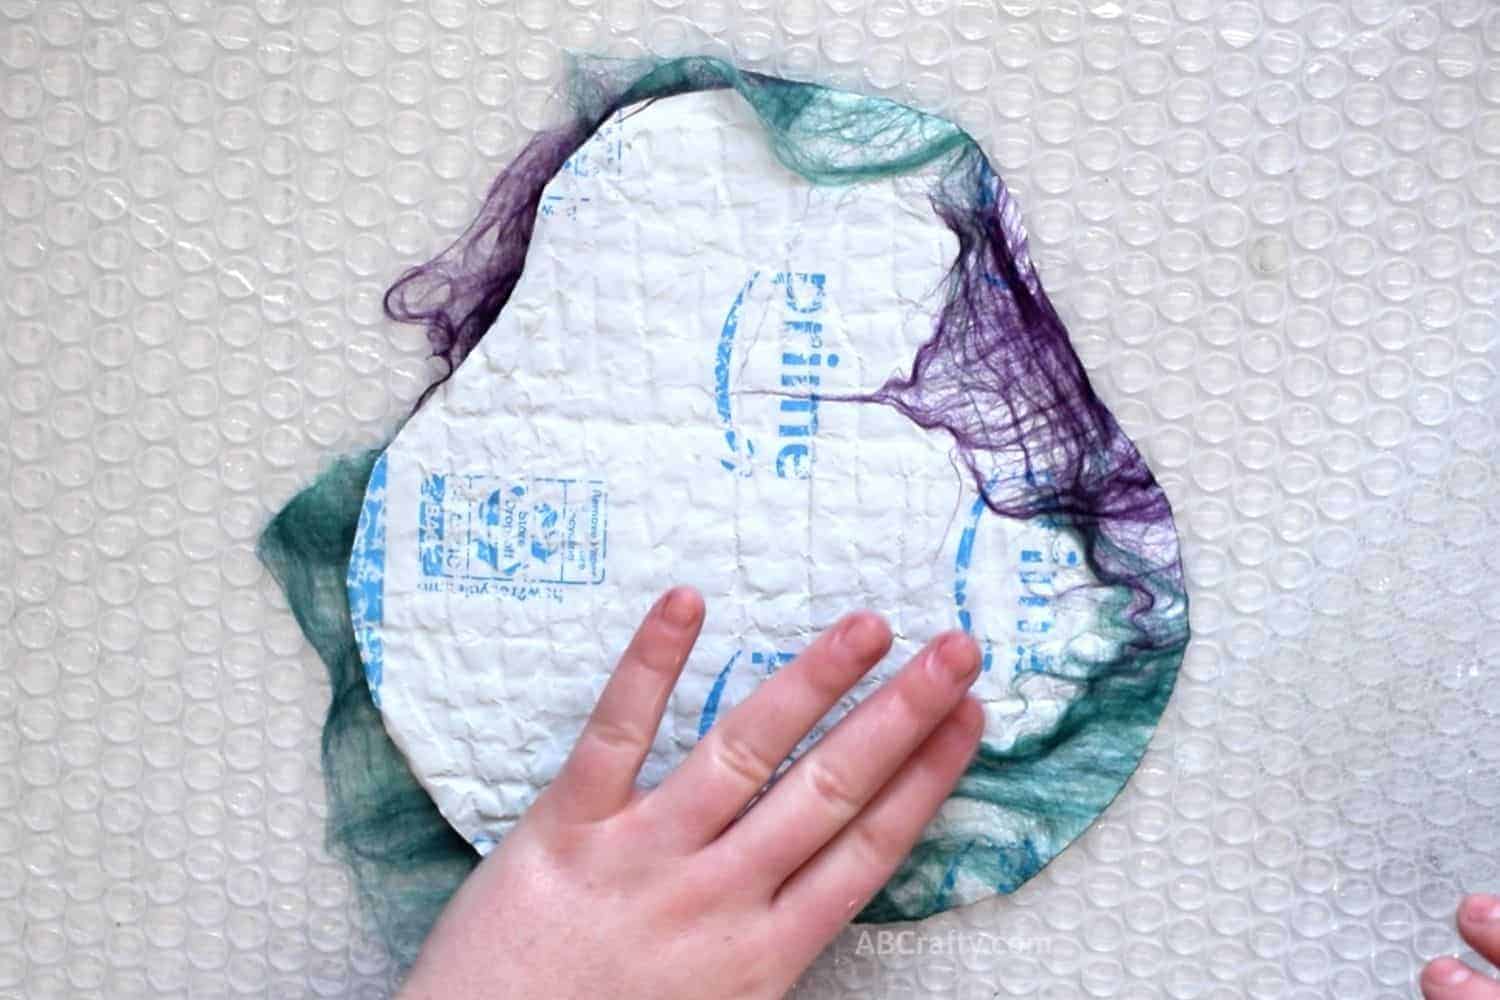
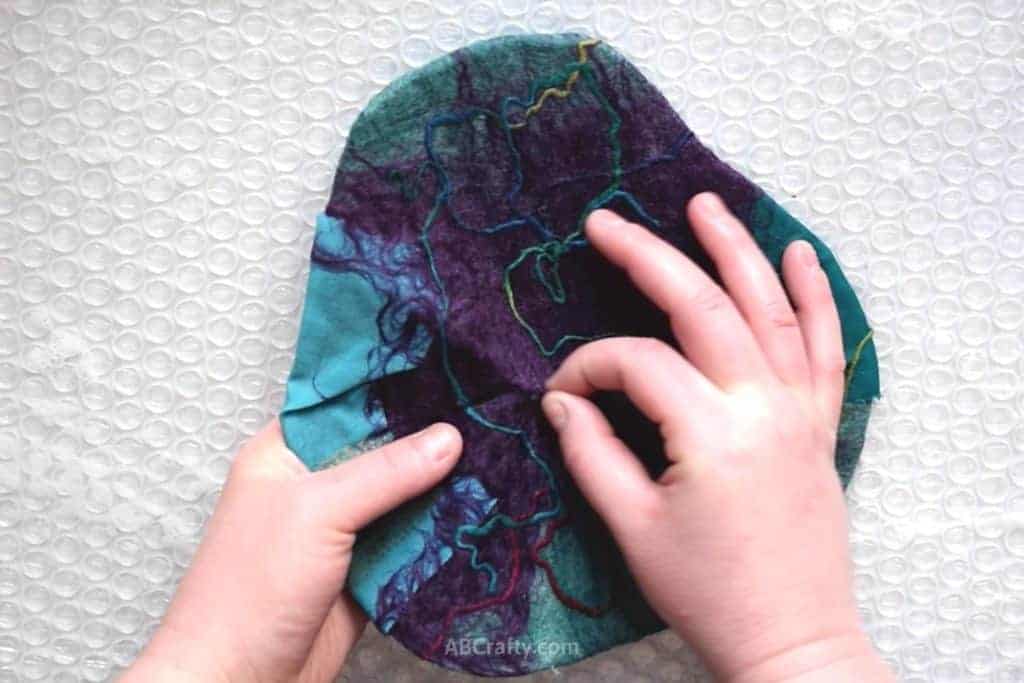
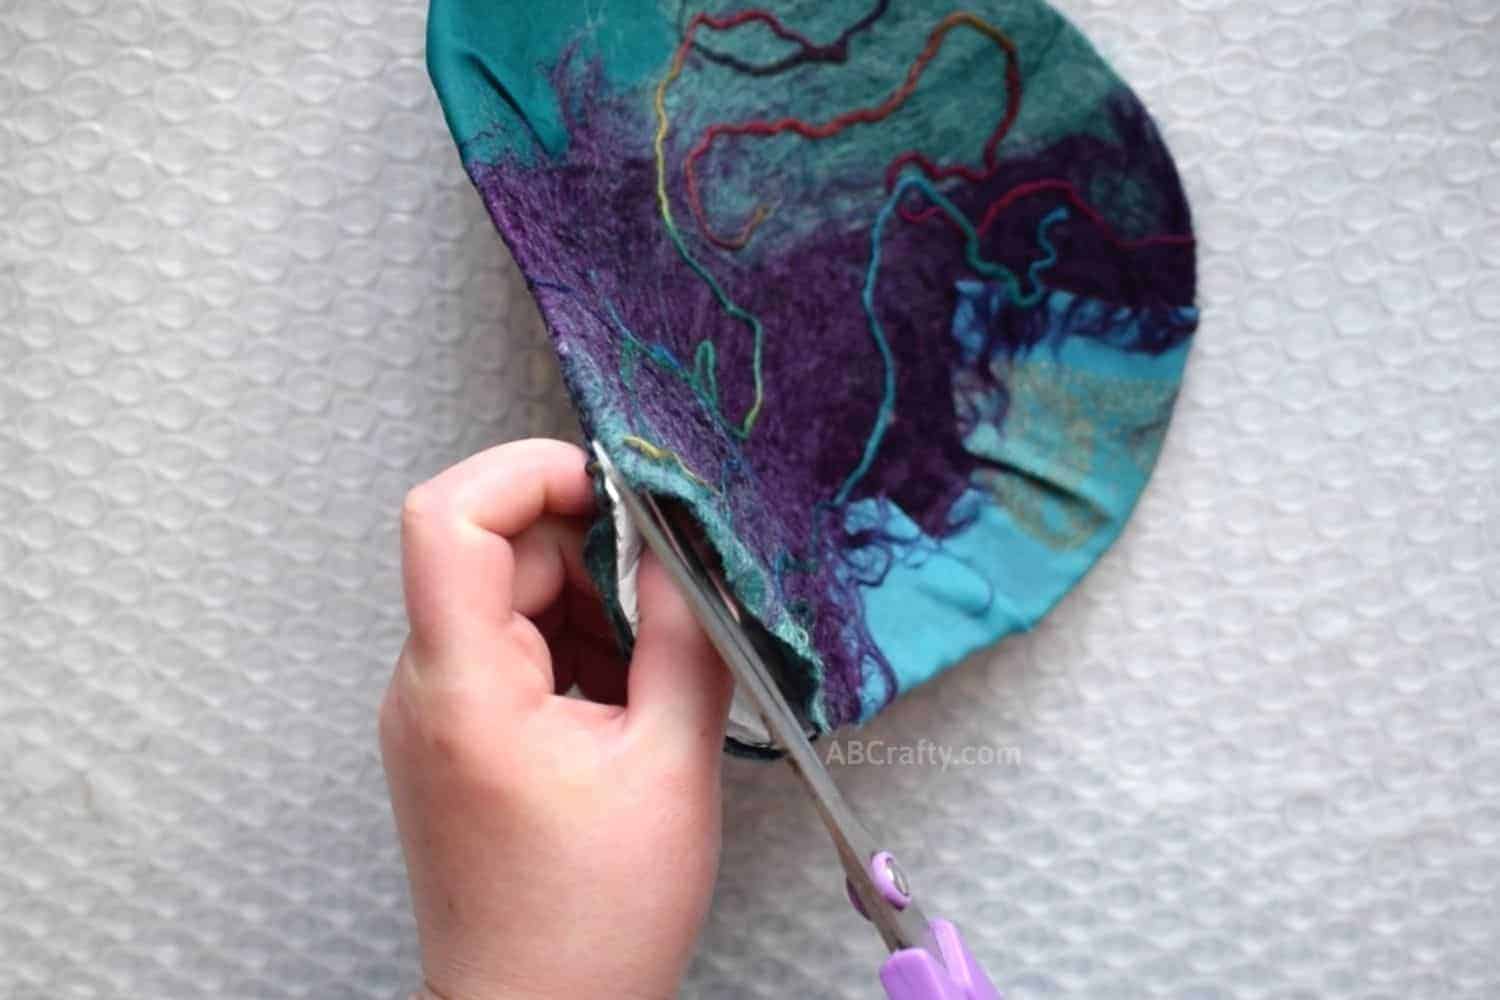
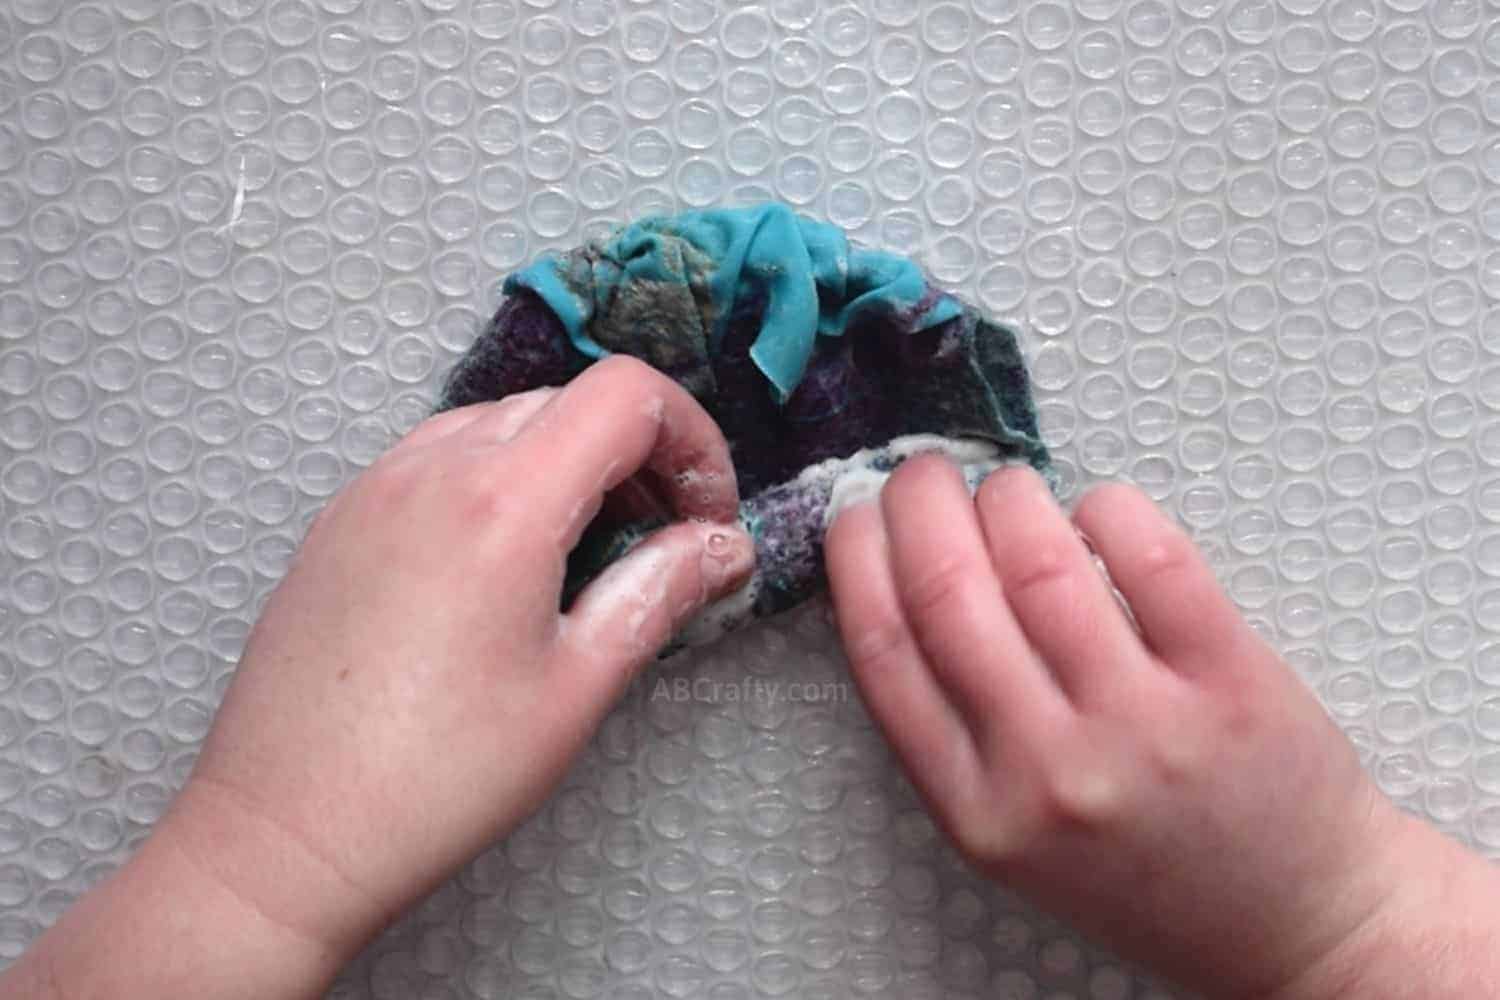
- When you start feeling the coin bag shrink down and the resist becoming too small, it’s time to remove the resist. Cut along the small top curve.
- Pull the resist out of the felt.
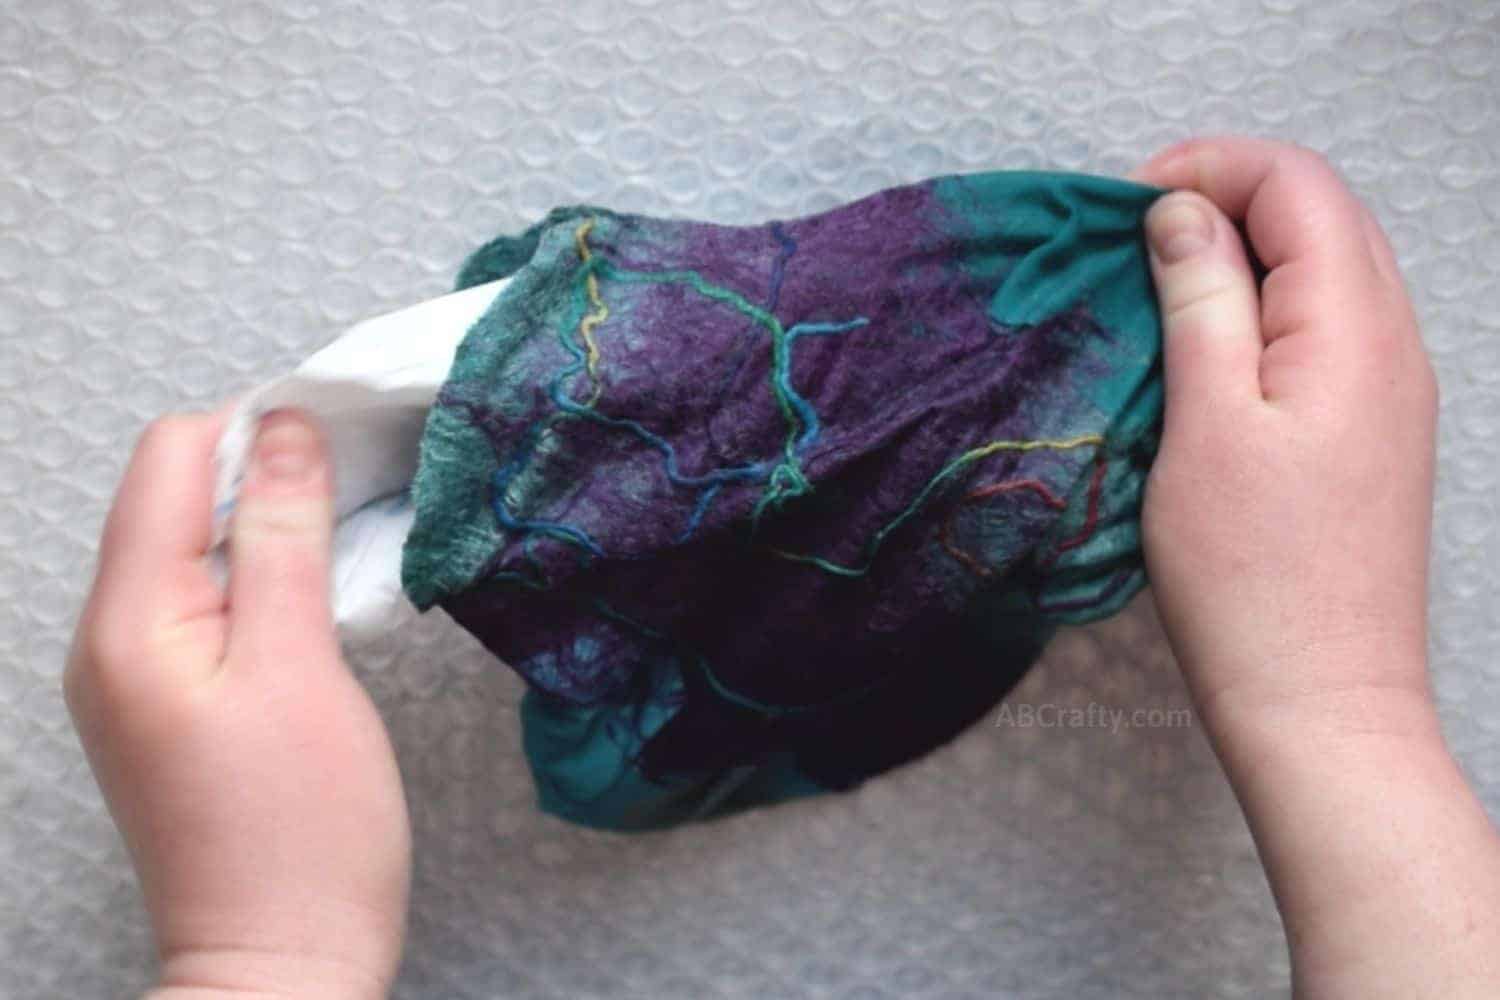
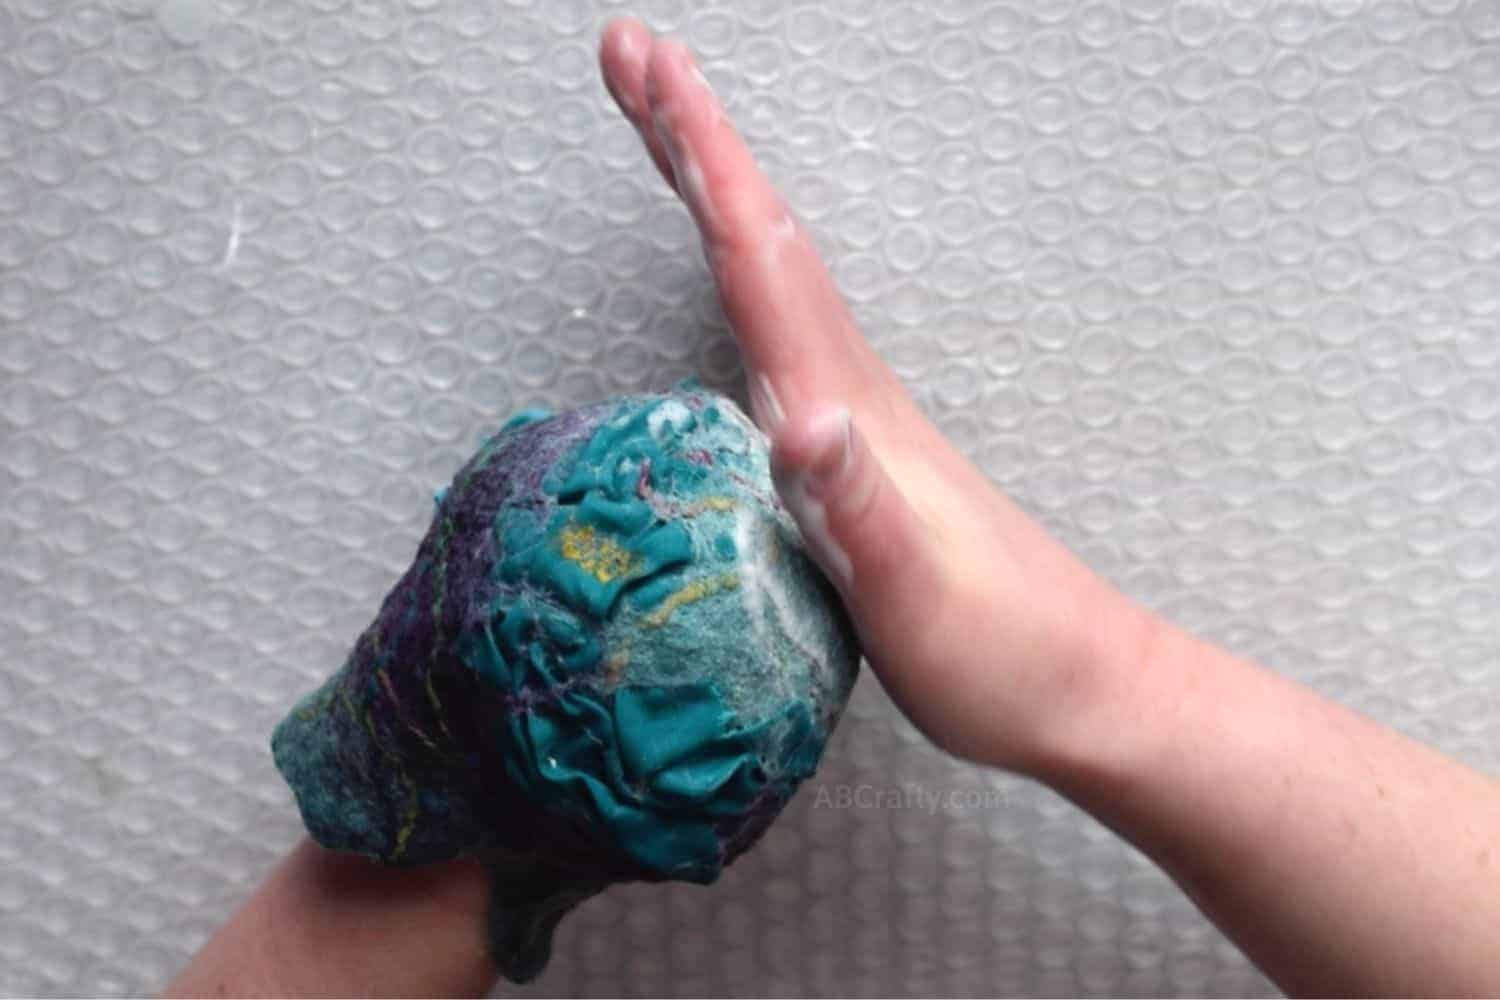
- Get your hands nice and soapy and rub the inside of the coin pouch. You want to create another layer of felted skin.
- Roll the partially felted coin purse from all directions and in all directions, just like with the pool noodle
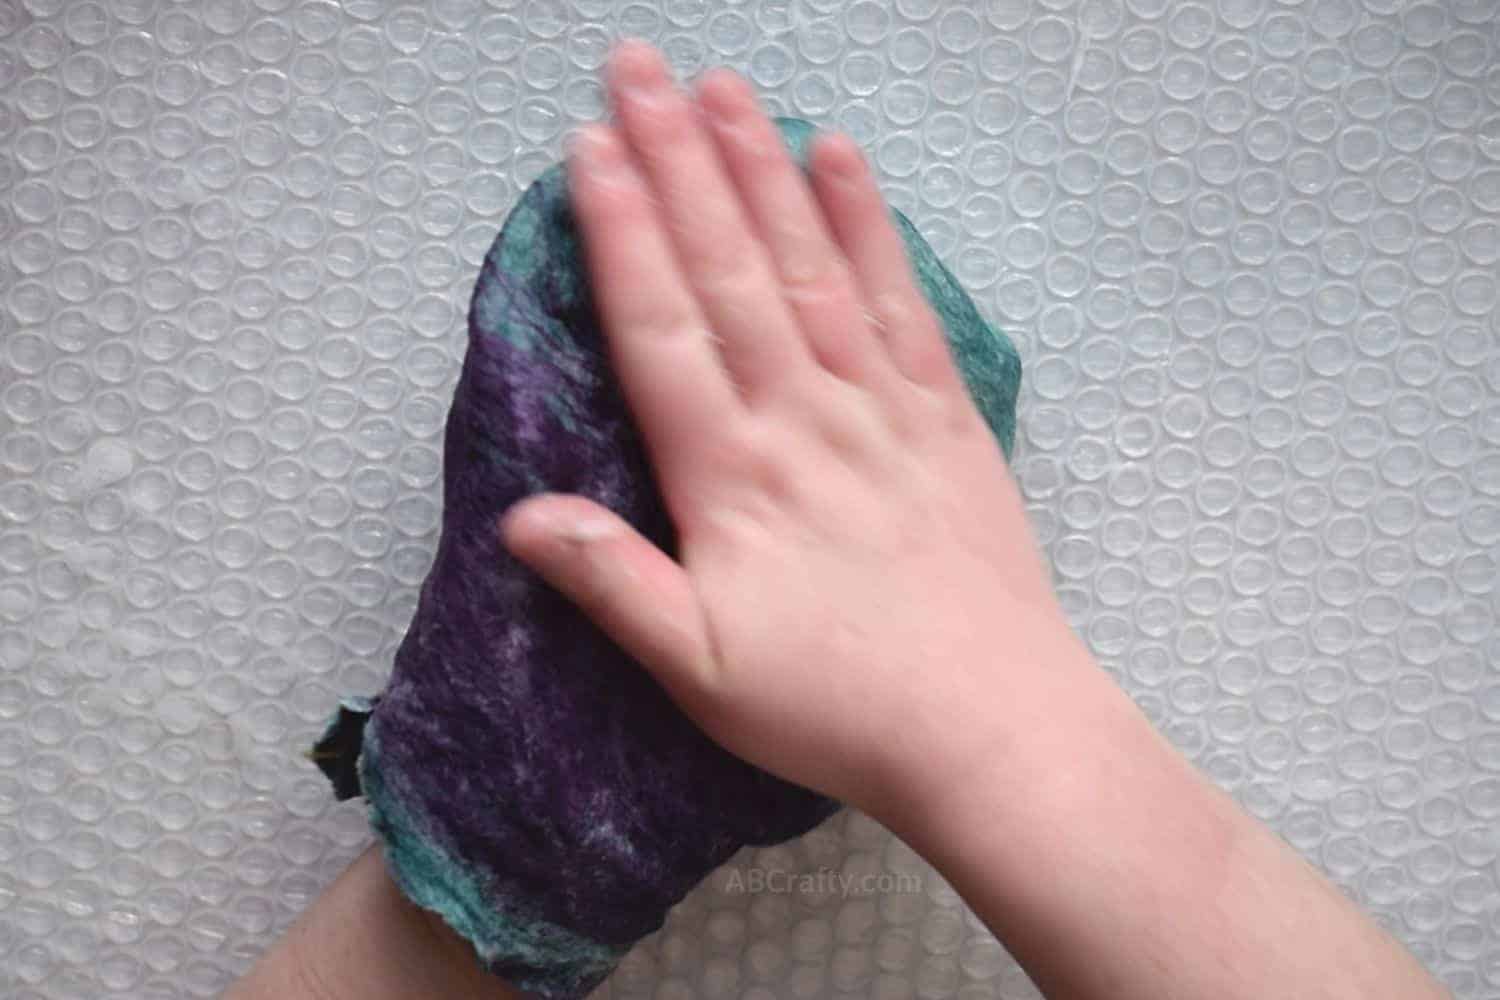
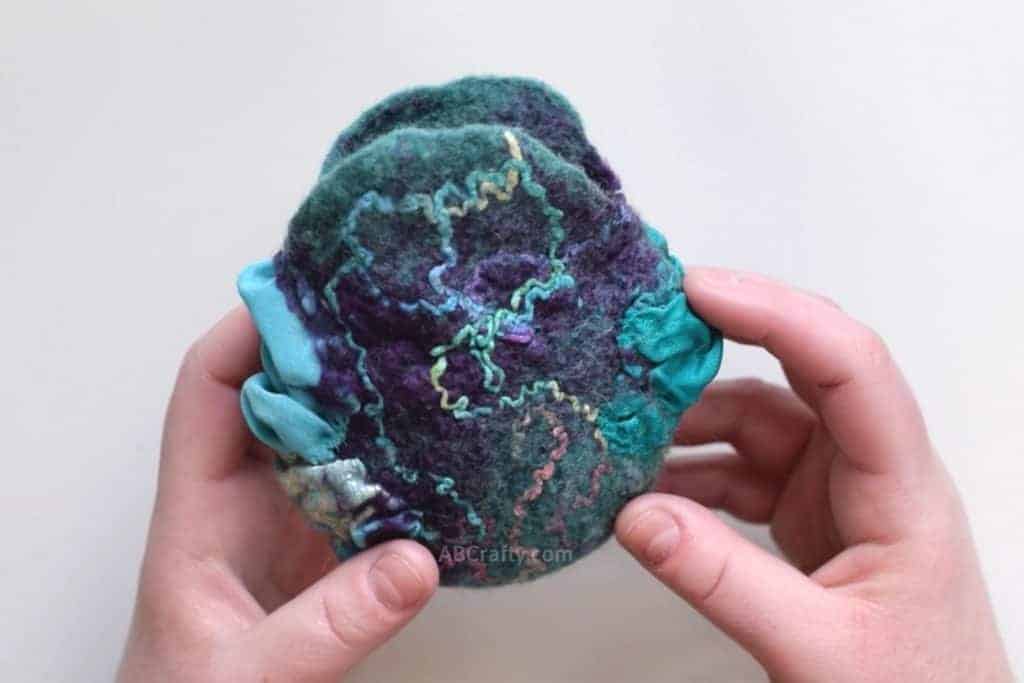
- Once it’s getting close to the size you want, you can start shaping it so it’s more round. To do so, put your fist inside the change purse and rub from the outside.After it's the right size and shape rinse it out and let it dry.
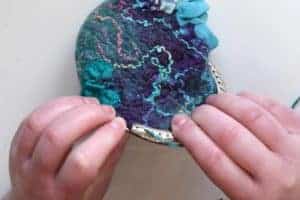
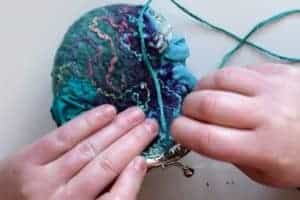
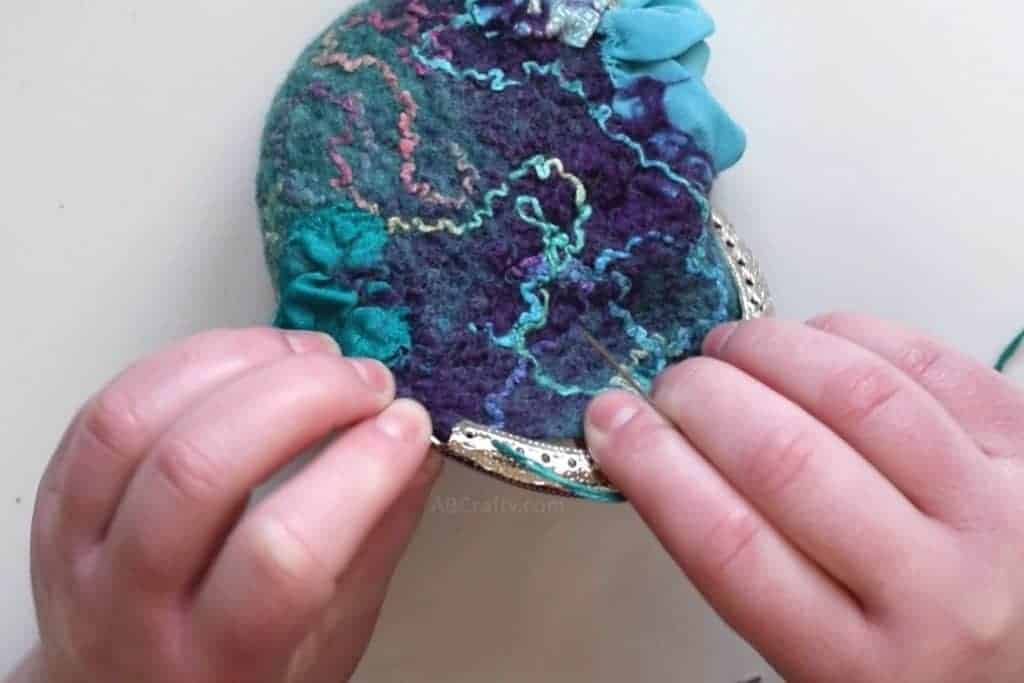
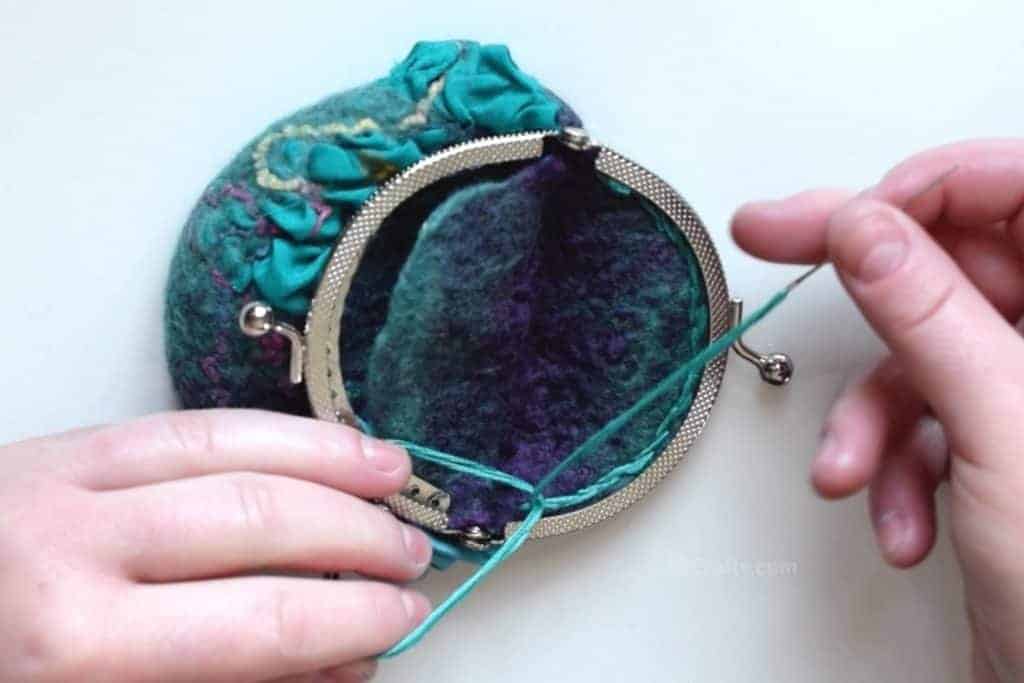
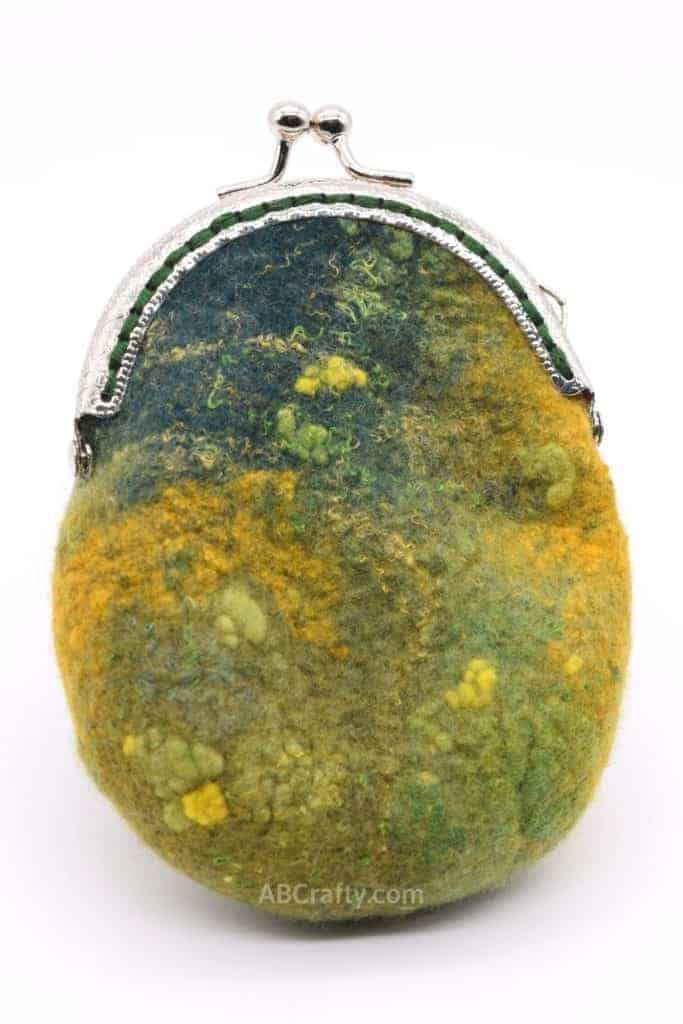
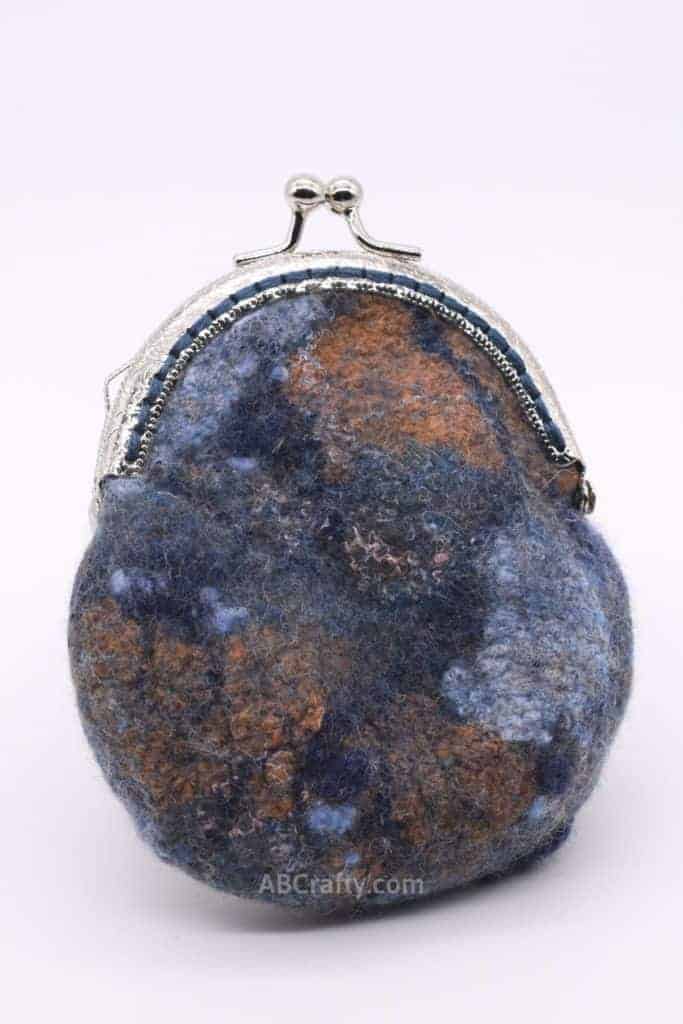
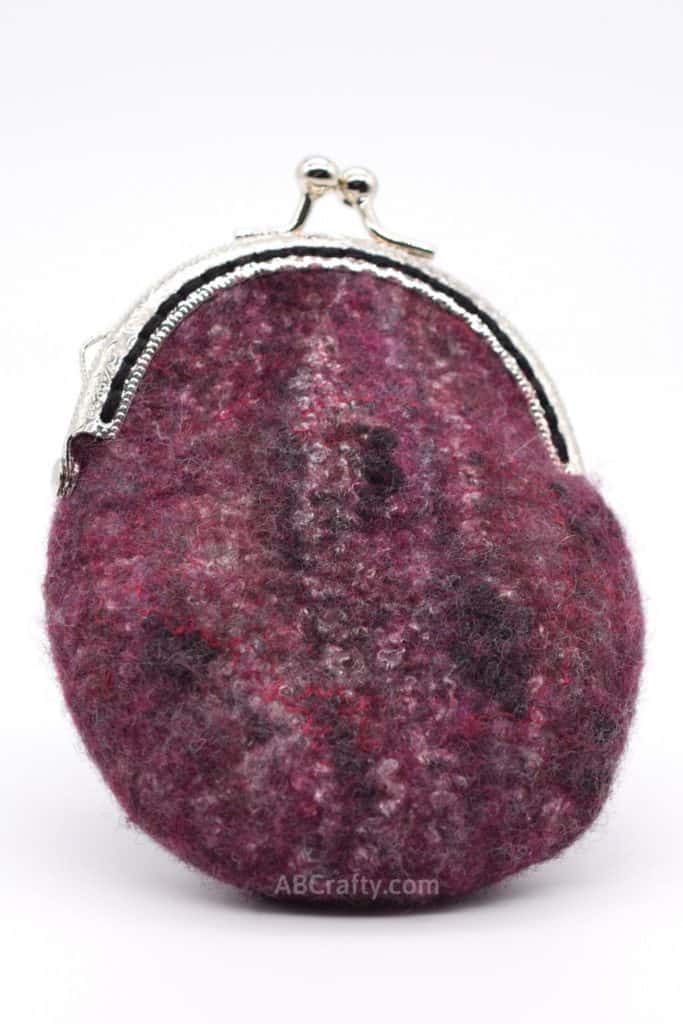
Sew on the Coin Purse Kiss Clasp
- Start sewing on the second hole of the clasp, coming from inside the purse. Go back down through the first hole.
- Continue in this pattern, coming up through the next hole and back through the one before.
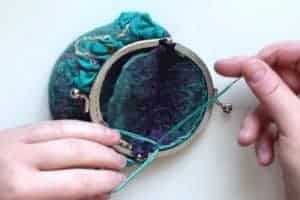
- When you get to the end, tie the embroidery thread into a knot. Cut off the excess thread.
- Repeat the same process on the other side of the clasp. Then your felted coin purse is complete!
Notes
U free printable coin purse pattern you can use for this felting project. Download below or from the shop. This is the actual resist pattern I use for my own felted coin purses. It is designed for 30-40% shrinkage and to work with a 3.3″ coin bag frame and kiss clasp.
Tip: When rolling, I work in groups of 100. I start rolling it 25 times, just the length of my hands. Then I give the “log” a quarter turn and roll another 25 times. I do this two more times so that its been rolled 100 times in total and evenly all around.
Then unroll it and place the pool noodle on the other side of the bubble wrap. Repeat the same rolling process. Then place the pool noodle at the bottom and roll it from the bottom. Unroll it and roll from the top.
Tip: After rinsing, let the felted coin purse soak in warm water that has a splash of vinegar added. The reason for this is wool is naturally slightly acidic, but when we add soap to it, it brings down the acidity. Adding vinegar to it brings back some of the acidity, bringing the shine back to the wool and giving it a bit more durability.


2 thoughts on “Wet Felted Coin Purse and Free Pattern”
I love this so much. Thank you for sharing your work!
Thanks so much! Glad you like it 😀