Learn how to make buttons in just a few steps! Make personalized button pins like a pro!
Note: Some links in this post may contain affiliate links, which means at no cost to you, I may earn a commission.
Table of Contents
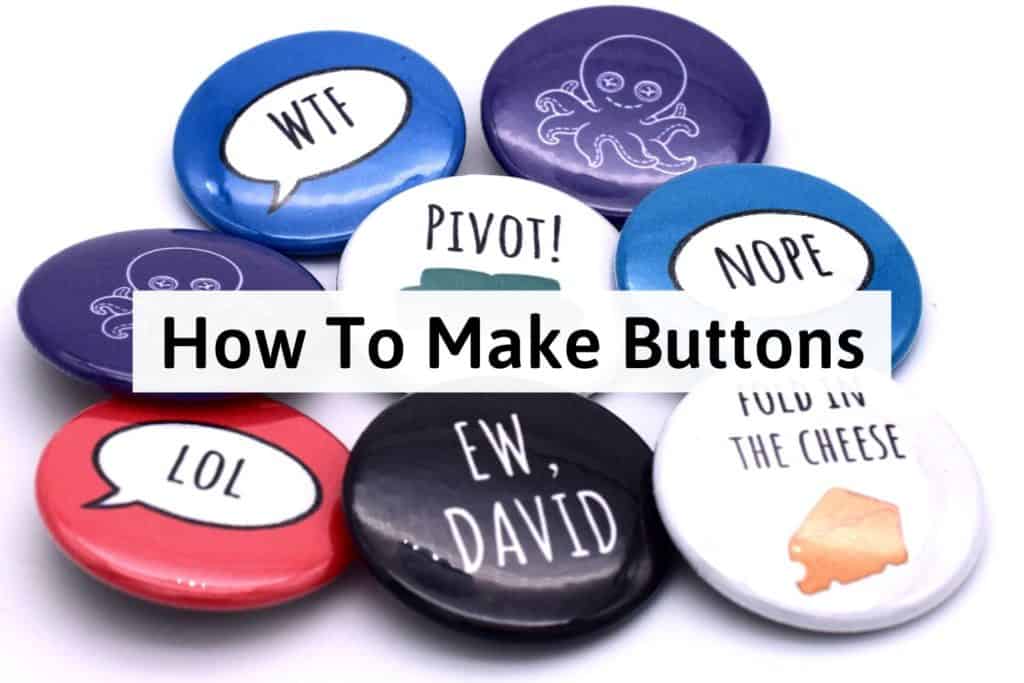
One of my favorite toys growing up was actually a button making machine. I got it as part of a focus group and loved making my own pins. They’re surprisingly easy to make and it’s so much fun coming up with new ideas for them!
I’ve also made it even easier by including free printable button templates of various sizes so you can make sure your design fits perfectly. There’s also a link to the digital version to edit it directly in Canva.
Get the latest DIY tutorials, reviews, and crafting updates
You'll never be spammed and can unsubscribe at any time
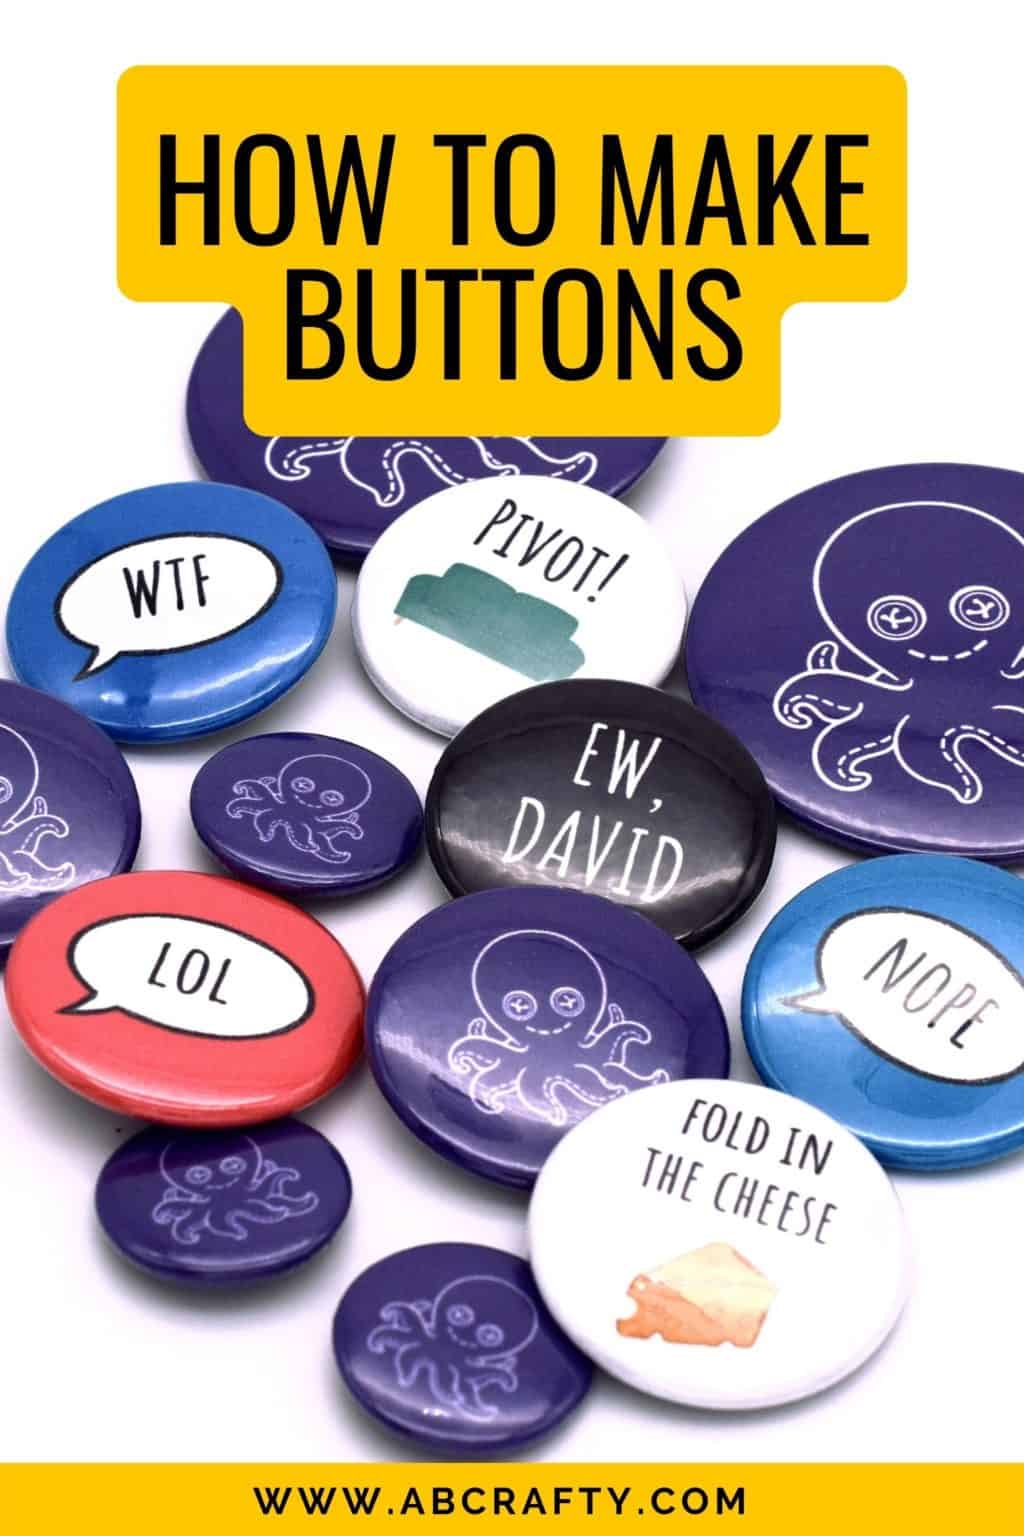
Don’t forget to pin it so you can easily come back to it later!
Materials to Make Buttons
- Button Maker (this is the one I used. You can also see this guide to the best button makers)
- Button Template (download and print it for free)
- Circle Cutter (such as this one)
- Paper
- Button Base and Backing and Plastic Cover that comes with the Button Maker (you can also find refills on Amazon)
Free Printable Button Template
Download this button template to make it easy to design your buttons. There are templates for the most common sizes of button makers – 1 inch, 1.25 inch, 1.5 inch, 2.25 inch.
You can download it below or from the shop.
Download the Free
Button Template
We’re committed to your privacy. AB Crafty uses the information you provide to contact you about relevant content and products. You may unsubscribe from these communications at any time.
How to Make Buttons
Create Your Button Design
The first step in how to make buttons is designing them. I’ve made a free printable template to make the process super easy. The template has different sizes, depending on the size of your button maker.
You can either print out the template and draw directly on it or I’ve also included a link to the digital template within Canva.
The yellow dotted line shows what will be included on the button face – anything outside of the line will be cut off. The line is simply a guide so be sure to delete it before you print the page!
Note: When printing – print at full size, without margins.
Print and Cut the Button Designs
After you make your design, delete the yellow line and print the page at full size, without margins.
Then use a punch or circle cutter (such as this one) to cut out your button designs.
Get the latest DIY tutorials, reviews, and crafting updates
You'll never be spammed and can unsubscribe at any time
Press the Buttons
You’ll need a button maker for this next step. This the one I’m using, but I’ve also tested multiple machines and they all work similarly (here’s my full button maker guide). Some have a rotating base like this one and others have a base that you slide under the pressing mechanism, such as this one.
To start, place the pin base (the plain disc) on side one of the machine.
Note: When you get a button machine, it should come with all the pieces to make the buttons, but just in case you can order additional pieces. There are 3 parts – the button base, the mylar circle, and the pin backing.
Then place your cut out button design on top.
Note: You’ll notice lines on sides – use those to center your design.
Next, place the clear plastic mylar circle on top.
If you’re using a rotating machine like this one, rotate the base so that your design is under the pressing mechanism.
If you’re using a sliding machine, slide it under the mechanism (this is the one in the second image).
Hold the base in place and pull down on the lever.
Note: On most button making machines, you don’t need to pull the lever all the way down. Pull it just until you feel resistance.
Next, take one of the pin backings. Notice there are two different sides – one has the pin and the other will have a zig-zag wire or sometimes a metal bar. You want to have the pin side facing down and the zig-zag or bar facing up.
Then place it into side 2 of the machine. Again, use the lines on the machine to center the backing.
Note: Side 2 will be the side that’s available since side 1 will be under the pressing mechanism.
Then rotate the base (or slide it if using a sliding button machine) so that the backing goes under the pressing mechanism.
Just as before, pull down on the lever just until you feel resistance.
Then rotate (or slide) the base to reveal your button.
Remove the button from the machine and pin it to whatever you’d like!
If you make your own buttons, I’d love to see them. Tag me on Instagram @ab.crafty!
Get the latest DIY tutorials, reviews, and crafting updates
You'll never be spammed and can unsubscribe at any time
I absolutely love making buttons and creating new designs. For the Friends fans out there, I made a “Pivot!” button and for the Schitt’s Creek fans, I made an “Ew, David” and “Fold in the Cheese” button.
Another great pin to make if you happen to be attending a bachelorette party is a “Buy the Bride a Drink” Venmo pin – similar to the bracelets I made.
How to Make Buttons of Different Sizes
If you want to make buttons of different sizes, you’ll need either multiple button makers or get a button maker that can make multiple sizes. For example, I have this one which can make a 1 inch, 1.25 inch, and a 2.25 inch button. I just change out the molds to switch button sizes. Here’s the full list of button makers I recommend that can make different sizes.
Related: Button Maker Guide
How to Make Buttons Without a Machine
The easiest way to make buttons without a machine is to get fillable plastic buttons such as these. It comes with two pieces – a front and back piece that has the pin backing.
Simply cut out your design and then place it face down into the front piece. Then snap the back part on. They aren’t as professional as using a button machine, but if you want to simply make some easy pins for cheap, this is the way to go.
If you need some inspiration for what to draw, check out this list of cool designs to draw.
More Crafts to Try
Get the latest DIY tutorials, reviews, and crafting updates
You'll never be spammed and can unsubscribe at any time
How to Make Buttons
Materials
- 1 Button Maker
- Button Template
- Circle Cutter or Punch
- Paper
- Button Base and Backing and Plastic Cover that comes with the Button Make
Equipment
- 1 Scissors or Circle Cutter
Instructions
Make the Button Design
- Download the button template and create your design.You can either print out the template and draw directly on it or I’ve also included a link to the digital template within Canva.Button Template
- Print the page at full size, without margins. Use a punch or circle cutter (such as this one) to cut them out.Circle Cutter or Punch, Paper
Press the Buttons
- Place the pin base (the plain disc) on side 1 of the machine.Button Base and Backing and Plastic Cover that comes with the Button Make, 1 Button Maker
- Place the printed design on top.
- Then place the plastic mylar circle on top.
- Rotate the base so it's under the press and pull down the lever.
- Place the pin backing on side 2, with the pin side face down.
- Rotate the base so it's under the press and pull down the lever.
- Spin it back around to reveal the finished button.
4 thoughts on “How to Make Buttons”
Hi! The link to the Canva template just takes you to the Canva home time and not to an actual template. Is there any way to find this for 2.25″ badges?
Thanks!
Hi, be sure to jump to the section to download the template and link to the Canva template – you’ll need to input your email and then it will send you to the template.
I’ve included templates for 2.25″ buttons.
Hi! How do i add the image to the temple on Canva ?
You’ll want to upload the image to Canva (I personally just drag and drop to the left bar). You can also go to ‘uploads’ and click ‘upload files’