Swirl Bracelets – DIY Fabric Paint Adjustable Bracelets
Home » Blog » DIYs and Craft Projects » Swirl Bracelets – DIY Fabric Paint Adjustable Bracelets
-
Daniela Kretchmer
- Updated: Oct 27, 2023
- Accessory, Fabric Paint Crafts, Jewelry, Valentine's Day
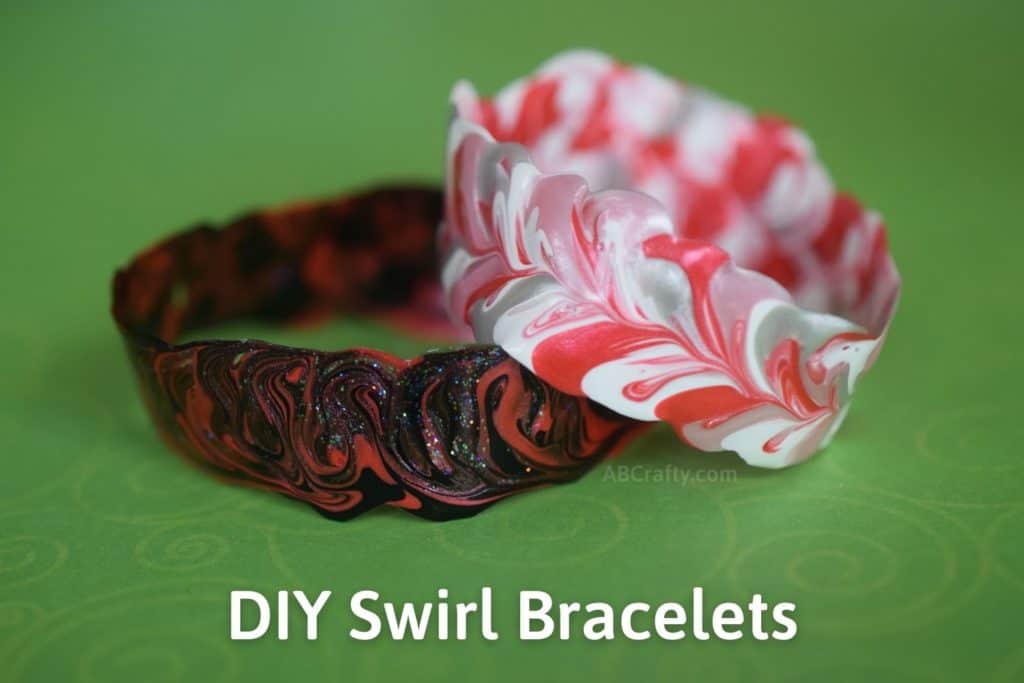
Learn how to make swirl bracelets using fabric paint. These DIY adjustable bracelets are incredibly easy to make, making them a great craft for kids, but they come out absolutely beautiful, making them also great for adults.
Table of Contents
I originally had the idea for these whimsical and stretchy bracelets at a street fair. One of the stalls was selling these beautiful swirly plastic bracelets for something like $20-30 each. The woman managing the stall showed me how they’re completely adjustable. I picked one up and thought it felt familiar. It took me a minute, but then I realized they felt (and smelled) like window cling paint or fabric paint!
So that evening when I went home I took out my fabric paints and sure enough, success! I don’t think I’ll ever know if hers are also made this way, but this has been a fun craft to make. I just love the idea and how easy they are to customize. The ones I made were specifically Valentine’s bracelets to give as gifts. So you can make yours for any occasion or as adorable friendship bracelets.
Who knew you could paint bracelets!
Note: Some links in this post may contain affiliate links, which means at no cost to you, I may earn a commission.
Materials for Swirl Bracelets
- Fabric paint in various colors (I recommend this basic set to start and you can also add this glitter set)
- Plastic freezer bag or other thick plastic
- Paintbrush or toothpick
Video Instructions
Instructions to make DIY Swirl Bracelets
Place a plastic freezer bag or the thick plastic on your work surface. You’ll create the DIY bracelets on the plastic.
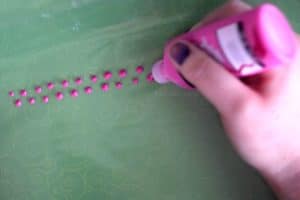
Choose one color of fabric paint and make two uneven rows of dots. They should be spaced apart the width you would like your swirl bracelet to be. In my case, I made them about 1/2″ to 3/4″ apart.
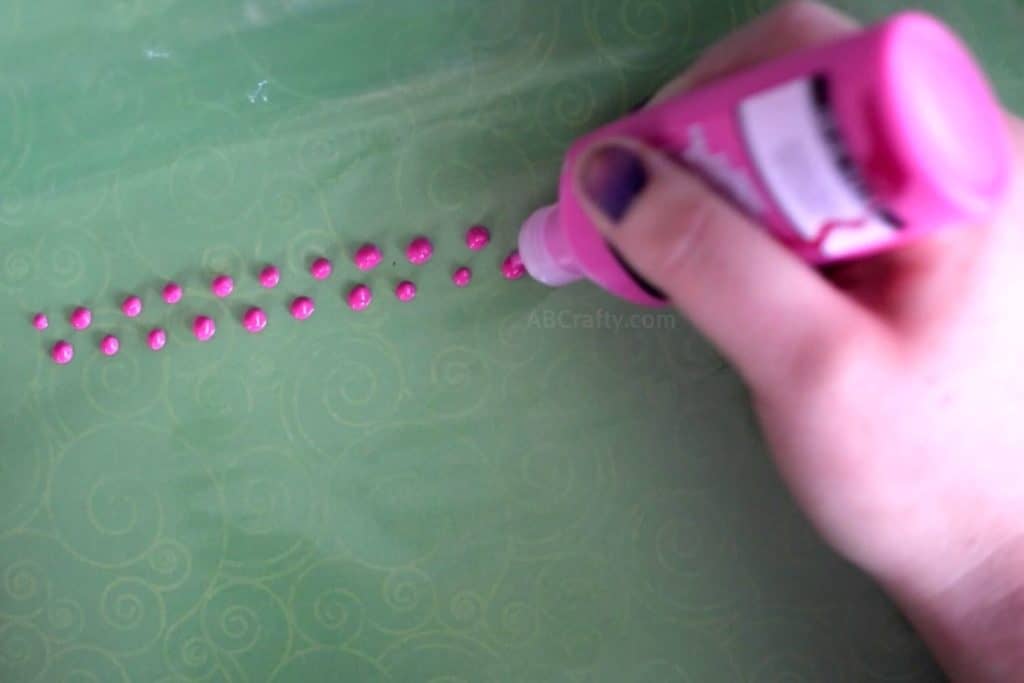
The length of the adjustable bracelet will be determined by how long you paint on the dots. Therefore measure your wrist and add 1 inch to it. For example, I made mine 6 inches long because my wrist is about 5 inches. This will allow room to adjust the bracelet for comfort.
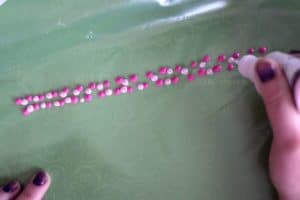
Choose another color of fabric paint and add dots next to the ones you already made.
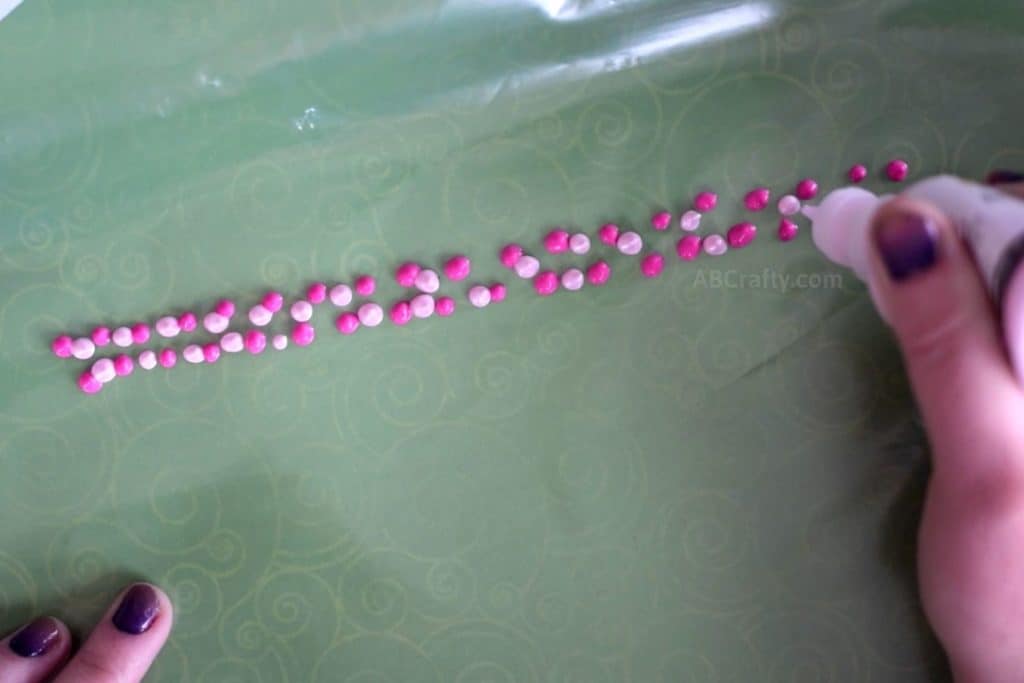
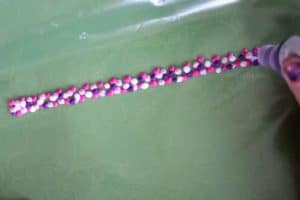
Continue filling in as many colors of dots as you would like until almost all of the space is filled in.
I personally like to combine different colors and types of fabric paint. In this one I included glitter and metallic paints for a fun effect.
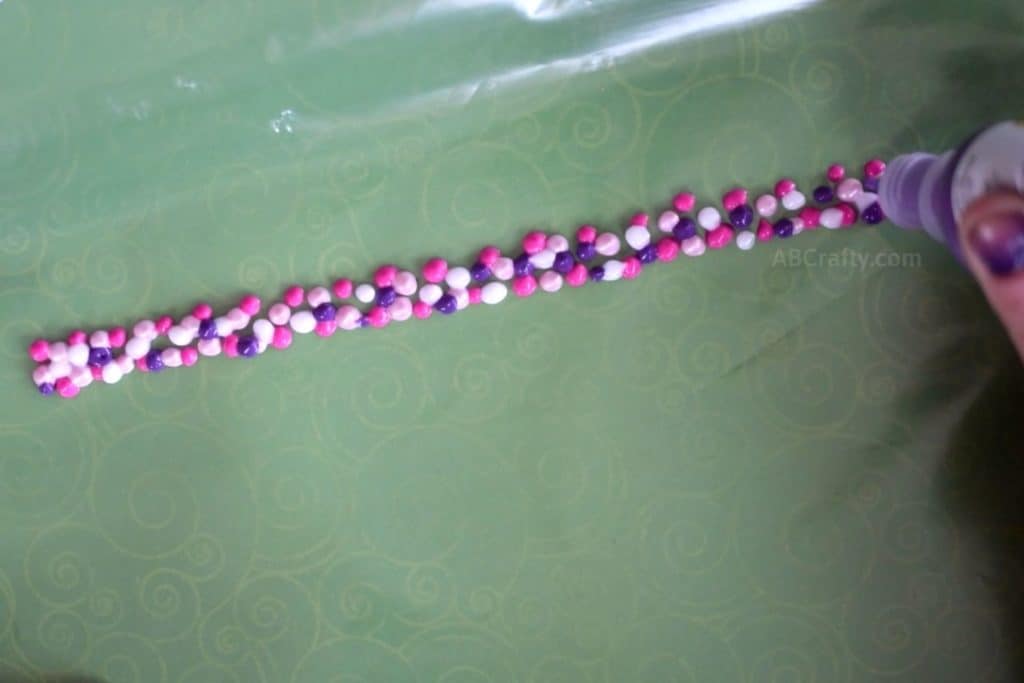
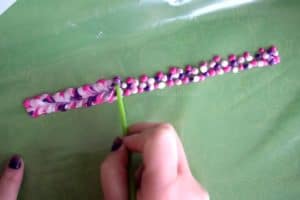
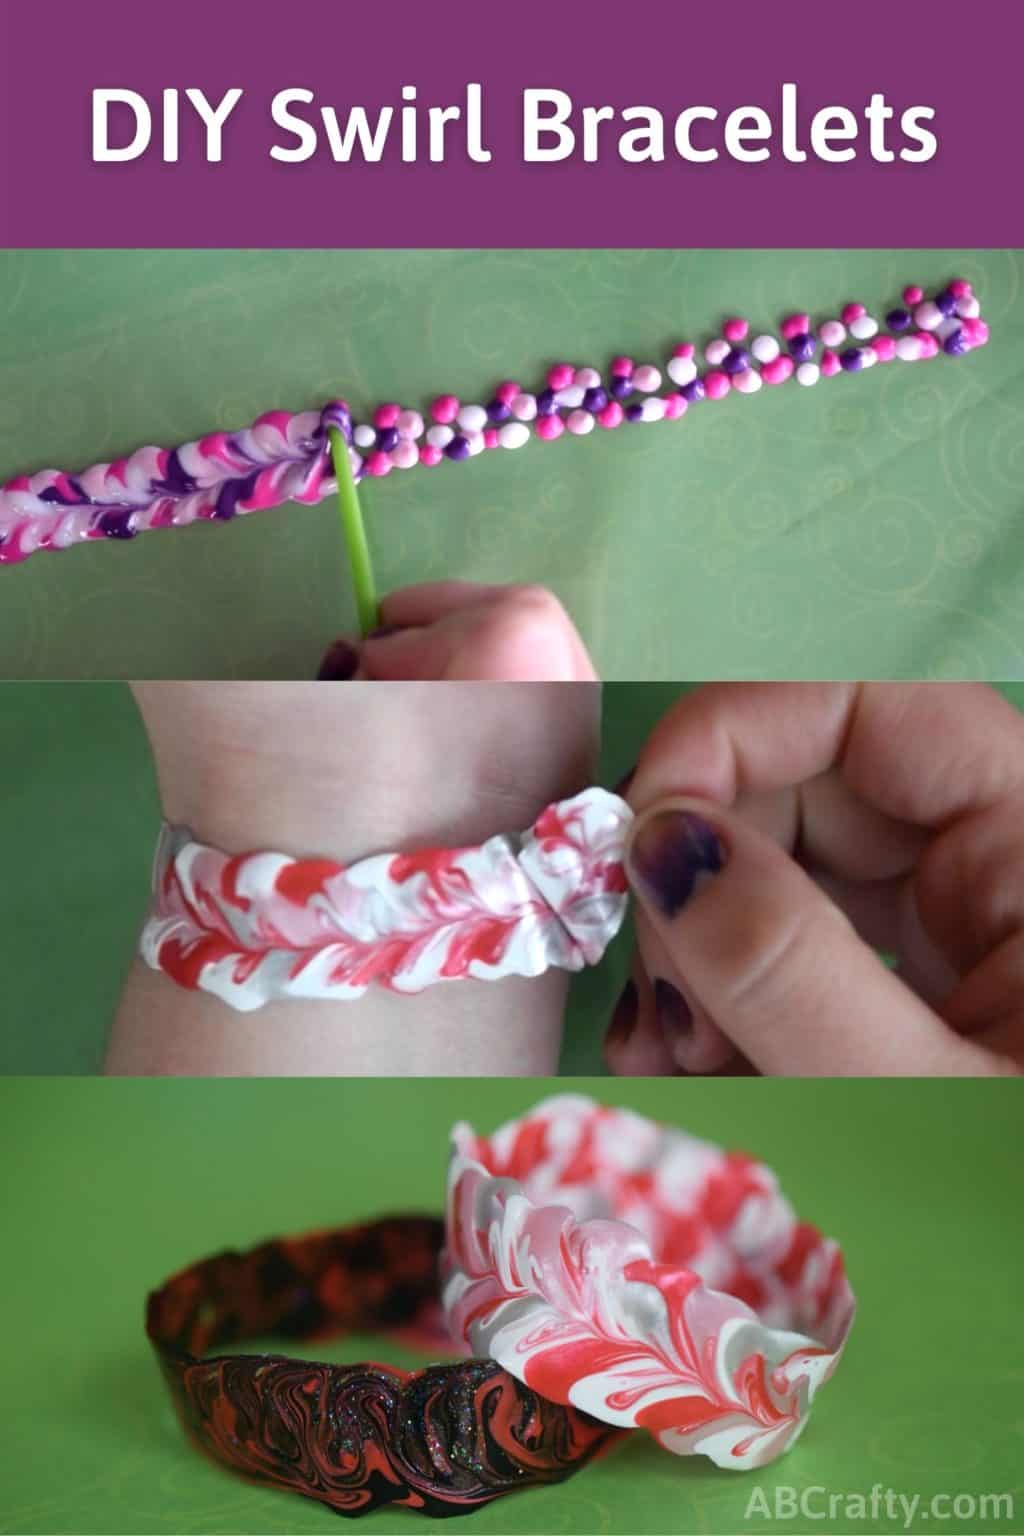
Take the back of a paintbrush and starting on one end, move it in a figure-8 pattern through the paint.
Tip: You can use whatever you would like to make the swirl. I happened to use a paintbrush, but you can use something like a toothpick, popsicle stick, skewer, straw, etc.
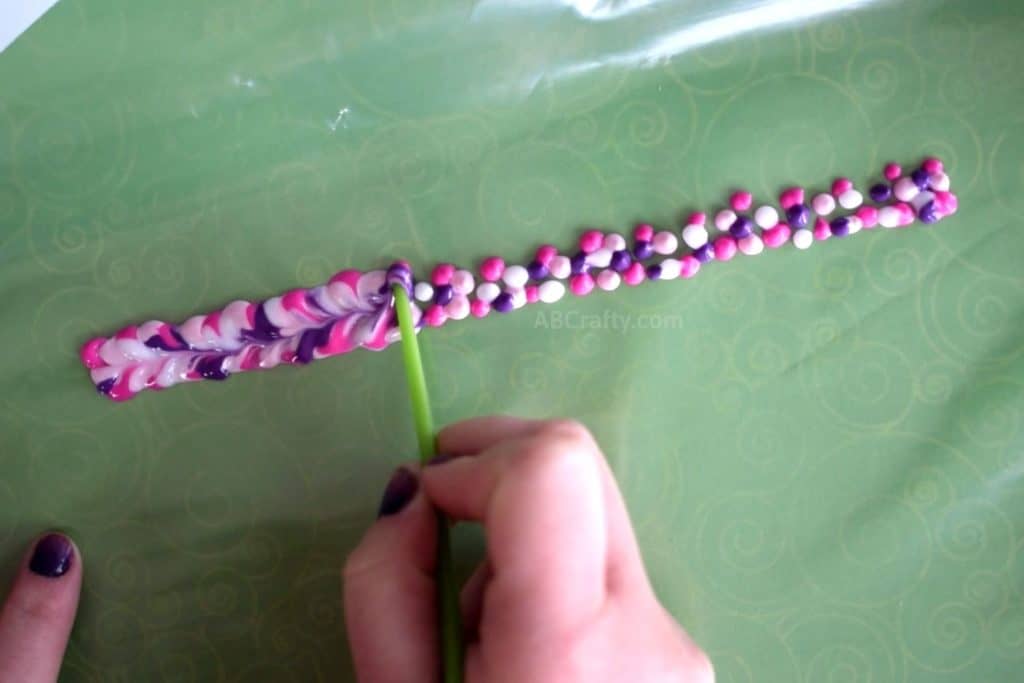
You can also go back down in the other direction to make the colors swirl even more. There’s really no wrong way to make the swirl bracelets.
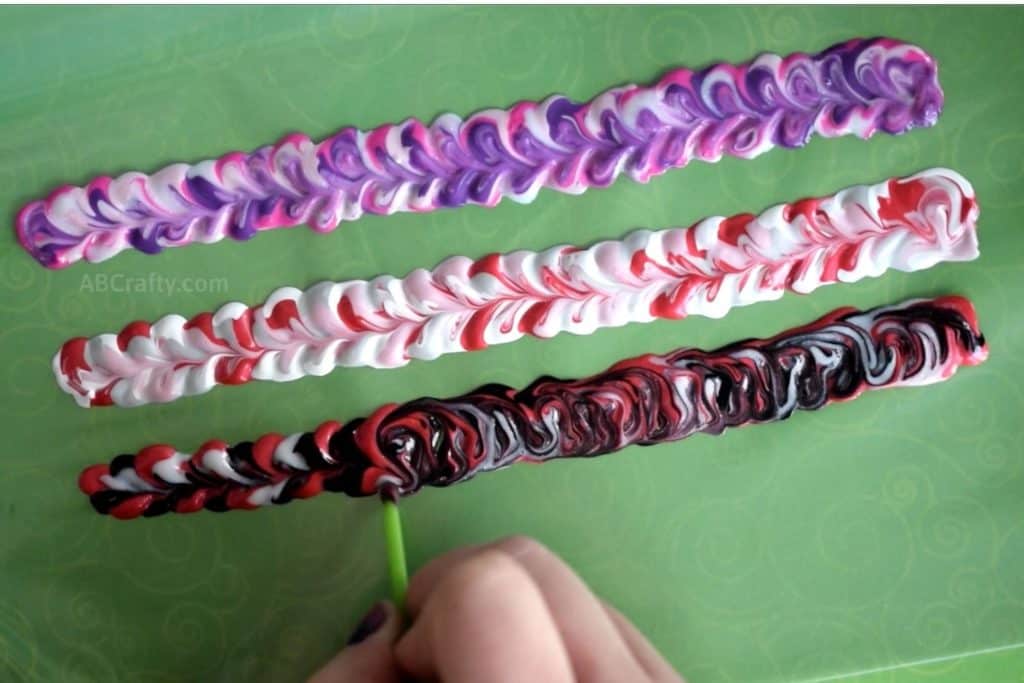
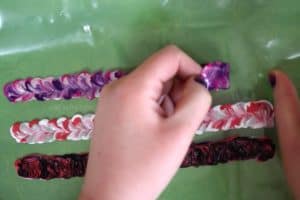
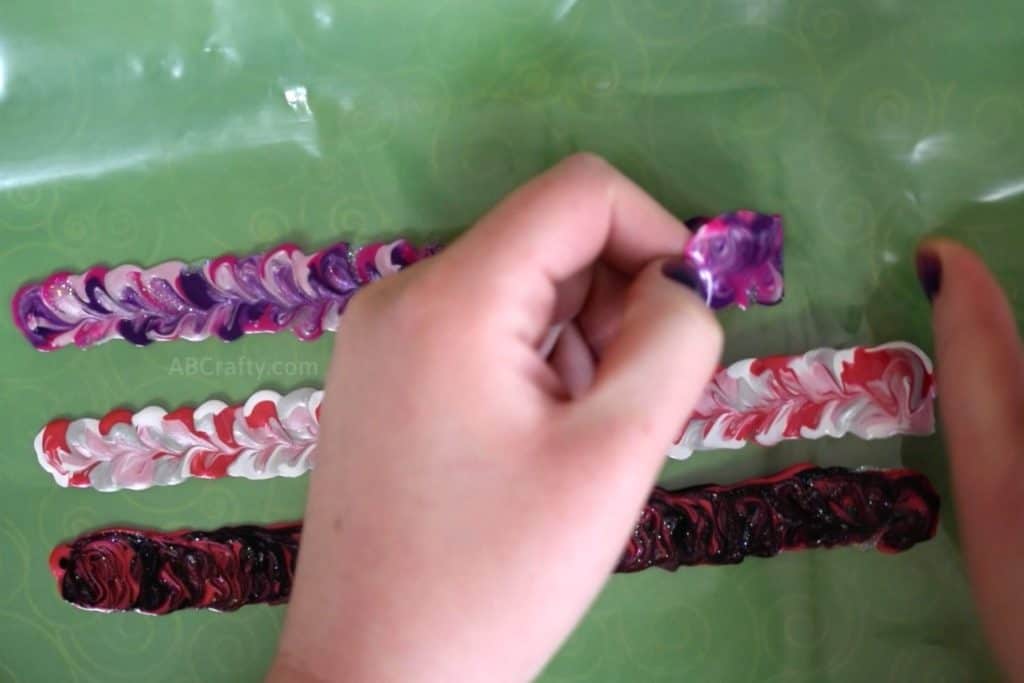
Let them dry completely and carefully peel them off of the plastic.
Tip: Don’t let the bottoms of the bracelets touch when peeling them off. The bottoms will stick together when freshly peeled and won’t be able to come apart.
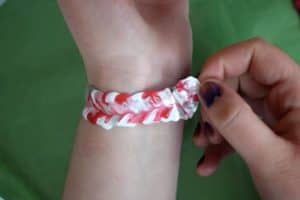
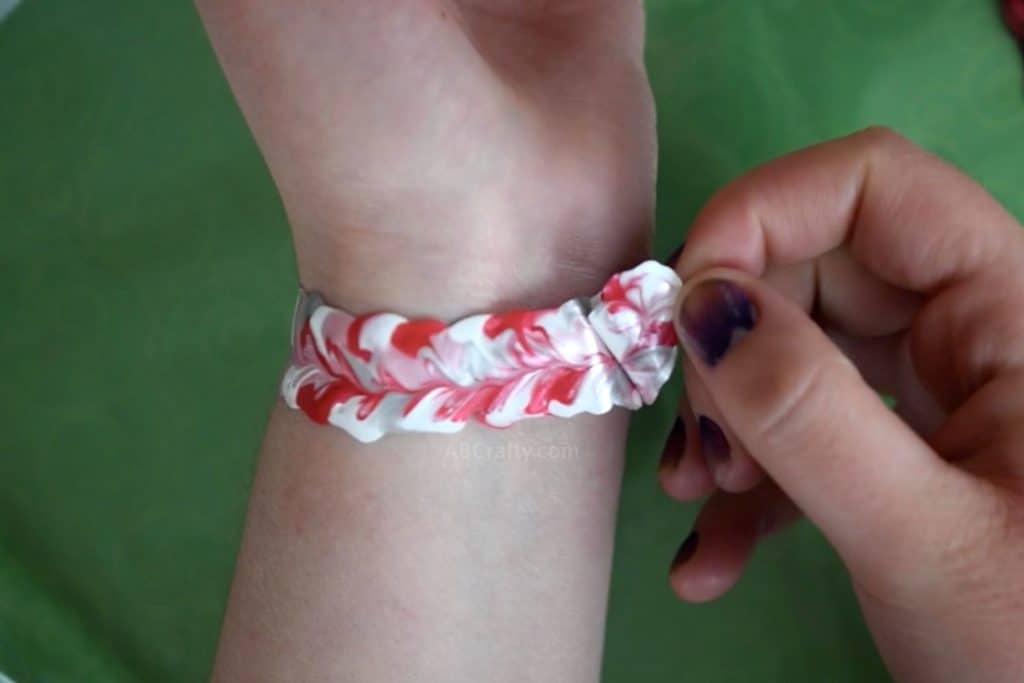
Now your fabric paint bracelets are ready to wear. Simply wrap them around your wrist and allow it to overlap, sticking to itself.
As long as the bottom touches the top, you’ll be able to unstick it. What’s also fun is the fabric paint gives them some stretch so you can play around with the stretchy bracelets.
Get the latest DIY tutorials, reviews, and crafting updates
You'll never be spammed and can unsubscribe at any time
More Craft Projects and DIY Accessories
Get the latest DIY tutorials, reviews, and crafting updates
You'll never be spammed and can unsubscribe at any time
Swirl Bracelets
Materials
- Fabric Paint (Various colors)
Equipment
- Paintbrush or Toothpick
- Plastic Bag
Instructions
- Choose one color of fabric paint and make two uneven rows of dots on the plastic bag. They should be spaced apart the width you would like your swirl bracelet to be.
- Choose another color of fabric paint and add dots next to the ones you already made.
- Continue filling in as many colors of dots as you would like until almost all of the space is filled in.
- Take the back of a paintbrush and starting on one end, move it in a figure-8 pattern through the paint.
- Let them dry completely and carefully peel them off of the plastic.
- Wrap the swirl bracelet around your wrist and allow it to overlap, sticking to itself.

