

Want to try leather handbag making? I put the Babylon Leather Birkin kit to the test and filmed every step. Here’s my honest review and complete tutorial so you can easily sew your own designer bag.
Table of Contents
If you’ve been curious about leather bag making, the Babylon Leather Birkin bag kit is a fantastic project to try. This all-in-one set makes DIY leather bag crafting surprisingly approachable, even if you’ve never attempted leather purse making before. After making the Kelly kit, I couldn’t wait to test Babylon’s Birkin version to see how it compared (this is the kit I got).
Note: Some links in this post may contain affiliate links, which means at no cost to you, I may earn a commission.
Get the latest DIY tutorials, reviews, and crafting updates
You'll never be spammed and can unsubscribe at any time
Don’t forget to pin it so you can easily come back to it later!
Babylon Leather Coupon Code: ABCRAFTY
If you’re interested in getting the Babylon Leather Birkin Bag Kit, you can get it here. And be sure to use my coupon code: ABCRAFTY
It will get you an additional 10% off on top of whatever sale they’re running. This means you’ll likely get a total of 25-35% off using my code.
Instructions for the Babylon Leather Birkin Bag Kit
Just like I did with the Kelly bag, I created my own video instructions to create this leather purse. Babylon Leather’s instructions are just… not great so I wanted to help everyone else who is struggling with it. Hope it helps!
Below the video is an outline of the steps to help you understand the overall process.
You can get this exact Birkin Bag DIY kit I used in the video directly from Babylon Leather’s website (be sure to use code ABCRAFTY to get an additional 10% off!)
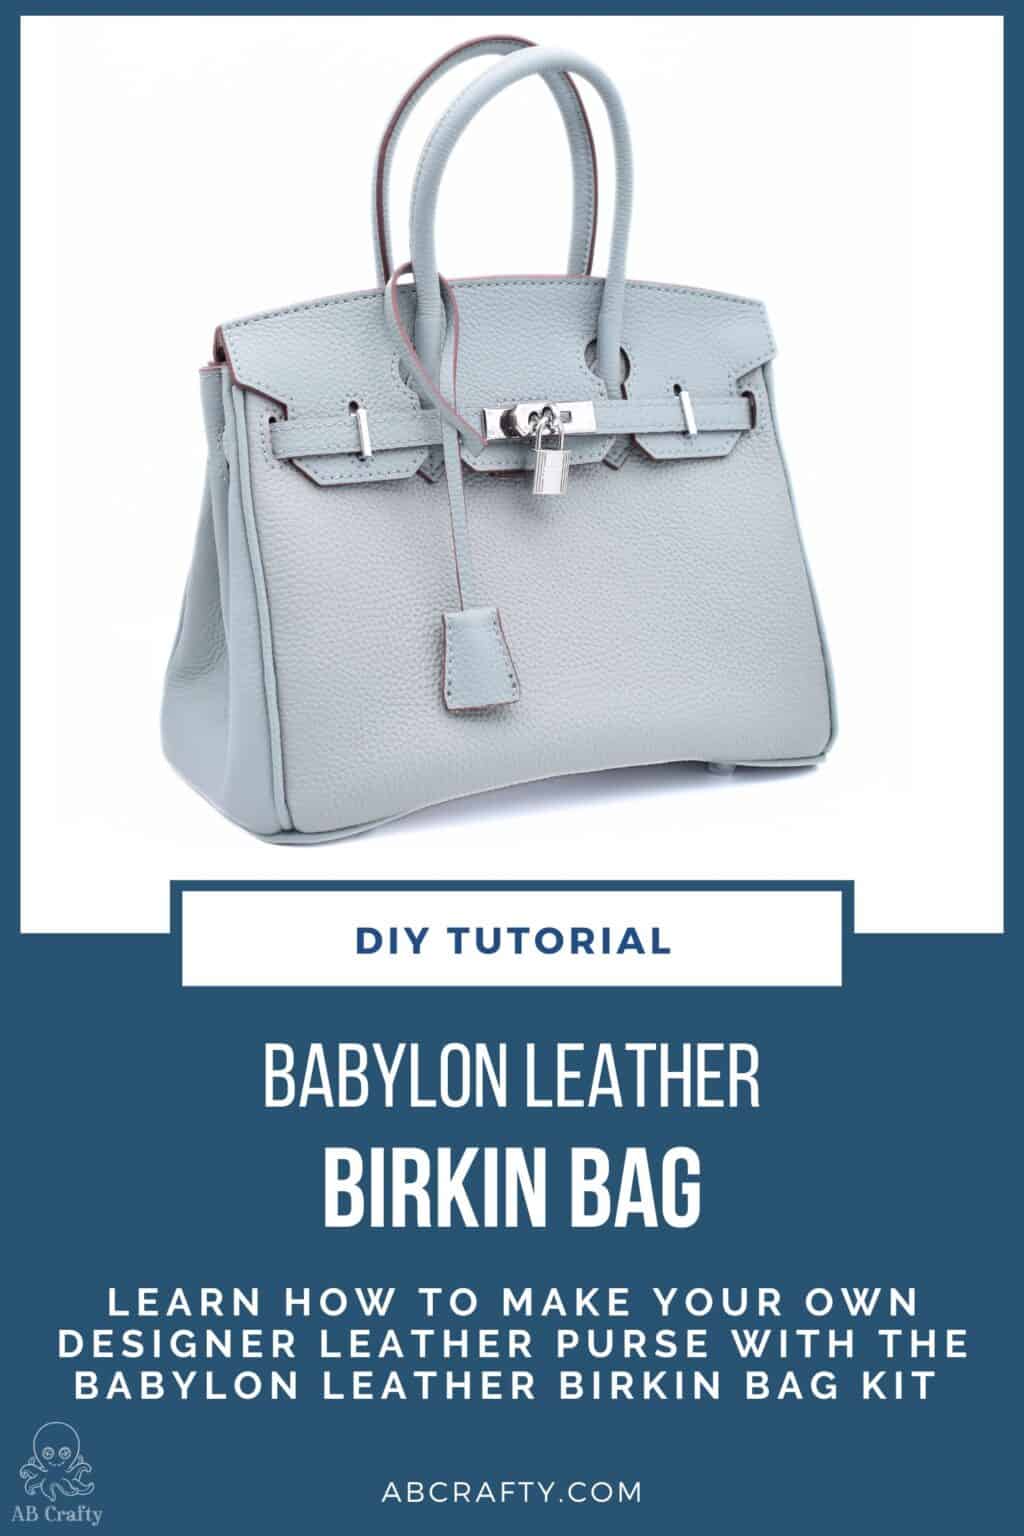
Mine is the large bag in Haze Blue with matching thread.
Overview of the Babylon Leather Birkin Bag Assembly Process
- Prepare Your Materials – Thread your needles and get comfortable with the basic stitch. You’ll use the same stitch through the entirety of the bag making process.
- Attach the Components– Sew the pocket, complete the bottom of the bag, attach the handles, and clasp.
- Assemble the Pieces and Add Piping – Attach the side panels and bottom, creating piping details in between.
- Add the Pocket – Turn the bag right-side out and sew in the pocket.
- Install Hardware – Add the hardware to the strap, secure the lock, and attach the optional strap.
- Final Assembly – Weave the straps, secure everything, and admire your finished bag!
You May Also Like...


What's Included in the Kit?
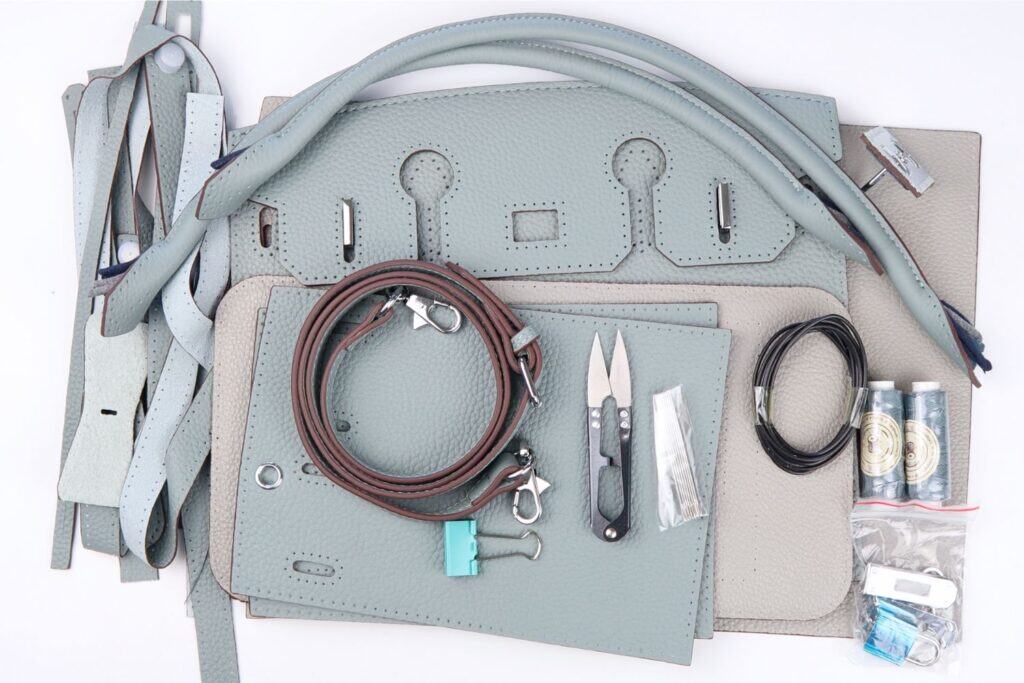
This all-in-one kit comes with (almost) everything you need. Whether you’re completely new to sewing leather bags or already enjoy leather bag making, the ready-to-stitch pieces make this project beginner-friendly:
- Pre-cut and pre-punched genuine leather pieces
- Plastic cord for the piping
- Matching hardware (buckles, clasps, and lock)
- Wax thread and needles (a bunch of extra needles!)
- Finger grips
- Snippers
- Binder clip
The one thing it doesn’t come with is a lighter, which you will use to melt the ends of the thread to keep them from fraying (you can also use an thread burner like this one, which you can get for 15% off with code ABCRAFTY) . I also found it helpful to have a pair of scissors to cut the piping.
Get the latest DIY tutorials, reviews, and crafting updates
You'll never be spammed and can unsubscribe at any time
My Honest Review of the Babylon Leather Birkin Bag Kit
Review of the bag making process
This is now my second bag from Babylon Leather (the first being the Kelly bag, which used this kit) and aside from the change to the thread, I still love these kits!
What’s unique about the Birkin bag is you add in piping to the sides and bottom as you sew the pieces together. It’s tricky to get it started, but I found myself really liking this part.
Compared to the Kelly kit, though, the handles created a different type of challenge. For the Kelly kit, it was difficult to secure the handles to the bag, but for this Birkin kit, the handles come with cloth filling, making it challenging to sew through so many layers of material. Then you have the added challenge of finding the pinholes between all of those layers so it definitely took some finagling.
All that being said, just as last time, I still enjoyed the meditative process of repeating the same “task” of each stitch. And this time I learned my lesson and gave myself plenty of breaks so that my fingers weren’t hurting too badly (though there were definitely days where I would work on it for hours).
Review of the instructions
Now that this is my second kit, I can easily confirm that Babylon Leather’s instructions are simply bad. Not only do they only have video instructions, but also their video is difficult to follow and contains incorrect information.
To start, there’s definitely a language barrier so the instructions (which are really just captions) have odd translations. Then there were multiple times that it gave the incorrect pinhole count, which caused me to sew an entire side panel, just to have the pieces not align and then I had to re-do it.
Lastly, they don’t provide tips on how to complete more difficult parts.
All that being said, I’ve hopefully solved this problem by creating my own detailed tutorial to hopefully make the process more clear. Watch my step-by-step video here.
Pros and Cons
Pros
- High-quality materials – Real top-grain leather and solid metal hardware.
- Beginner-friendly – Everything is pre-punched so you don’t have to worry about that. This is only my second leather project so I’m definitely still a beginner and I was able to complete it.
- Luxury look for a DIY price – I mean it’s a dupe of the actual Hermes Birkin Bag, so for this price it’s pretty amazing. Plus you get to make it yourself!
- Thread choice – you get to choose whether you want white thread or thread that matches the color of the leather you select (I personally like the matching color!)
- Piping Detail – I absolutely love the piping details of this bag and it’s just interesting to see how piping is created.
Cons
- Need to supply your own lighter or thread burner – I get that it would be difficult to ship a lighter, but it ultimately is a bummer that you’re all ready to go and then realize you need to get another tool. But now that you’re reading this you’ll be prepared! I also do recommend getting a thread burner (this is the one I have) – I found it was much easier to use and is just safer since there isn’t an open flame.
- Terrible instructions – As mentioned, the video instructions are just bad and there are no written instructions. Though this part is solved (hopefully!) with my own video instructions.
- Thread isn’t as good – For some reason the thread on this kit was different than that of the Kelly bag and was wayyy more prone to unravelling. I messaged the brand and they said it’s just a different type of thread. After looking into it, I found the difference was this thread is round and the previous kit had flat thread.
Final Thoughts
Aside from the price, I still love this kit! And while the instructions were terrible, I hope I’ve solved that problem with my own instructions.
So if you’re at all interested, I’d say go for it. It especially would be a great gift for a crafter!
And don’t forget, you can get an additional 10% off with code ABCRAFTY!