Loom Knit Hat

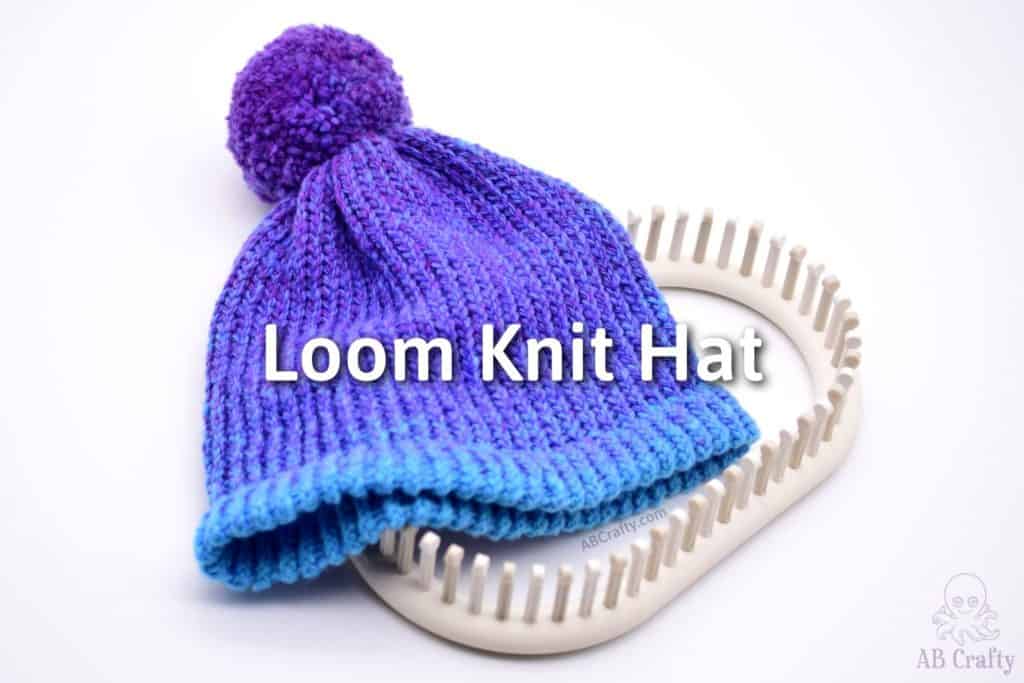
finished blue and purple knit beanie with a double brim and purple pom pom on top of the adjustable knitting loom with the title "loom knit hat"

Make a double-brimmed loom knit hat with our without a pom pom. Includes easy instructions to knit this hat in an afternoon!

Table of Contents

Now that we’re getting into cooler weather, it’s a great time to knit some warm hats. They only take a few hours to knit up and make great gifts for the holidays. This tutorial shows how to make hat with a double brim and gathered top. I also included variations with and without a pom pom.

I absolutely love using a knitting loom as it’s more of a meditative activity since they’re so easy to use (that’s why I recommend it as one of the best gifts for crafters). I’m the type of person who has a full meltdown with a dropped stitch when using knitting needles so I’m all about knitting looms. It’s also a great project for kids to keep their hands busy!

I’ve also included a free downloadable size chart for knitting loom hats.

If you want to knit a hat even faster, try the Knitting Machine Reversible Hat.

Get the latest DIY tutorials, reviews, and crafting updates

You'll never be spammed and can unsubscribe at any time

Note: Some links in this post may contain affiliate links, which means at no cost to you, I may earn a commission.

Don’t forget to pin it so you can easily come back to it later!
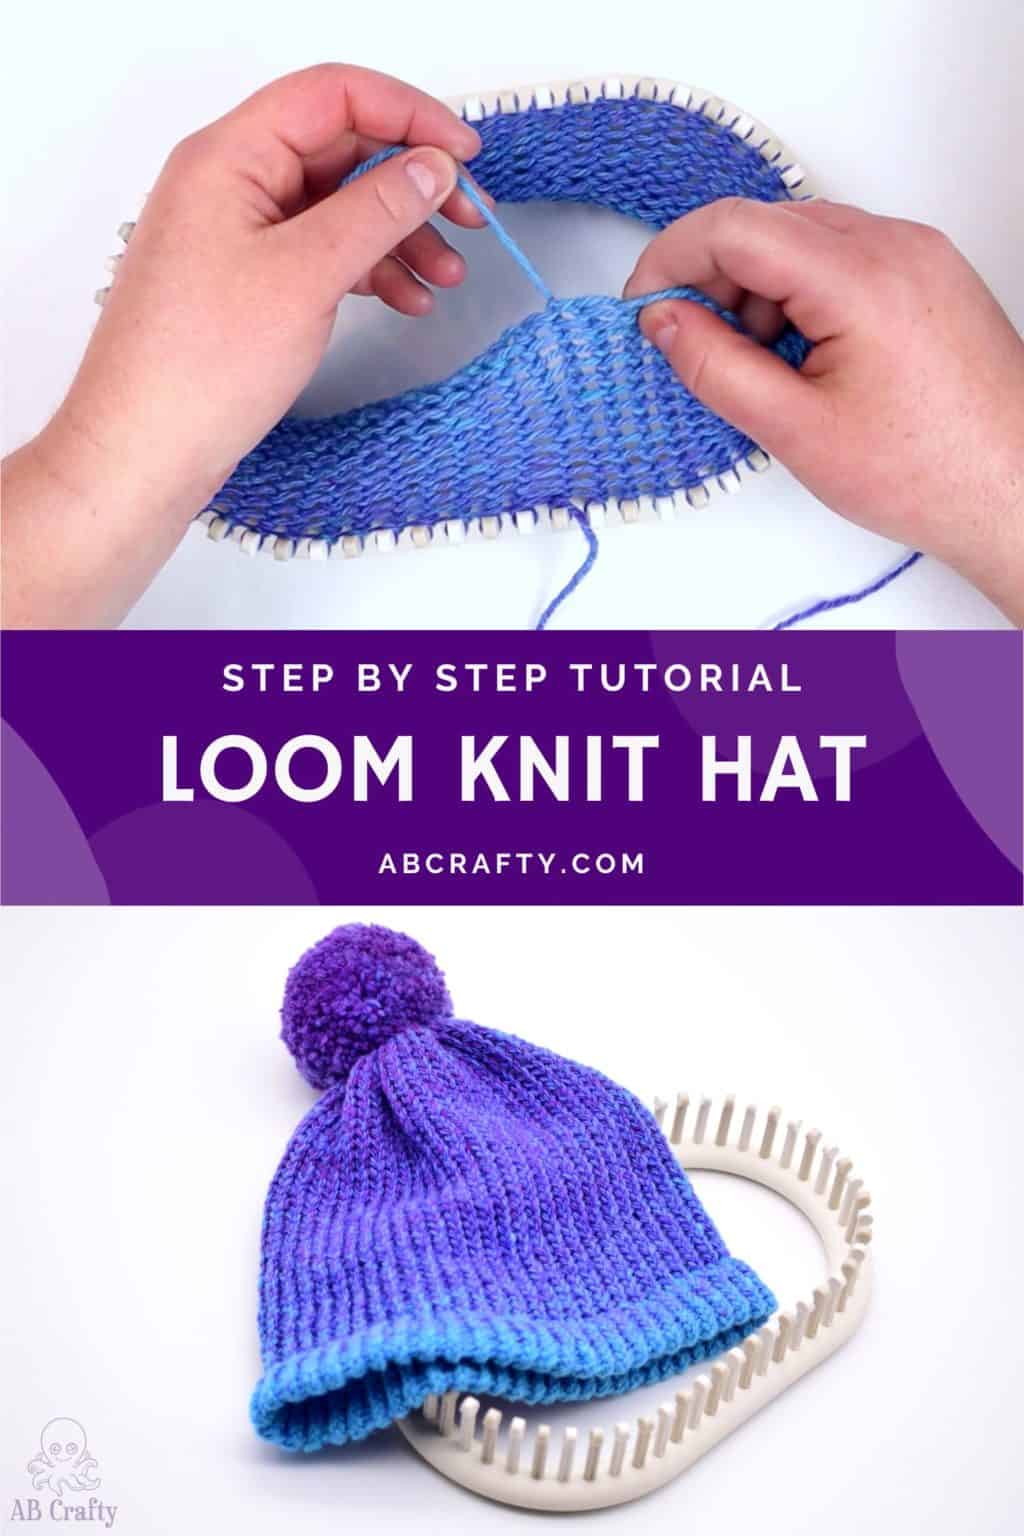
top image is showing the first 10 rows of the knitting on the loom and the bottom image shows the finished knitting loom beanie. the title reads "step by step tutorial - loom knit hat, abcrafty.com"

Materials to Make a Loom Knit Hat

Loom Knit Hat Size Chart

Use this free printable loom knit hat size chart to easily access all the sizing information you need. All sizes are approximate depending on the loom, yarn, and stitches so modify as necessary. You can download it below or from the shop.

AB Crafty Loom Knit Hat Size Chart Image

Download the Free Knitting Loom Hat Size Chart

We’re committed to your privacy. AB Crafty uses the information you provide to contact you about relevant content and products. You may unsubscribe from these communications at any time.

How to Make a Loom Knit Hat

Set Up Your Knitting Loom

Set up your knitting loom based on the size of hat you want to make. I’m using adjustable loom like this one, which makes it super easy to make different sizes without having to buy separate looms. I made a free printable size chart for these looms so you can easily see the parts you need.

I made a child’s size hat so I used the two curved pieces and 2 connector pieces. I also like to have a tighter knit so I included all of the pegs.

Tip: If your knitting loom doesn’t come with a first peg marker, use a sharpie to mark one of the pegs. This will be your first peg.

holding a white and grey adjustable knitting loom

Wrap the First Row

Start on the first peg and either make a slipknot or simply wrap the yarn around the peg. Be sure to leave a tail.

Tip: If you choose not to use a slipknot, hold the yarn tail with your other hand.

Tip #2: If you’re right-handed it’s likely easier to go from left to right. If you’re left-handed, it’s likely easier to go right to left.

Tip #3: Use a yarn bowl to keep your ball of yarn from falling off the table (these are some great options).

wrapping blue yarn around the first peg of an adjustable knitting loom

Continue wrapping the yarn around each peg, starting behind the beg and bringing it around the front. Repeat the process all the way around, until you come to the first peg again.

wrapping blue yarn on the second peg of a knitting loom

Get the latest DIY tutorials, reviews, and crafting updates

You'll never be spammed and can unsubscribe at any time

Knit the First Row of the Loom Knit Hat

Wrap the yarn around the first peg, above the first stitch. Then use the hook to go under the bottom loop and bring it over the top loop and behind the peg. You’ve officially completed your first stitch of the loom knit hat!

Tip: It helps to push the bottom row of stitches down to the base of the peg.

blue yarn wrapped all the way around a knitting loom and using a tool to hook under the bottom stitch
using a knitting loom hook to lift the bottom stitch

Continue wrapping the yarn around the next peg and using the hook to bring the bottom stitch over the top and behind the peg.

wrapping blue yarn around the next page in a row on a knitting loom
using a knitting loom hook to lift the stitch over the peg of the loom

The knitting will start to form on the inside of the loom. When the length is double the length of the brim you want, stop at the last peg.

I like to eyeball how long I want the brim to be, but for this child’s hat I knit 14 rows.

Make the Double Brim

When you’re ready to form the brim (after you’ve knit the length of brim you want to make x2), find the first loop you wrapped.

Tip: I find the easiest way to find the first loop is by finding the tail of the yarn and looking next to it. In the image below, between the tail and my right hand are the first 2 loops.

pulling the starting string of the knitting, showing the first 10 or so rows of the knitting loom

Take the first loop and place it over the first peg. This will make the knitting fold in half.

placing the first loop over the first knitting loom peg

Then find the next loop and put it over the second peg.

showing the second loop over the second peg on the knitting loom

Continue this process until each loop is over its respective peg.

Then just as before, use the hook to bring the bottom stitch over the top and behind the peg. Repeat this for each peg.

Tip: Tuck the beginning yarn tail into the fold so that it doesn’t show. I completely forgot to do that on this one, but it’s my preferred method for hiding the starting tail.

all of the first row of loops folded over and secured onto the pegs of the knitting loom

Finish the Loom Knit Hat

Once your brim is formed, continue wrapping each peg and using the hook to lift it over the top peg.

Eventually you’ll reach the length of hat you want (you can refer to the loom knit hat size chart).

several rows of knitting on a knitting loom with a folded brim at the base, using blue to purple gradient hand spun yarn

After you knit the length of hat you want, cut off the end of the yarn so that you have a long tail.

Tip: To make sure you have enough yarn, wrap it around the whole loom twice and cut it to that length.

cutting the purple yarn with the knit project on the knitting loom behind it

Thread the yarn through the needle and starting with the first peg, push the needle from the bottom through the loop on the first peg.

using a red plastic needle to go under the first peg of the knitting loom, under the first stitch

Then lift the loop off of the first peg and pull the yarn all the way through.

pulling the loop off of the first peg

Repeat this process for each peg until the knitting is completely off of the loom.

all of the loops off of the knitting loom with the knit project in the middle

Turn the knitting inside out. Then carefully pull the yarn to tighten the opening at the top of the loom knit hat.

pulling the purple yarn to close the top of the loom knit hat

If the opening is still showing, use the needle to go through the loops again, pulling them tighter together. Eventually, the hole will close up.

Then tie a knot in the end of the yarn tail. I like to do this by looping it through a stitch and then passing the needle through the loop. Repeat this a couple times to make a secure knot.

making a loop to create a knot at the top of the knit hat

To hide the end of the tail, pass the needle through several of the back stitches, then trim off the excess yarn.

Repeat the process for the starting yarn tail if you did not fold it into the brim.

using a red plastic needle to sew through stitches at the top of the hat

Turn it right side out and you have your finished loom knit hat!

I forgot to take a photo at this stage prior to adding the pom pom, but here is another hat I knit on a knitting loom so you can see what it looks like.

maroon, red, pink, and brown knit hat with a double brim on a hat block

Optional - Add a Pom Pom

If you want to add a pom pom, you can either make your own with this tool or purchase one (such as these). Here are instructions for how to make your own.

If you make your own like I did, leave the tails and thread them through the needle. Then in the same way you closed up the top of the hat, sew one end through the top loops (I like to go through multiple loops in the whole circle. End with the yarn on the inside of the hat.

Repeat with the other tail.

using a red plastic needle to sew the string of a pom pom into the top of the loom knitting hat

Looking at the inside of the hat you should see both tails. Use them to tie a knot on the inside of the hat. Repeat for an extra secure knot. Then use the needle to sew the tails into some stitches to hide them.

pulling the ends of the pom pom strings on the inside of the loom knitting hat to secure the knot

Turn it right side out and your knitting loom hat with a pom pom on top is ready to wear!

If you make your own, I’d love to see it! Tag me on Instagram @ab.crafty!

Get the latest DIY tutorials, reviews, and crafting updates

You'll never be spammed and can unsubscribe at any time

finished blue and purple loom knit hat with a double brim and purple pom pom

And here’s how it looks on a hat block.

finished blue and purple loom knitting hat with a double brim and purple pom pom on a wooden hat block

More Fiber Projects and Supplies

Get the latest DIY tutorials, reviews, and crafting updates

You'll never be spammed and can unsubscribe at any time

finished blue and purple loom knit hat with a double brim and purple pom pom on top of the adjustable knitting loom

Loom Knit Hat

Make a double-brimmed loom knit hat with our without a pompom. Includes easy instructions to knit this hat in an afternoon!
Yield 1 Hat
Project Time 3 hours
Total Time 3 hours

Materials
  

  • 100-220 yards Worsted Weight Yarn Amount depends on hat size

Equipment

  • 1 Knitting Loom
  • 1 Knitting Loom Hook and Needle
  • 1 Yarn Bowl optional

Instructions
 

Knit the First Row

  • Set up your adjustable knitting loom (this is similar to mine) to the size of hat you want to make. (Use the loom knit hat size chart for reference)
    holding a white and grey adjustable knitting loom
  • Make a slipknot or simply wrap the yarn around the first peg.
    100-220 yards Worsted Weight Yarn
    wrapping blue yarn around the first peg of an adjustable knitting loom
  • Continue wrapping the yarn around each peg, starting behind the beg and bringing it around the front.
    wrapping blue yarn on the second peg of a knitting loom
  • Wrap around the first peg again, above the first stitch. Then use the hook to go under the bottom loop and bring it over the top loop and behind the peg.
    using a knitting loom hook to lift the bottom stitch
  • Repeat this for each peg, continuing until you've knit double the length of the brim you'd like. Stop on the last peg.
    pulling the starting string of the knitting, showing the first 10 or so rows of the knitting loom

Form the Brim

  • Find the first loop you wrapped and put it over the first peg, folding the knitting in half.
    placing the first loop over the first knitting loom peg
  • Continue this process until each loop is over its respective peg.
    Use the hook to bring the bottom stitch over the top and behind the peg. Repeat on all pegs to secure the brim.
    all of the first row of loops folded over and secured onto the pegs of the knitting loom

Finish the Loom Knit Hat

  • Start wrapping each peg again and using the hook to lift it over the top peg. Continue until you've made the length of hat you'd like.
    several rows of knitting on a knitting loom with a folded brim at the base, using blue to purple gradient hand spun yarn
  • Cut off the end of the yarn so that you have a long tail and thread the needle. Push the needle from the bottom through the loop on the first peg.
    using a red plastic needle to go under the first peg of the knitting loom, under the first stitch
  •  Lift the loop off of the first peg and pull the yarn all the way through.
    pulling the loop off of the first peg
  • Repeat this process for each peg until the knitting is completely off of the loom.
    all of the loops off of the knitting loom with the knit project in the middle
  • Turn it inside out and pull the yarn to tighten and close the opening. Tie it off.
    pulling the purple yarn to close the top of the loom knit hat
  • To hide the end of the tail, sew the needle through several of the back stitches, then trim off the excess yarn.
    using a red plastic needle to sew through stitches at the top of the hat

Add the Pom Pom

  • If you want to add a pom pom, you can either make your own with this and leave the tails long or purchase one (such as these). Sew the tails into the top loops of the hat, bringing the ends into the inside of the hat.
    using a red plastic needle to sew the string of a pom pom into the top of the loom knitting hat
  • Tie the ends into a knot on the inside of the hat.
    pulling the ends of the pom pom strings on the inside of the loom knitting hat to secure the knot
  • Bring it right-side out and the loom knit hat is ready to wear!
    finished blue and purple loom knit hat with a double brim and purple pom pom

Notes

Use this free printable loom knit hat size chart to easily access all the sizing information you need. All sizes are approximate depending on the loom, yarn, and stitches so modify as necessary.
Keyword Accessory, Hat, Knitting, Knitting Loom, Wool Hat, Yarn
Picture of Daniela Kretchmer

Daniela Kretchmer

Daniela is a lifelong crafter who loves to share her passion for crafting. Through classes or learning on her own, she likes to say she'll do pretty much any craft aside from scrapbooking. Her current personal obsessions include garden crafts, felting, and spinning yarn.

More Craft Projects and Ideas

Leave a Comment

Your email address will not be published. Required fields are marked *

Rating