Etched Glass – Zipper Shot Glass
Home » Blog » DIYs and Craft Projects » Etched Glass – Zipper Shot Glass
-
Daniela Kretchmer
- Updated: Nov 14, 2025
- Etched Glass, Home Decor

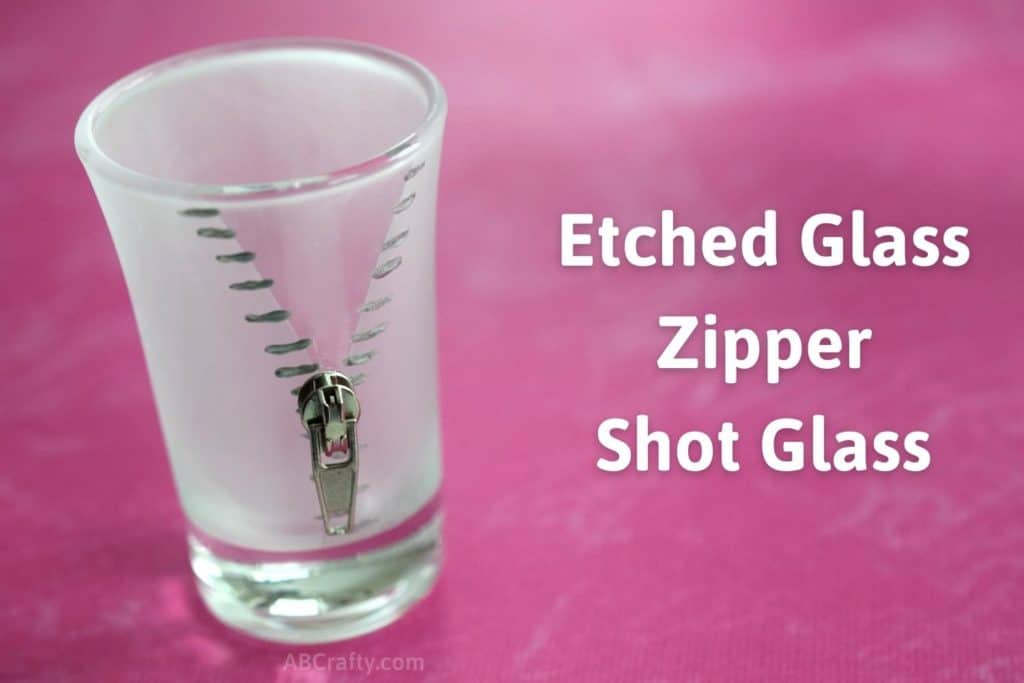
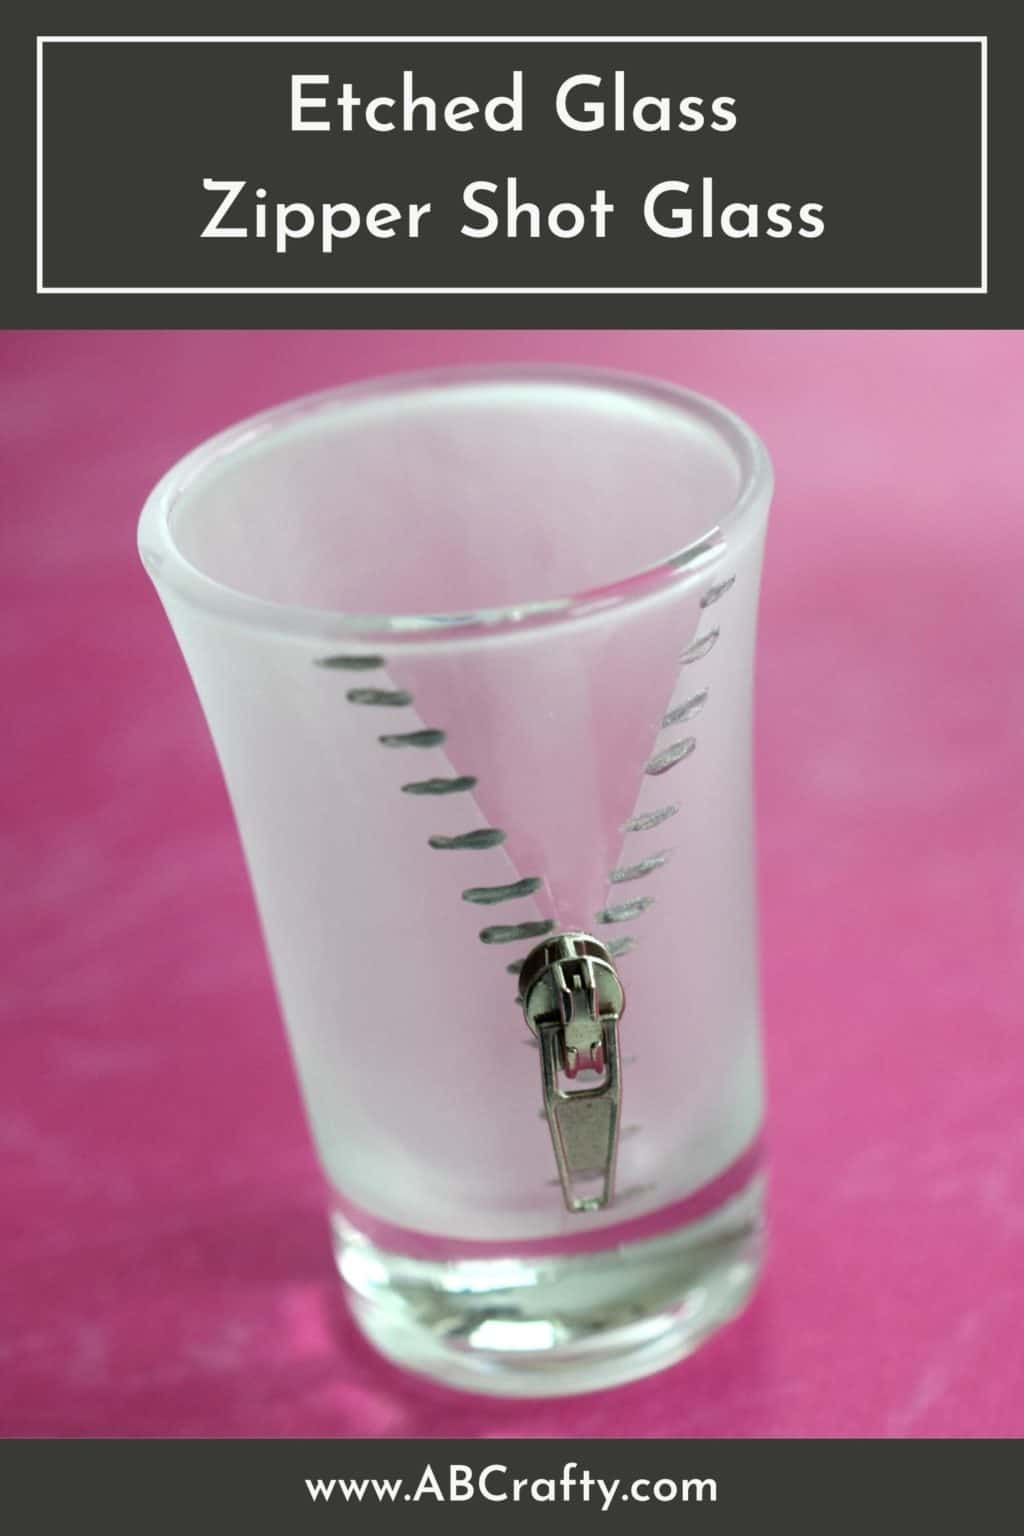
Learn how to make etched glass and create a fun and whimsical zipper design on a shot glass. These shot glasses are what got me into glass etching and now using these as the project, you’ll learn how to frost and etch glass the easy way with glass etching cream.
Table of Contents
I originally had the idea for these when I saw zipper wine glasses in a store. They were something like $50… each. So naturally I again had one of those “I can do it for less” moments and looked up how to frost glass. It turns out there are a few ways to etch glass including using a sand blaster, acid, and the easiest and most affordable way, using glass etching cream. So in this craft project I’m naturally showing the least expensive route using the glass etching paste.
And since I’m not much of a wine drinker, even though the originals were zipper wine glasses, I ended up making mine custom shot glasses instead. I personally love the zipper design using the smaller zipper pull and think it comes out just as fun. They would make for an adorable gift, especially for a 21st birthday.
Note: Some links in this post may contain affiliate links, which means at no cost to you, I may earn a commission.
What is Frosted Glass and Etched Glass?
As I’m sure you’re well aware, glass is normally clear and smooth. However, frosted glass isn’t. It makes the glass no longer see through and typically feels more rough. Typically when referring to frosted glass, it means large sections are frosted. You’ve probably seen it more often in showers or bathroom windows.
Etched glass, on the other hand, uses the concept of frosting glass, but with the intention of making a design. Etched glass typically refers to the designs made, even though they’re technically frosted. Therefore for etched glass, more often than not more of the piece is see through.
So How do You Make Frosted Glass or Etched Glass?
Glass is technically made of sand so when glass etching or frosting, what you’re doing is removing the top layer of sand. This is why frosted and etched glass feel rough in those areas. Therefore the most effective way to frost and etch glass would be using a sandblaster or with pure acid. But you can also use glass etching cream, also known as glass etching paste.
Using a Sandblaster
A sandblaster (like this one) is great because it can grind down the sand evenly so it’s all uniform. However, using them is very involved and requires a fair amount of equipment and a proper setup. They would be great for larger projects and frosting glass versus smaller projects for which you want a design etched in glass. Some day I’ll get a sand blaster… some day.
Using a Dremel or Engraver
To engrave or etch freehand designs into glass, a dremel or engraver (like this one) is what you want. It functions just like a pen and you can use the engraver to draw your designs directly onto the glass. I would recommend a dremel or engraver when doing specific details, but not necessarily when using a vinyl glass etching stencil or trying to cover larger areas. The challenge with this freehand approach is you may remove more than intended and you can get streaking from the engraver.
Using Pure Acid
This really isn’t feasible for the at home crafter, but is more often how frosted glass is mass produced. The pieces are dipped in the acid (specifically hydrochloric acid) and the process is complete.
Using Glass Etching Cream or Paste
Technically etching cream (like this) has hydrochloric acid, but instead of dipping glass directly into it, you paint it on in the specific areas you want. You can frost glass this way, which is effectively what I’ve done with this zipper shot glass, but it’s also ideal for small designs etched in glass. It’s a great practical and more affordable option. Etching cream is also perfect to use with vinyl glass etching stencils as you can paint the cream right over the stencil.
Typically when you buy a glass etching kit (like the one I have), you’ll receive a small container of etching cream. This is absolutely what I recommend getting if you’re interested in getting into glass etching.
The main brand is Armour Etch cream and is the one I would recommend. In this tutorial I happened to use Martha Stewart Glass Etching cream, but that’s because I happened to get it on sale from Joann’s (RIP). But the Armour Etch cream is easier to find and much cheaper.
Combining Etching Glass with Painting on Glass
A cool effect when glass etching is to combine it with painting glass. And for this zipper shot glass project, we’re doing just that. Therefore I wanted to give some quick advice on how to paint on glass.
I definitely recommend using acrylic paint on glass since it is cheaper than something that would be branded as “glass paint” or “paint for glass.” And yes, you can absolutely use acrylic paint on glass. Most of these will be considered multi surface paints and a good rule of thumb is to check to see if it is enamel acrylic paint.
When you use enamel acrylic paints on glass they are completely dishwasher safe, which is of course perfect for this frosted shot glass project. Who wants to hand wash their glassware? Not me!

How to Make an Etched Glass Zipper Shot Glass
Materials for Zipper Pull Frosted Shot Glass
- Shot Glass (these are the ones I used)
- Glass Etching Cream (Amazon)
- Paint Brush for Etching Cream
- Vinyl Design Tape (this is what I used)
- Painter’s Tape or Masking Tape (Amazon)
- Silver Enamel Acrylic Paint (Amazon) or Silver Paint Pen (like these)
- Thin Paint Brush for Acrylic Paint
- Zipper Pull (Amazon)
- E6000 Glue (Amazon)
- Gloves


