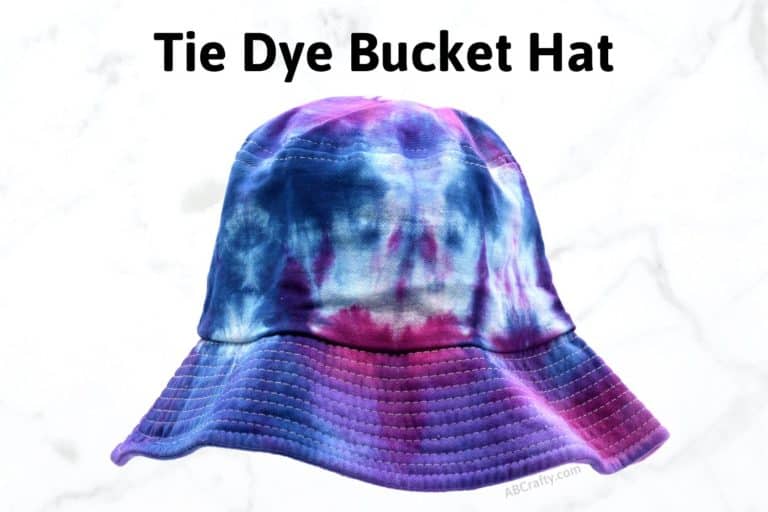
Jacquard Ice Dyes
Home » Blog » DIYs and Craft Projects » Jacquard Ice Dyes
-
 Daniela
- Updated: Dec 2, 2025
- Clothing, Craft Supplies, Dyeing, Tie Dye
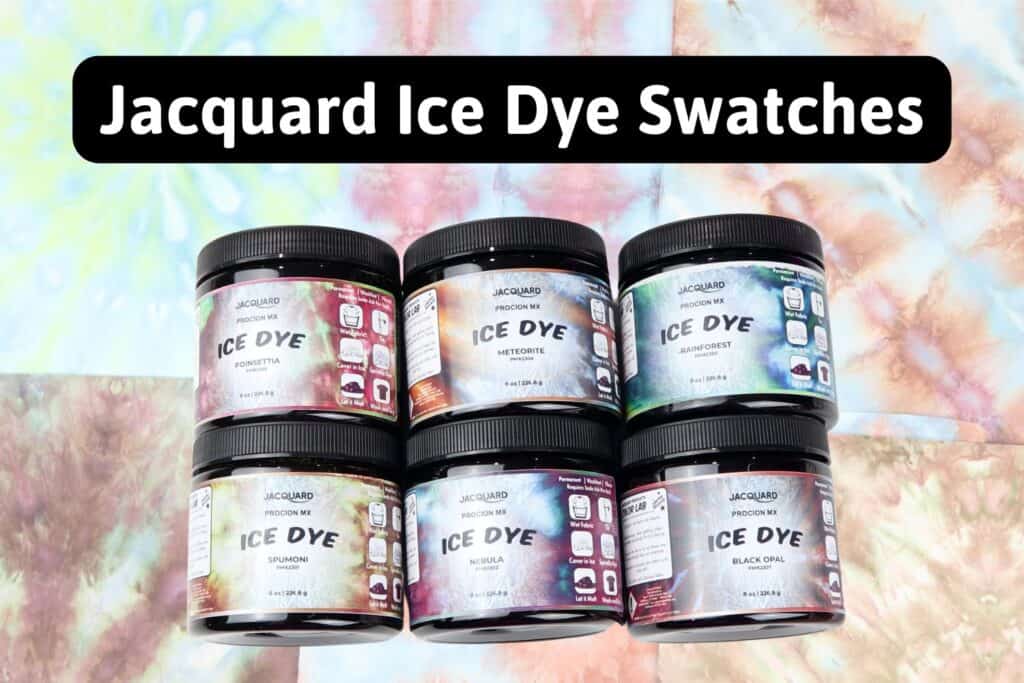
See all six Jacquard Ice Dye colors swatched with real results. Compare color breaks, patterns, and my honest review of each shade.
Table of Contents
Putting it simply – I’ve become obsessed with ice dyeing and it’s now been made even easier with dyes created specifically for this dyeing technique. Jacquard has made a whole line of ice dyes (6 so far) and I’ve tested all of them!
To really understand how each colors performs, I tested all 6 Jacquard Ice Dye colors twice: first with a scrunch pattern so every color could be compared using the exact same technique, and then a second time using a different pattern for each – spirals, hearts, diagonals, circles, and more.
Below is a breakdown of how each color behaved, what surprised me, and which ones I’d buy again (spoiler: I love Nebula). And if you’d like to try them yourself, you can use coupon code ABCRAFTY for 20% off at Jacquard.
Note: Some links in this post may contain affiliate links, which means at no cost to you, I may earn a commission.
Get the latest DIY tutorials, reviews, and crafting updates
You'll never be spammed and can unsubscribe at any time
What are Jacquard Ice Dyes?

Jacquard Ice Dyes are dyes that have been formulated specifically for ice dyeing. Instead of using several different colors as you would with traditional ice dyeing, each Jacquard Ice Dye is a single color that “breaks” into multiple pigments as the ice melts. This creates layered, watercolor-style effects from just one shade.
No need to sprinkle different colors to create an amazing result! Every jar contains a blend of pigments that separate naturally, giving you beautiful multicolored results with almost no effort. Jacquard has made 6 different dyes that create 6 different colorways.
Jacquard Coupon Code
You can use my code ABCRAFTY to get 20% off your purchase at Jacquard
Don’t forget to pin it so you can easily come back to it later!

How to Use Jacquard Ice Dyes
I have a whole post on how to ice dye, but here are the basic instructions for specifically the Jacquard ice dyes. You can watch this short video if that’s more your style.
1. Prep your fabric
Wash your fabric to remove any residue or oils. Then soak it in a soda ash solution (1 cup soda ash to 1 cup water) for at least 20 minutes. You can also get soda ash from Jacquard (use code ABCRAFTY for 20% off)
Tip: Your fabric should be 100% cotton, though can be as low as 60% cotton. Lower than that and the colors will be very muted.
2. Fold, scrunch, and tie your fabric
Choose your pattern: scrunch, spiral, accordion, bullseye, etc. and use rubber bands or zip ties to hold it in place. Then place it on a rack or on containers (I use left over yogurt containers) over a bin so the melted ice can drip through without touching your fabric.
3. Add ice on top
Fully cover the fabric with ice. The more the better!
4. Sprinkle on Jacquard Ice Dye powder
Put on a mask or respirator (you don’t want to inhale the dye particles!) Use a spoon to lightly sprinkle the dye onto the ice. Since these dyes break into multiple colors on their own, you only need one color per project.
Tip: Don’t overdue it on the dye as the key to these is to allow the melted ice to break the colors.

5. Let the ice melt
Leave it alone to let the ice melt on its own. As the ice melts, it pulls the dye through the
6. Rinse and wash
Once the ice is fully melted, let it set for at least 12 hours (I do a full 24). Then rinse out the excess dye until the water runs clear (first in cold and then you can increase the temperature). Then put it in the wash with a mild detergent such as Synthrapol (which you can also get from Jacquard). It’s specifically made to remove excess dye particles from dyed items.
You May Also Like...

Swatches of Each Jacquard Ice Dye
Here’s a breakdown of each color, including the swatch and my own review. I’ve also included this image below of all of the colors next to each other (under very bright light so know that in real life they’re much richer in color). The images of each individual color, however, are accurate to how they look in real life.
For each dye I dyed 2 separate tote bags. One was dyed using the scrunch dye method so that I could compare each dye using the same method. Then the second bag I played around with different tie dye patterns for funsies.
These are the bags I used, but I wouldn’t necessarily recommend them as they were more see-through than I was hoping).

Rainforest
Rainforest is supposed to break into blues, greens, and yellows and that’s exactly what happened! The only difference from the container is it looks like they got much darker blues as well and more clear yellows. But overall it’s pretty true to the expectation.
Comparing both methods, I got similar results.

Nebula
Nebula is supposed to break into reds, purples, and blue and it absolutely does. Out of all of the colors, this one I would say is the most true to the container. And since I’m partial to purples and blues, this one was one of my favorites!
Comparing both methods, I got similar results.

Get the latest DIY tutorials, reviews, and crafting updates
You'll never be spammed and can unsubscribe at any time
Black Opal
Black Opal is supposed to be almost black or brown tones with reds and blues (based on what the bottle photo shows). However, this one was one of the dyes that did not come close to the bottle.
Furthermore, I got completely different results using the two different methods. I actually had to watch my footage back to double check I hadn’t mixed this one up with meteorite.
For the scrunch method, I did get some dark tones with some reds, but I also got purples, only a bit of blue, and even greens!
For the diagonal design, I got pretty much only reds and blues, with a bit of orange.
So overall, black opal for me is pretty unpredictable and I couldn’t achieve what was on the bottle.

Poinsettia
Poinsettia is supposed to be deep to light reds and greens. Again with this one I got different results with my two tote bags though a case could be made for both being similar to what is expected.
The scrunch method definitely gave a bit of red and greens, but it really is more of a reddish purple with greens. And then a few spots of blue.
Then the spiral method gave a deeper red, green, and the blue definitely popped more.
I do have a theory that I have may have used more dye for the scrunch method so the color wasn’t allowed to break as much so that’s something to keep in mind when deciding what color you want to achieve.
Overall the spiral tote might be my favorite result out of all of them!

Meteorite
Meteorite is supposed to be oranges, blue, and almost black or grey, based on the container. Overall, I’d say that’s what I got.
The scrunch method produced way more of the grey tones (again I think that’s due to using more dye on the scrunch method totes). But the blues and oranges on the circle pattern tote came out so vibrant, I was pleasantly surprised!
While the orange and blue combo is personally not my favorite colorway, I can safely say meteorite comes out consistently as expected.

Get the latest DIY tutorials, reviews, and crafting updates
You'll never be spammed and can unsubscribe at any time
Spumoni
Spumoni is supposed to break into browns, oranges, greens, and almost yellows.
I got pretty consistent results for both dyeing methods, but I wouldn’t necessarily say it matched the container perfectly.
I definitely got the browns, reds, and greens, but I didn’t see much in the way of oranges and yellows.
To me, spumoni was conceptually pretty similar to poinsettia in that you’re getting red and green earthy tones, just this skews more into the browns while poinsettia is more purples. They likely both have their place, but I was really hoping for more of the oranges and yellows in this one.

Frequently Asked Questions
What fabrics work best with Jacquard Ice Dyes?
100% cotton fabrics will work with the best with these dyes. You can use as low as 60% cotton, but the colors may be more muted. Other plant-based fabrics can also be used (e.g. bamboo, linen, etc).
Can I mix Jacquard Ice Dyes together?
In theory, yes, you can use multiple ice dyes together. However, it’s not necessary and they’re formulated in a way that you only need to use one color to get beautiful results.
How does one color of dye turn into several?
This is the process of the color “breaking.” Dye colors are actually made of multiple colors. In most cases, when tie dyeing, the colors are stable so the result will be a single color as expected. For example, if you use a purple dye you’ll get a pure purple. However, some dyes may “break” into their component colors under certain conditions.
For ice dyeing, this happens because of the ice. These colors are not stable and therefore break into its components. So that purple dye may break into pinks and blues over ice.
What’s funny is these dyes are basically bad at being dyes, but we love them for ice dyeing because it gives us all of the beautiful watercolor effects without needing to use multiple dyes.