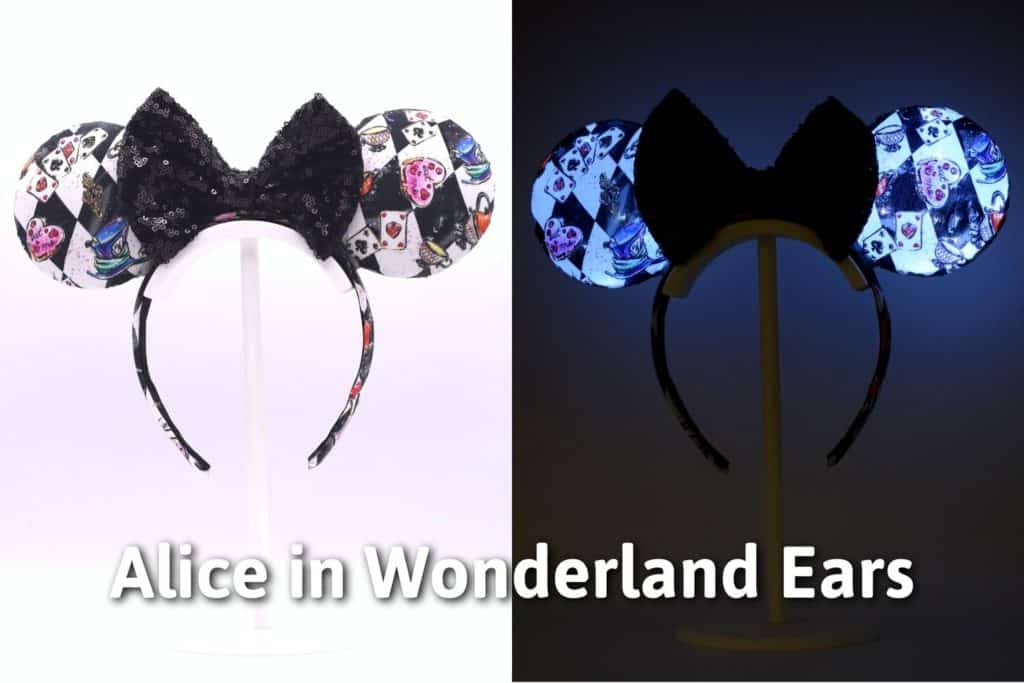
Alice in Wonderland Disney Ears

left photo is the finished alice and wonderland disney ears with black sequin bow and the right image is the ears lit up in the dark. the title reads "Alice in Wonderland Ears"

Make your own Alice in Wonderland Disney ears using a fun fabric print. These no-sew Mickey ears would certainly make the Mad Hatter proud!

If you’re as much of a fan of Alice in Wonderland as I am, you’re going to love making these light-up ears. It uses a fun checkerboard fabric, but you can use your favorite Alice in Wonderland fabric. These specific ears I made were actually created from scrap pieces of fabric from a skirt I made so I can have a full matching look!

And for some more Disney ear ideas you can some classic light Minnie Mouse Ears or iridescent and gold ears to go with the theme of Disney World’s 50th anniversary.

Table of Contents

Note: Some links in this post may contain affiliate links, which means at no cost to you, I may earn a commission.
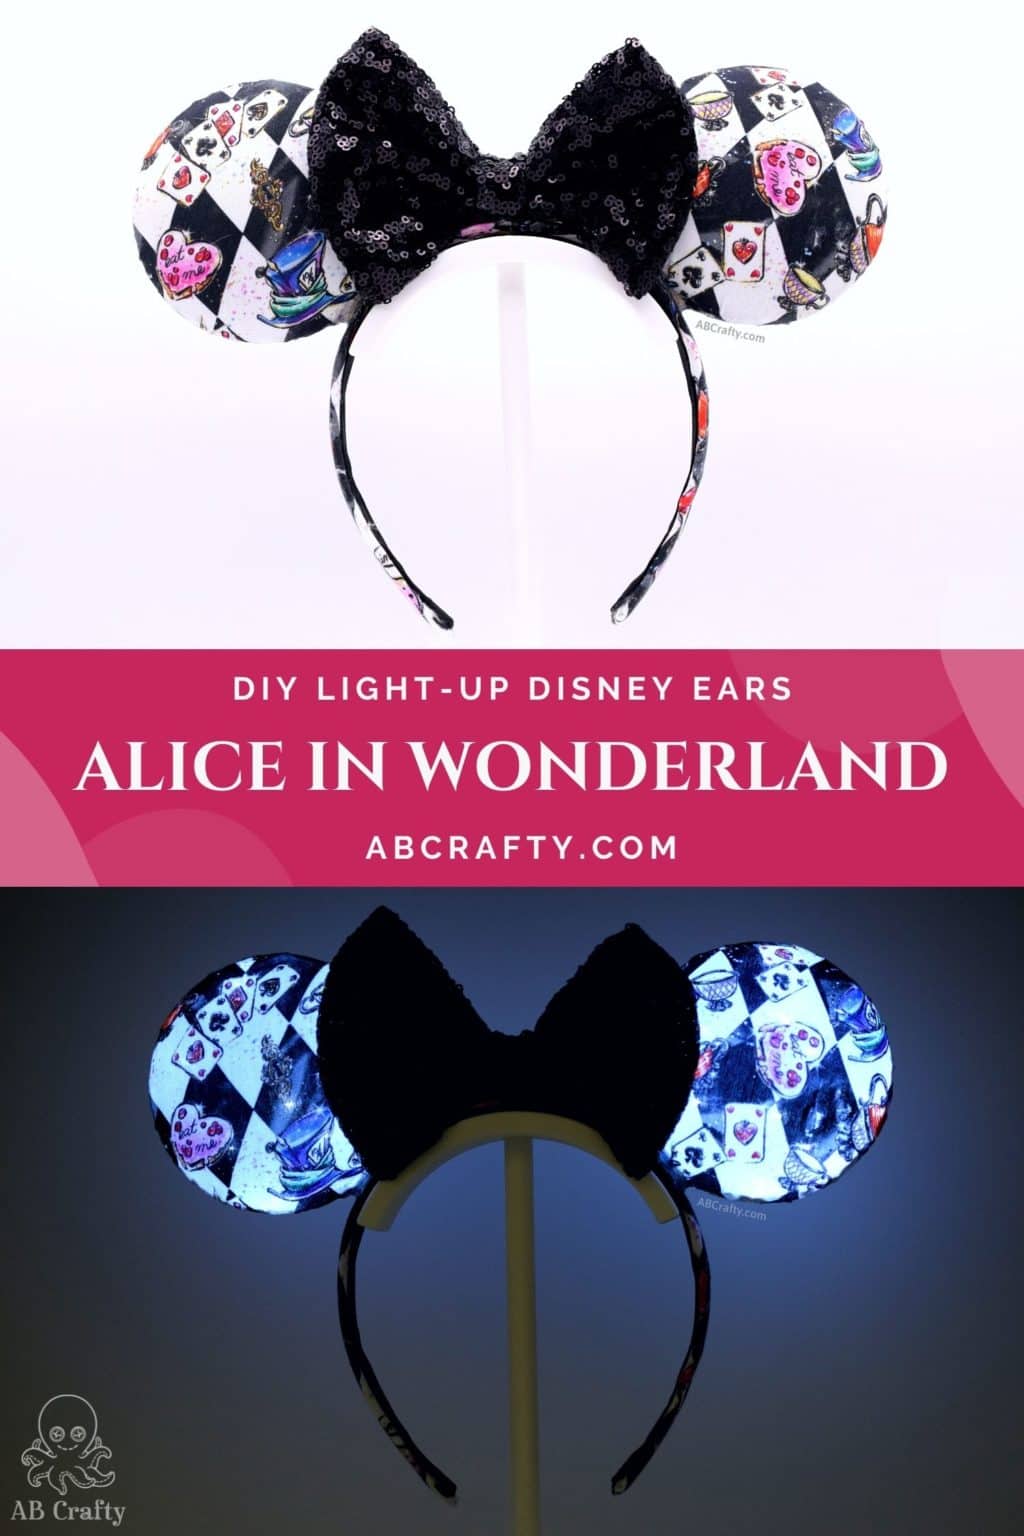
top photo is the finished alice and wonderland disney ears with black sequin bow and the bottom image is the ears lit up in the dark. the title reads "diy light up disney ears, alice in wonderland - abcrafty.com"

Materials for the Light-Up Disney World 50th Anniversary Ears

Free Printable Disney Ears Template

I created this free printable template so you can cut out the fabric for the ears and to cover the headbands. You can also download it in the shop.

When printing, be sure to print at actual size, without margins. I included a 1 inch ruler on the page to make sure it printed at the correct size.

Download the Free Light-Up Disney Ears Template

We’re committed to your privacy. AB Crafty uses the information you provide to contact you about relevant content and products. You may unsubscribe from these communications at any time.

Video Instructions to Make Classic Light Up Minnie Mouse Ears

Instructions to Make the Alice in Wonderland Disney Ears

These follow the same basic instructions to make my DIY Light Up Minnie Mouse Ears, but since you’re using a fabric with a pattern, the instructions are slightly different.

Be sure to download and print out the Disney Ear Template before starting.

Prepare the Ears

Start by breaking off the top part of each side of the plastic ornaments. Here’s where you can get them.

When you put the sides back together, you’ll see they have a gap in between.

Use a glue gun to attach 10 lights into one of the halves of an ornament. The last light should be added close to the opening. You can attach the other half of this ornament.

Then bring the wire across to the other ornament. Again, glue the next light right at the opening. Glue the down rest of the lights and bring the wire back through the opening. Attach the other half of the ornament.

Tip: Glue down the wire so it doesn’t rattle around in the ornament. Trust me, the sound can get very annoying when spinning around on the tea cups!

disc ornaments with fairy lights glued into them and lit up

Cover the Ears in Fabric

Fold the fabric in half and place the Disney Ear Template on top. Use scissors or a rotary cutter to cut it. Repeat it so you have four circles.

I used scrap fabric leftover from a skirt I made (this is the fabric I’m using).

using the ABCrafty mickey ear template to cut scrap fabric

Glue the fabric onto the sides of the plastic ornaments. Be sure to keep the fabric taught so there aren’t any ripples or puckering. It’s also a good idea to place the glue around the ornament vs on top. If you place it on top, the dots of glue can show through the fabric.

After glueing each circle, trim away the excess to keep it neat.

Tip: I recommend holding the ears over the headband to identify where you want the “top” of the ears. This way when you glue the ears the pattern will be the way you want it and not sideways. (I absolutely forgot to do this at first! If you also forget, it’s not a problem – simply peel the fabric off and glue it down again).

trimming the fabric around the plastic ornament

Repeat the process on the other side. and make sure to match the “top” of each circle so the fabric is facing “up” on both sides.

ornaments covered in the checkerboard alice in wonderland fabric and glowing

Prepare the Headband

Fold the fabric in half and place the headband template from the Disney Ear Template along the edge. Use scissors or a rotary cutter to cut around the template. Do not cut along the fold!

Unfold the fabric and glue it around the headband. I recommend starting from the middle and glueing the edges to bottom of the headband. Be sure to keep the fabric nice and taught.

Note: For mine, since i was using scraps of fabric, I had to glue on two different pieces that met with a slight overlap in the middle. This will be covered by the bow so it’s not noticeable.

Tip: Since you’re using fabric with a pattern, align the pattern around the headband so it’s facing the way you want it. This may mean using two different pieces that meet in the middle like mine so that both sides are facing up.

glueing the fabric onto the headband

Once you cover the headband, cut the ribbon an inch or two longer than the length of the headband. Glue it to the inside.

To make the ends clean and fit, narrow the last couple inches so it’ll fit. Then fold under the end the edge before glueing down.

attaching the black satin ribbon to the inside of the headband

Attach the Ears

Space the covered ears on top of the headband. They should be spaced around 4.5 inches apart. As long as you use the 6.6 ft fairy lights though they ears will be perfectly spaced.

spacing the ears out on the headband

Wrap up the wires and glue them to the top of the headband. Then glue the battery pack on top, off to one side to leave room for the bow.

Be sure to glue it with the screws face up so you can change out the battery down the line.

glueing the battery pack to the headband between the ears

Finish the Alice in Wonderland Disney Ears

Cut two rectangles of the gold sequin fabric – one that is 8×11 inches and a small strip that’s around 3×1 inch.

Fold the the larger rectangle into the main part of the bow. Then use the small strip to create the ribbon around the bow. The full steps can be found on the main post to make the classic Light Up Minnie Mouse Ears and in the video.

glueing the black sequin bow

Add glue to the top of the headband in front of the battery pack and attach the bow with the seam side down.

using a glue gun to add glue in front of the battery pack on top of the alice in wonderland headband with ears

Get the latest DIY tutorials, reviews, and crafting updates

You'll never be spammed and can unsubscribe at any time

Then your ears are all finished! The Mad Hatter himself would be very proud!

If you make your own Alice in Wonderland Disney ears or other Mickey ears, I’d love to see them! Be sure to tag me on Instagram @ab.crafty.

finished alice and wonderland disney ears with black sequin bow and checkerboard alice in wonderland fabric
finished light up alice and wonderland disney ears with black sequin bow and checkerboard alice in wonderland fabric, glowing in the dark

More Disney and Nerdy Crafts

Get the latest DIY tutorials, reviews, and crafting updates

You'll never be spammed and can unsubscribe at any time

top photo is the finished alice and wonderland disney ears with black sequin bow and the bottom image is the ears lit up in the dark. the title reads "diy light up disney ears, alice in wonderland - abcrafty.com"

Alice in Wonderland Disney Ears

Make your own Alice in Wonderland Disney ears using a fun fabric print. These no-sew Mickey ears would certainly make the Mad Hatter proud!
Yield 1 Set of Ears
Project Time 30 minutes
Total Time 30 minutes

Materials
  

  • 2 90mm Clear Plastic Disc Ornaments
  • 1 set 6.6 ft Fairy Lights
  • Alice in Wonderland Fabric
  • Black Sequin Fabric
  • 1 1 inch Satin Headband
  • Satin Ribbon

Equipment

  • Glue gun
  • Scissors
  • Disney Ears Template

Instructions
 

Prepare the Ears

  • Break off the top part of each side of the plastic ornaments.
    Breaking nub off of a clear plastic fillable disc ornanment
  • Glue 10 lights into one of the halves of an ornament. The last light should be added close to the opening.
    disc ornaments with fairy lights glued into them and lit up
  • Fold the fabric in half and place the Disney Ear Template on top. Use scissors or a rotary cutter to cut it. Repeat so you have four circles.
    using the ABCrafty mickey ear template to cut scrap fabric
  • Glue the fabric onto the sides of the plastic ornaments.
    After glueing each circle, trim away the excess to keep it neat.
    trimming the fabric around the plastic ornament

Prepare the Headband

  • Fold the fabric in half and cut around the headband template from the Disney Ear Template along the fold.
    Glue the sides of the fabric to the inside of the headband.
    glueing the fabric onto the headband
  • Cut the ribbon an inch or two longer than the length of the headband. Glue it to the inside.
    attaching the black satin ribbon to the inside of the headband

Attach the Ears

  • Space the covered ears on top of the headband and glue them to the headband.
    spacing the ears out on the headband
  • Wrap up the wires and glue them to the top of the headband. Then glue the battery pack on top, off to one side to leave room for the bow.
    glueing the battery pack to the headband between the ears

Finish the Ears

  • Cut two rectangles of the black sequin fabric - one that is 8×11 inches and a small strip that’s around 3×1 inch.
    Fold the the larger rectangle into the main part of the bow. Then use the small strip to create the ribbon around the bow. The full steps can be found on the main post to make the classic Light Up Minnie Mouse Ears.
    glueing the black sequin bow
  • Then glue the finished bow in front of the battery pack on top of the headband.
    finished alice and wonderland disney ears with black sequin bow and checkerboard alice in wonderland fabric

Notes

Download the free Minnie Mouse ears template to easily cut the fabric and make the headband.
Keyword Accessory, Alice in Wonderland, Disney, Disney Ears, Handmade Bow, Headband, Light Up Ears, Mickey Mouse Ears, Minnie Bow, Minnie Mouse Ears, Sequin Fabric
Picture of Daniela Kretchmer

Daniela Kretchmer

Daniela is a lifelong crafter who loves to share her passion for crafting. Through classes or learning on her own, she likes to say she'll do pretty much any craft aside from scrapbooking. Her current personal obsessions include garden crafts, felting, and spinning yarn.

More Craft Projects and Ideas

Leave a Comment

Your email address will not be published. Required fields are marked *

Rating