

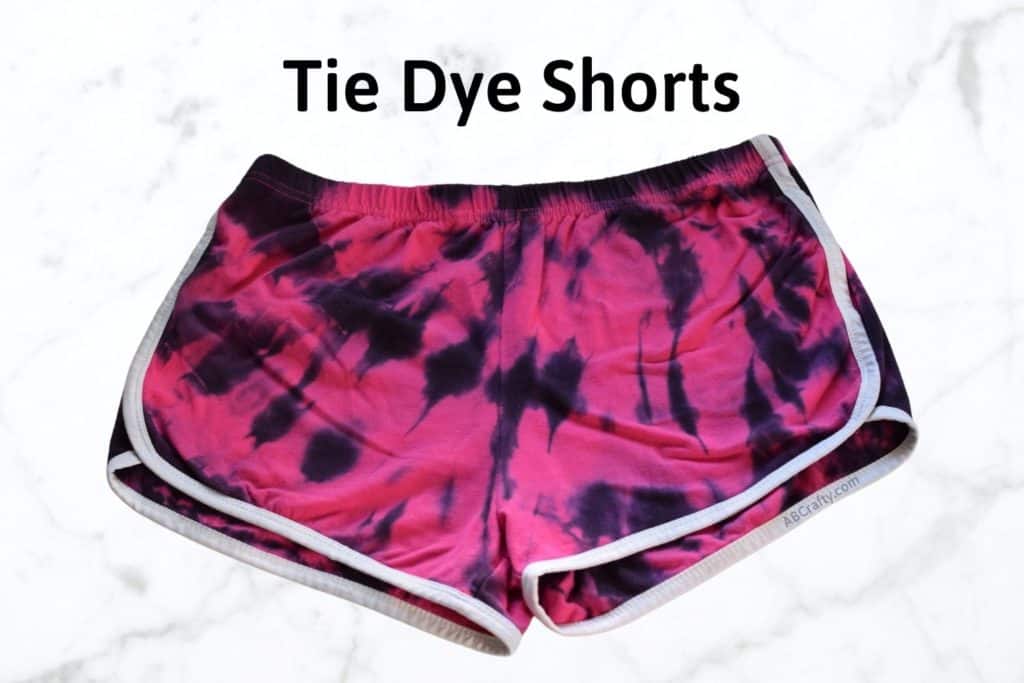


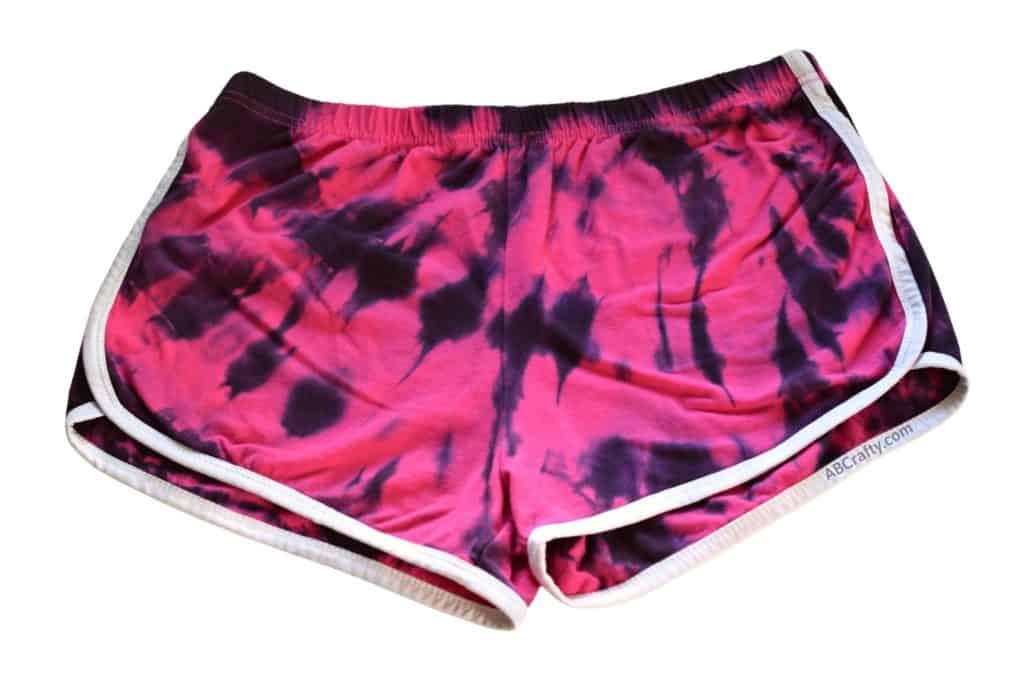
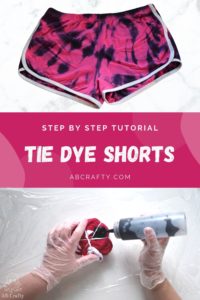
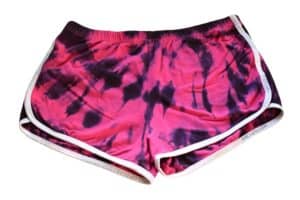
Spiral Tie Dye Shorts
Make your own tie dye shorts at home. With just one color of dye or multiple, you’ll be able to make these fun custom shorts!
Materials
- 1 Pair Cotton Shorts
- Tie Dye Kit
- 1 Cup Soda Ash
- 1 Gallon Water
- Rubber Bands
- Plastic Wrap
- Rubber Gloves
- Paper Towels
Equipment
- 1 Bucket or Plastic Bin
Instructions
Prepare the Shorts for Dye
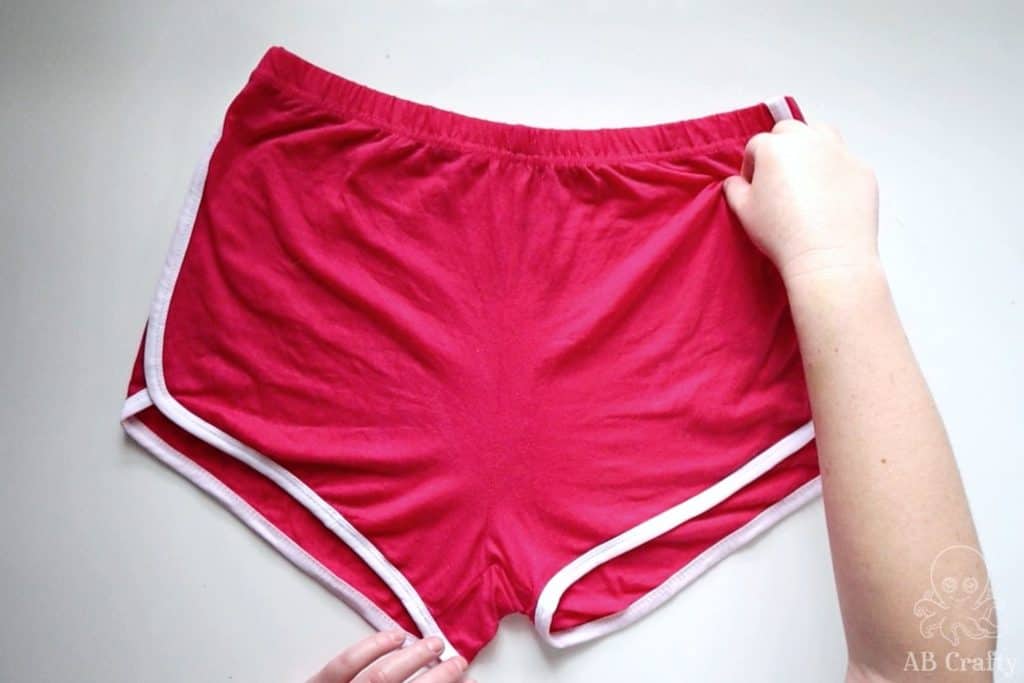
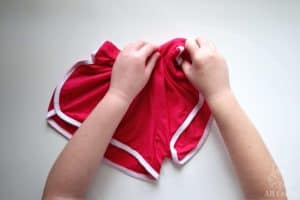
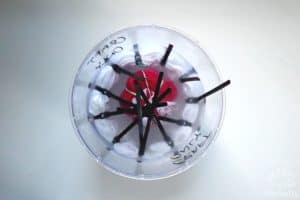
- Soak the shorts in squeeze out the excess water. Pinch the corner and twist. (These are the ones I used)1 Pair Cotton Shorts

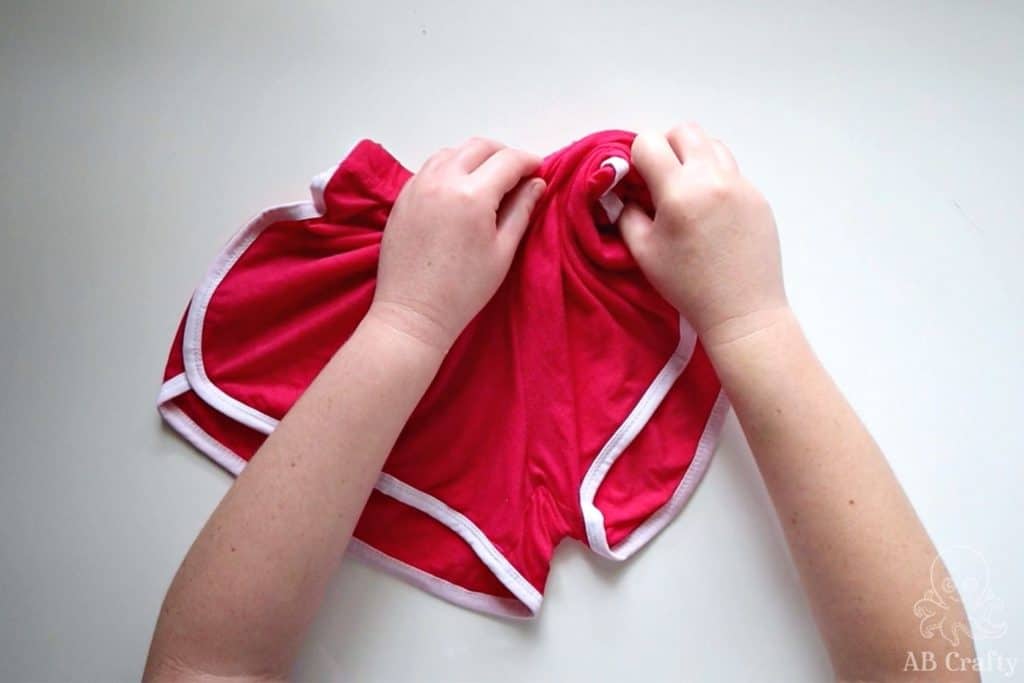
- Continue to twist the shorts into a tight spiral.
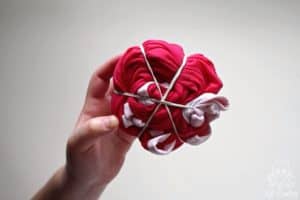
- Tie the shorts in rubber bands.Rubber Bands
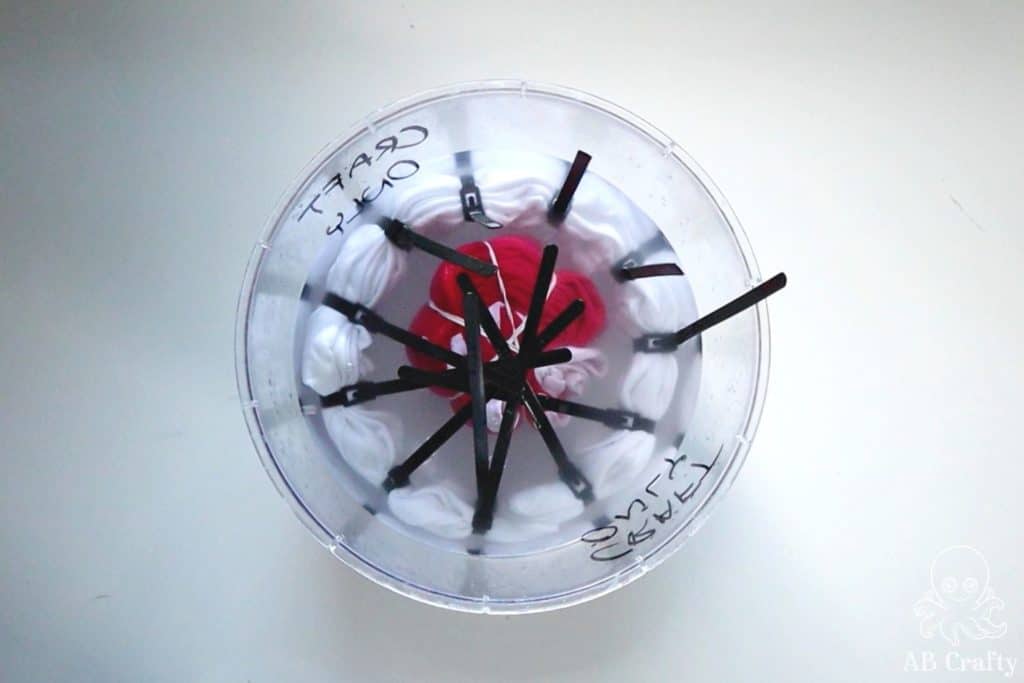
Prepare the Soda Ash Mixture and Shorts for Dye
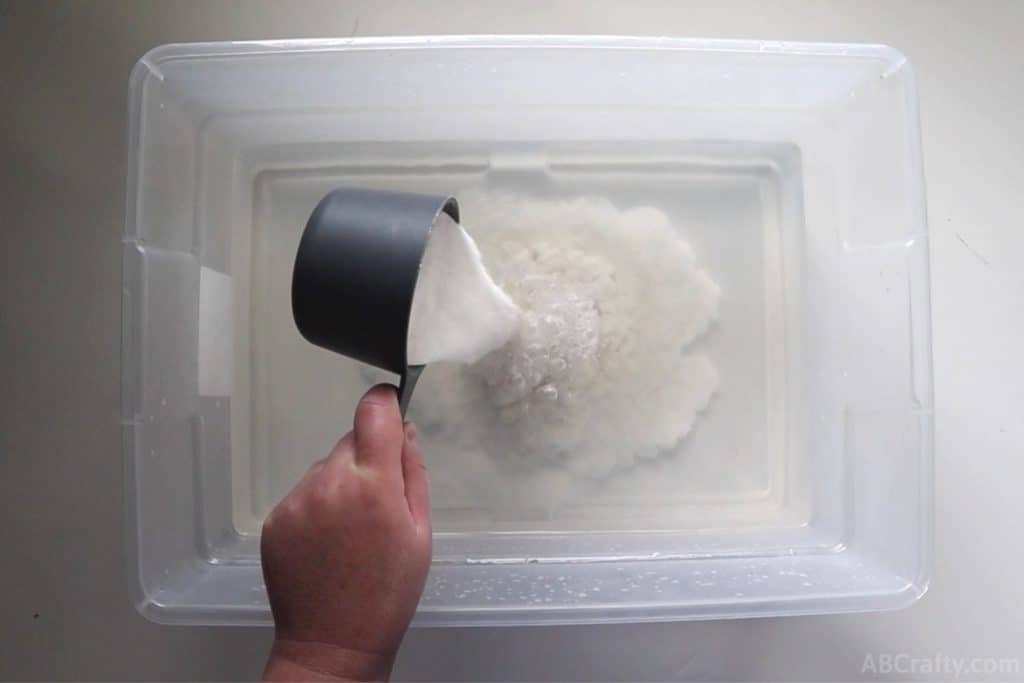
- Soak the shorts in soda ash solution for at least 20 minutes. Mix 1 cup soda ash with 1 gallon of warm water.1 Cup Soda Ash, 1 Gallon Water
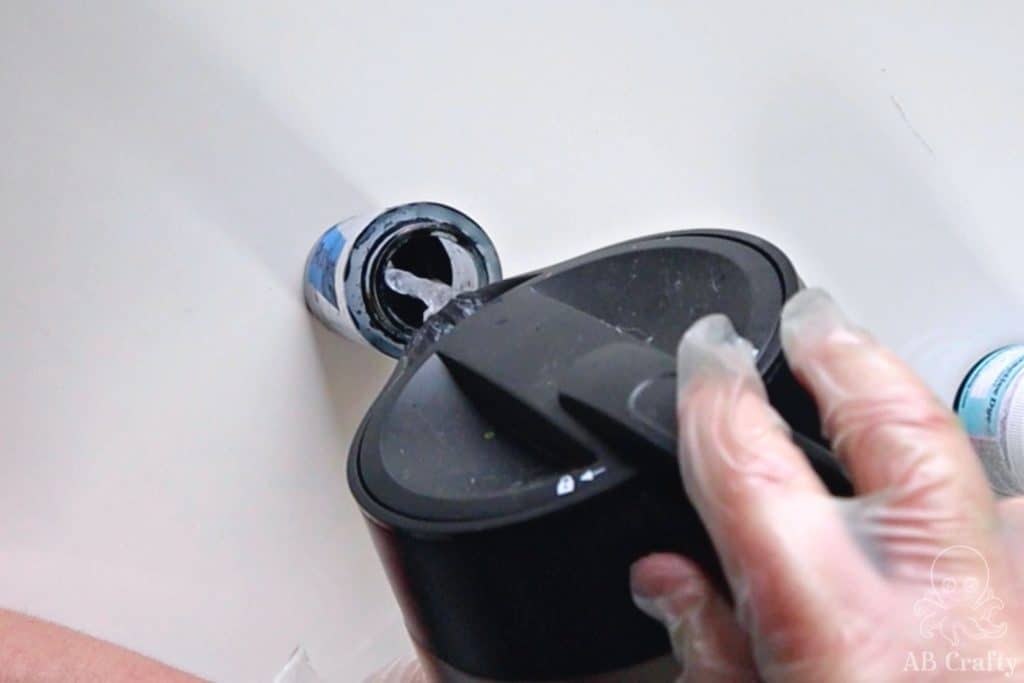
Prepare the Dye
- Prepare the dye according to the instructions on the tie dye kit. Typically you fill the bottle to the line with warm water and then shake it until the dye dissolves.Tie Dye Kit, Rubber Gloves

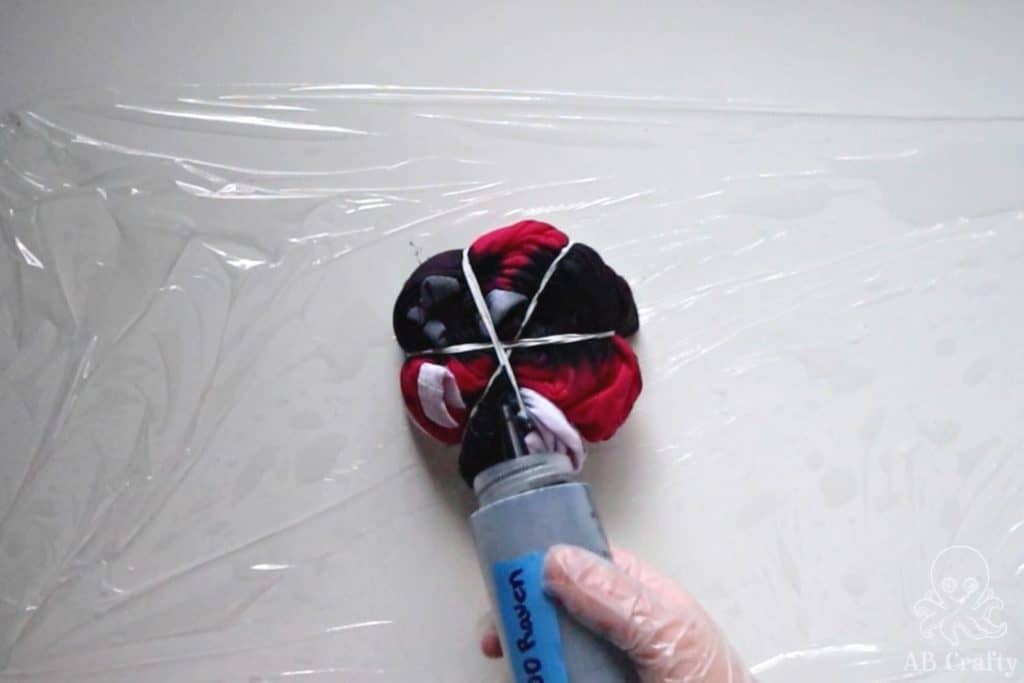
Dye the Shorts
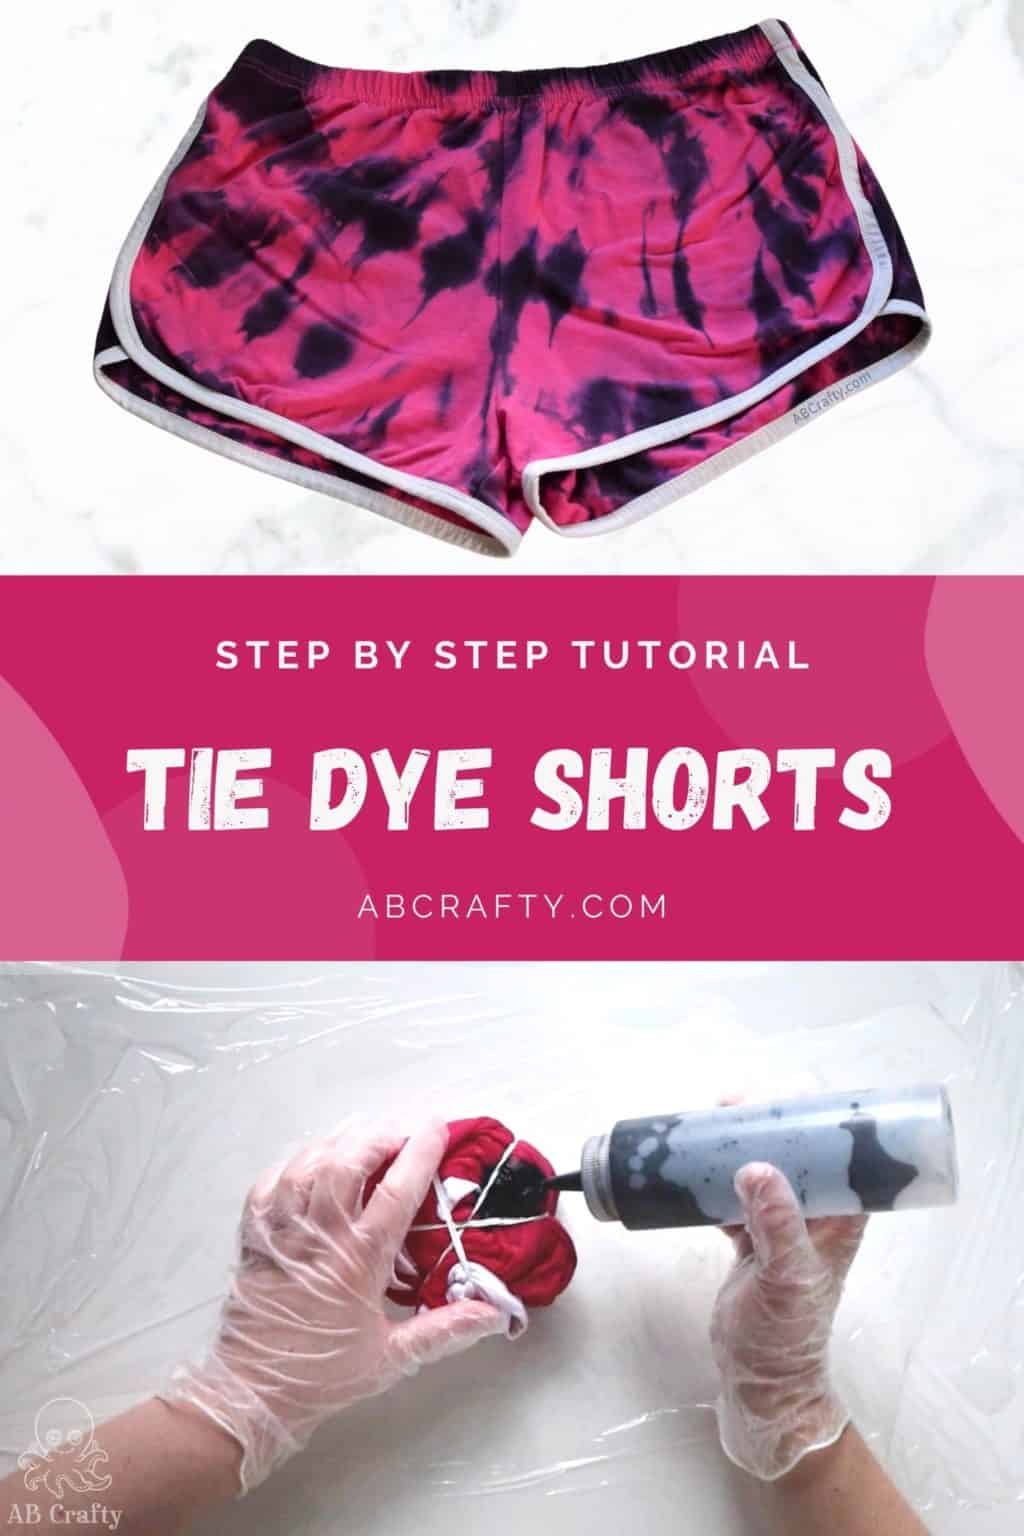
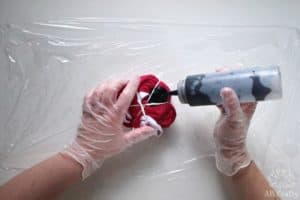
- Lay down plastic wrap on the table and place the shorts on top. Add the dye into one section.Plastic Wrap
- Skip the next section and dye the next. Repeat so there are alternating sections of dye and no dye.

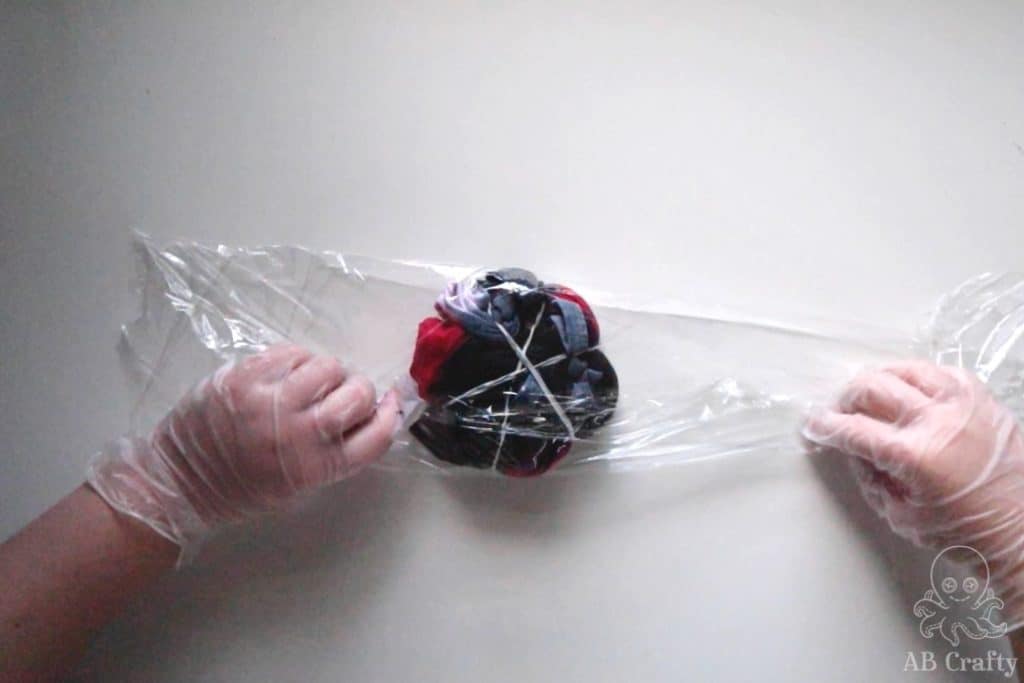
Finish the Tie Dye Shorts
- Clean the plastic wrap with a paper towel and wrap the shorts. Leave to set for 24 hours.Paper Towels
- Rinse them until the water runs clear. Then run them through the washing machine. Then your tie dye shorts are ready to wear!

Notes
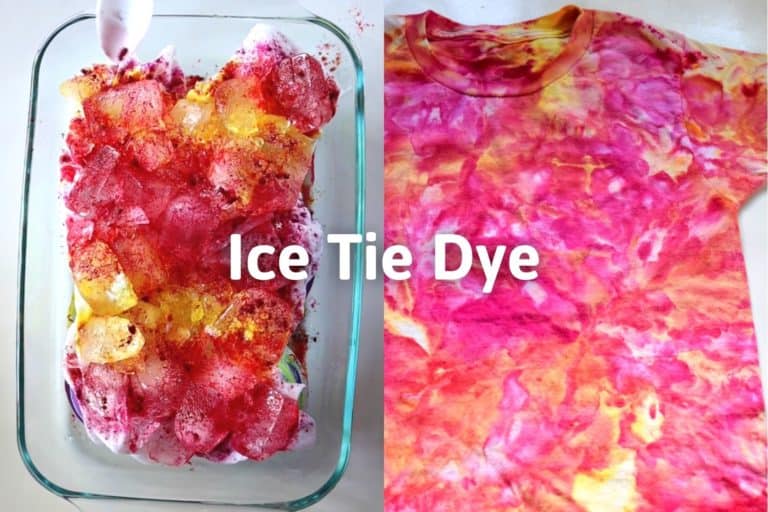
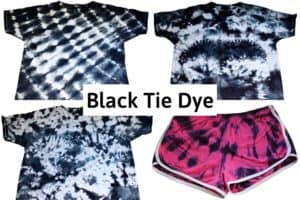
I used only black to dye these shorts, but you can also use multiple colors. I recommend getting a kit that has colors and black, such as this one.


2 thoughts on “Tie Dye Shorts”
Very clear and detailed instructions.
Thanks! Glad you found it helpful!