Dyeing Silk with Rainbow Lollipops
Home » Blog » DIYs and Craft Projects » Dyeing Silk with Rainbow Lollipops
-
Daniela Kretchmer
- Updated: Oct 27, 2023
- Candy, Dyeing, Rainbow, Tie Dye
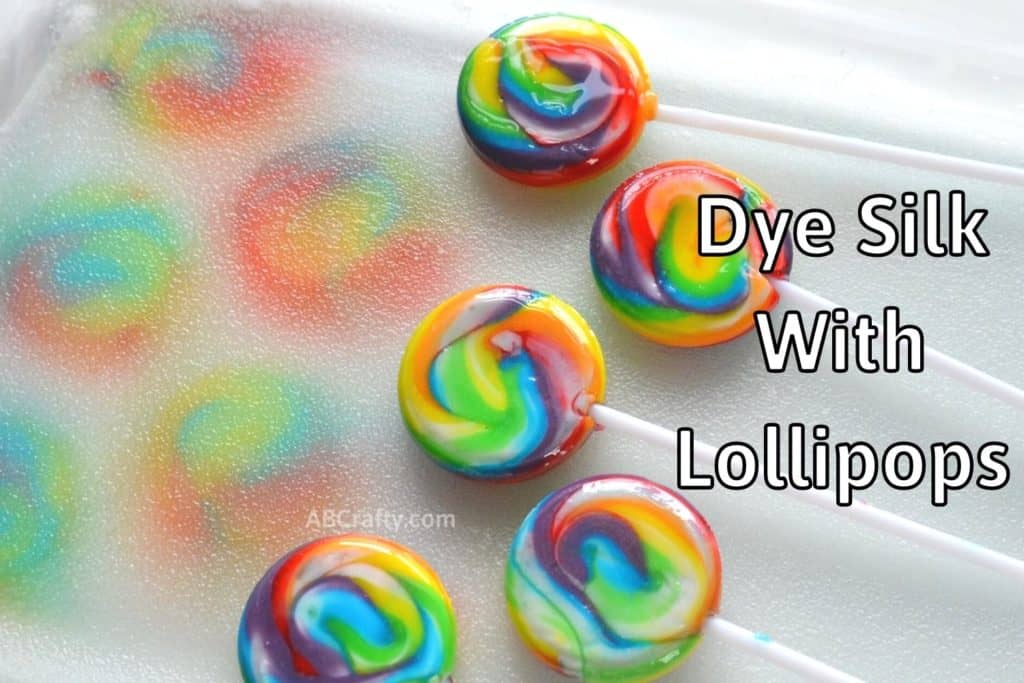
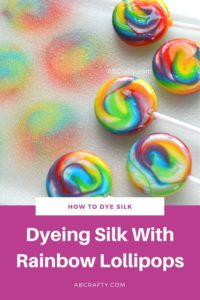
Use rainbow lollipops in a whole new way by dyeing silk. And yes, candy really can be used to dye silk fabric and it’s surprisingly easy to do. Learn the basics of how to dye silk and how using swirl lollipops and candy sticks can create a fun tie-dye effect.
Table of Contents
In case you haven’t caught on, I’m a huge fan of candy and candy crafts. So when I learned you can dye fabric, and specifically silk fabric, with candy, I jumped at the opportunity to test it.
I originally saw the idea from Rebecca of ChemKnits youtube video in which she dyed yarn with lollipops. The fact that she was able to get beautifully dyed rainbow spirals from the lollipops amazed me and I simply had to try it myself. I wanted to make sure I preserved the design so I decided to try dyeing silk fabrics instead of yarn to use in a future DIY project.
I used two different kinds of lollipops and rainbow suckers to dye the silk and used two different kinds of fabric (habotai silk and satin). Some gave a cool tie dye effect, but all are unique and fun silk dyeing techniques. I would love to dye a silk scarf this way so the whole scarf could look like it’s covered in candy. For now, I’ll likely use these in a felting project.
Note: Some links in this post may contain affiliate links, which means at no cost to you, I may earn a commission.
Silk Dyeing Basics
In order to dye any type of silk, including silk fabric, silk roving, silk hankies, etc. you of course need dye. Not all dyes work on all types of fabrics. Typically you need a different type of dye for protein fibers (which includes silk and wool), plant-based fiber (cotton, bamboo, hemp, etc), and synthetic fiber (rayon, viscose, nylon, etc). Therefore the most common type of dye that works for protein fibers and silks is called acid dye.
However, your basic food dye can also be used to dye silk and other protein fibers. This is why we’re able to use the dye in rainbow lollipops because they just contain food dye.
When dyeing silk you first want to soak your fabric in some kind of acid (this is why they’re called acid dyes). This ensures the colors from the dye are well absorbed into the silk fabric and create a nice vibrant color. I personally like to use vinegar mixed into water, but you can also use other acids such as citric acid to help the acid dyes.
Safety Precautions to Take when Dyeing Silk with Acid Dyes
Even though we won’t be using acid dyes when dyeing silk with candy, it’s worth sharing this safety precaution since I mentioned them.
Acid dye typically comes in powder form and can be dangerous when inhaled. Therefore you want to make sure you always dye silk in a well ventilated area and wear a mask. This way you won’t accidentally inhale any of the acid dye.
Also any equipment used for dyeing with acid dyes should never be used for eating. For example if you dye the silk fabric in a pot using acid dyes, you should never use that pot to cook food. Make sure to label them and keep them separate from any cooking supplies.
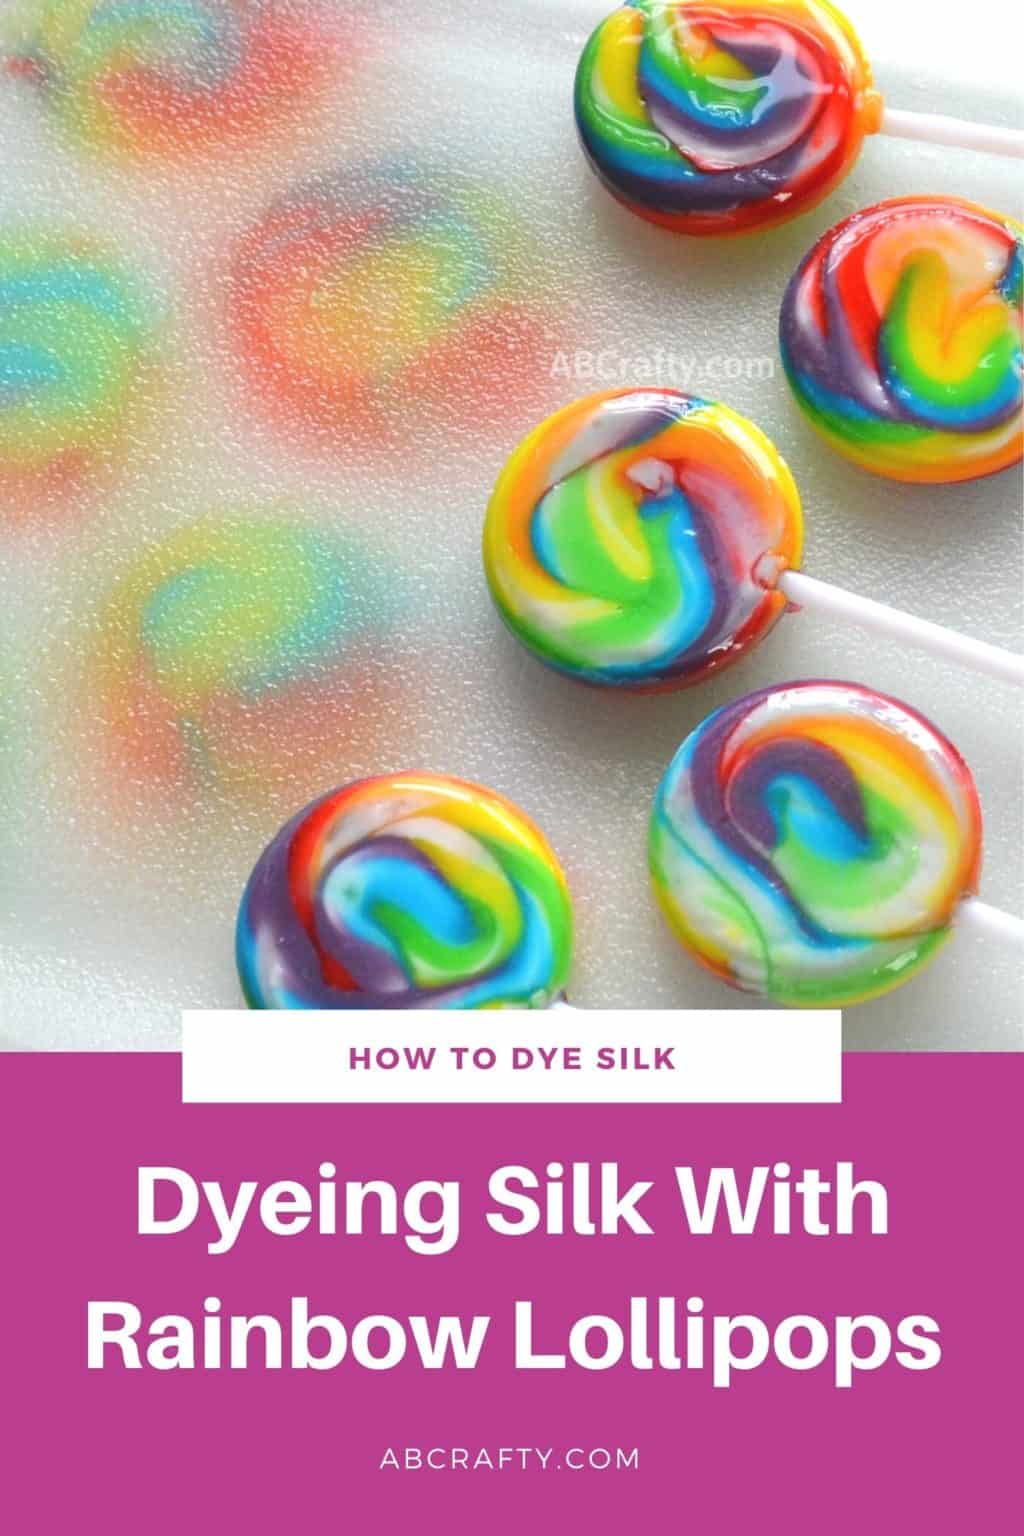
Materials to Dye Silk with Rainbow Lollipops
- Silk Fabric (I used scrap fabric to be used in a future project, but this would a fun silk dyeing technique to use in order to dye a silk scarf)
- Water
- Vinegar
- Microwave Safe Dish
- Mini Rainbow Lollipops (you can also use the giant rainbow lollipops for bigger swirls)
- Rainbow Candy Sticks
- Plastic Wrap
Video Instructions
Step by Step Instructions to Dye Silk with Swirl Lollipops
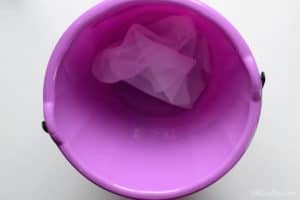
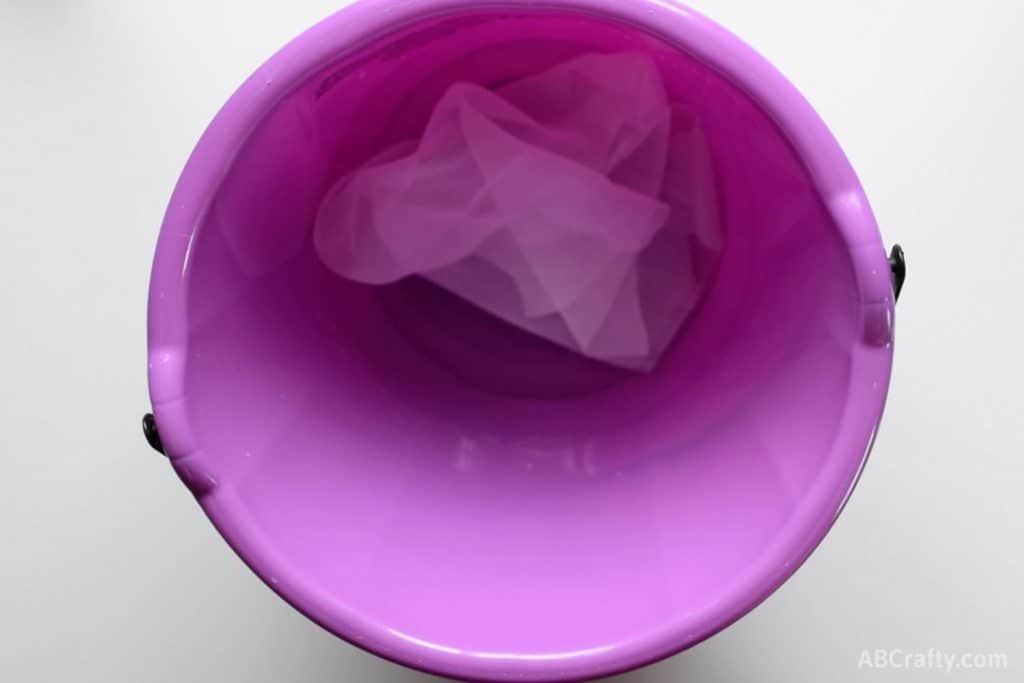
The first step to dyeing silk fabric with food coloring or an acid dye is to soak it in an acidic solution. In this case I poured some water and vinegar into a bucket. I used two parts water to one part vinegar.
Soak the silk for at least 10 minutes to be sure it’s fully saturated.
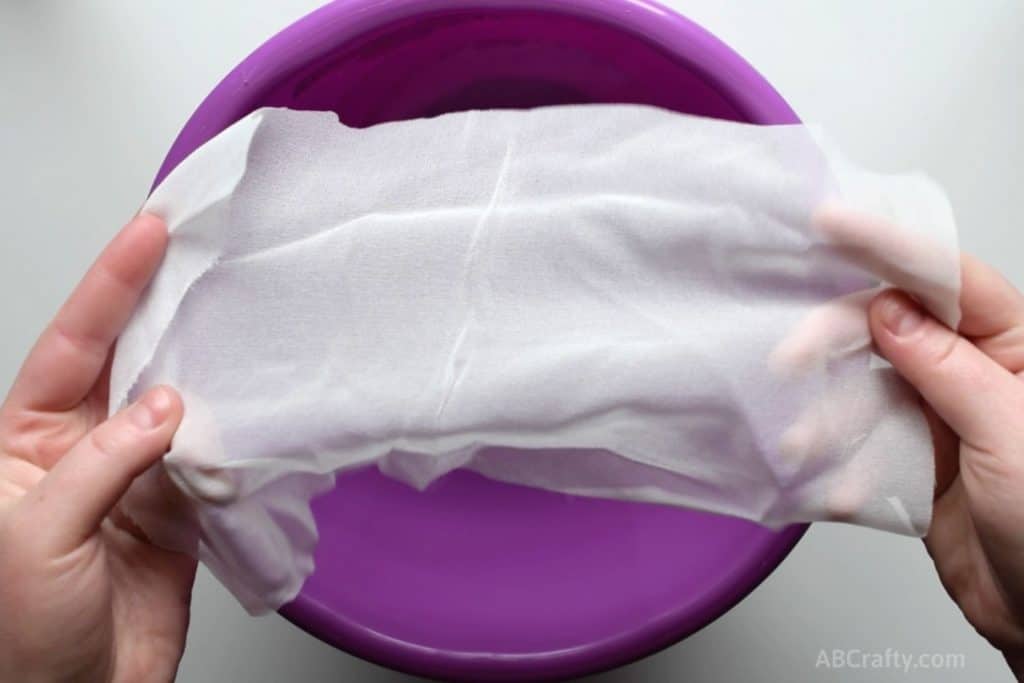
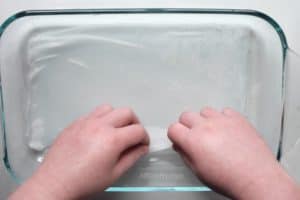
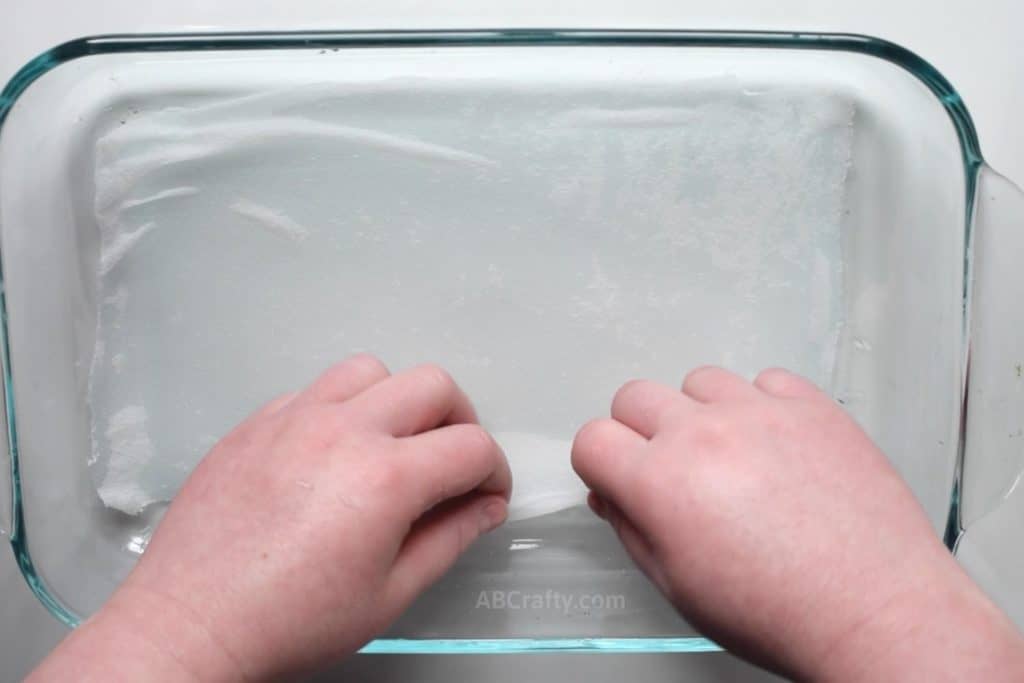
Squeeze out the water so the fabric isn’t dripping wet, but still damp. Then place it into a microwave safe dish. Remove any air bubbles from under the fabric by pushing the bubble out to the edges.
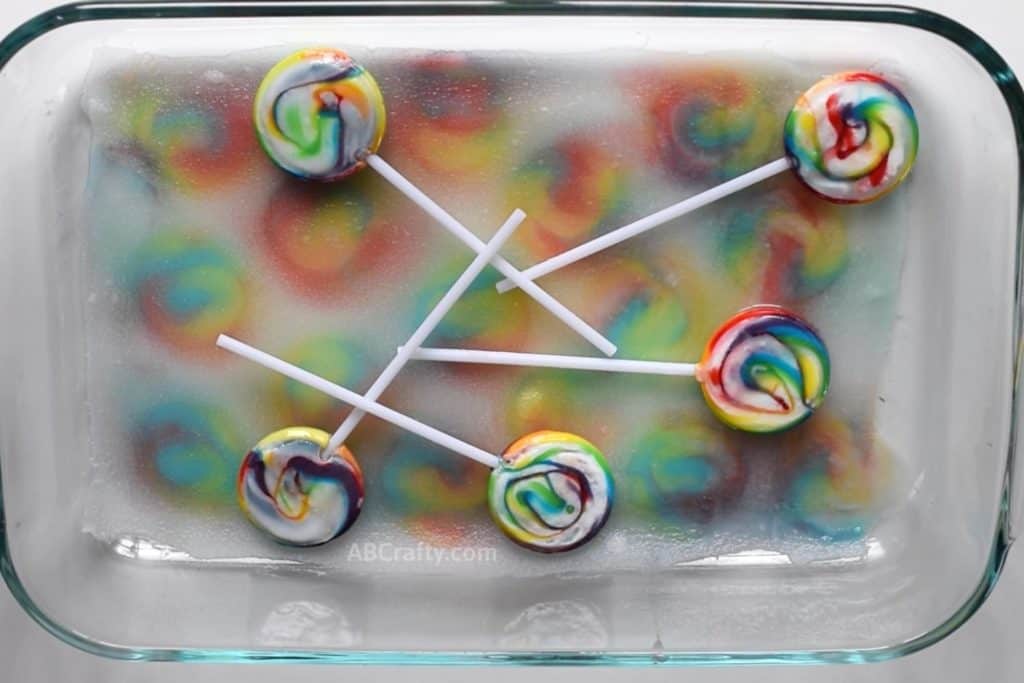
Unwrap all of the lollipops you would like to use. I ended up using five mini whirly pop lollipops. What you want to consider is the size of your fabric, how big you want the print to be, and how much time you want to spend. I used each side of the lollipop maybe 3-4 times, but after the second time some of the colors of the dye were gone.
If you want big circles, use the giant lollipops. Using them also means you won’t have to repeat the process as many times and the prints will be more vibrant. Down the line I’ll probably try using this fabric dyeing technique with giant lollipops myself.
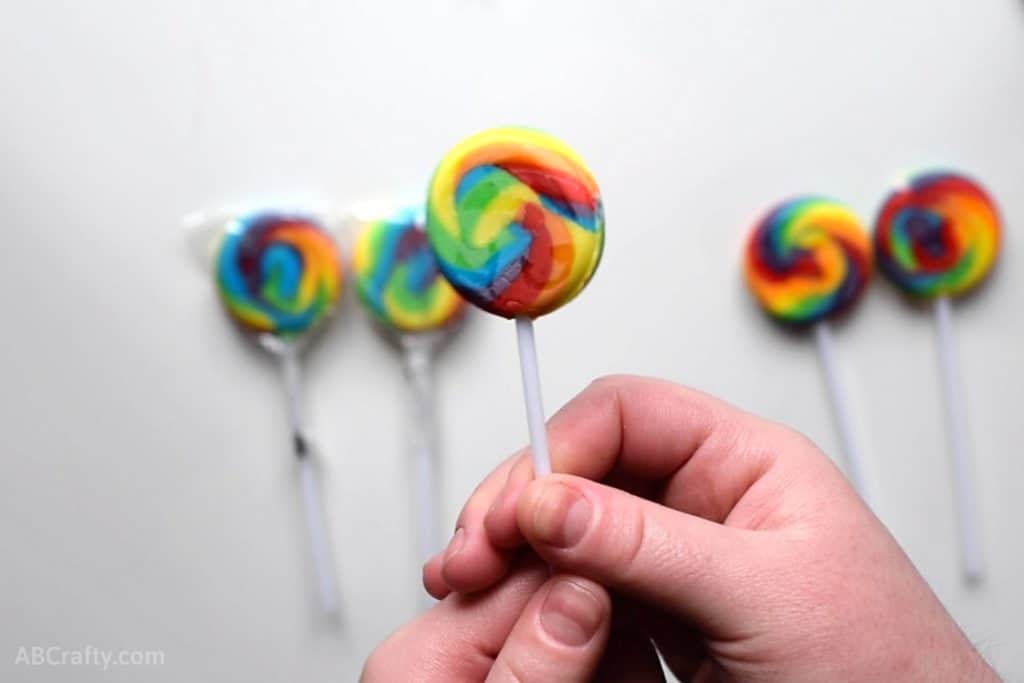
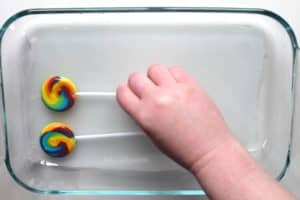
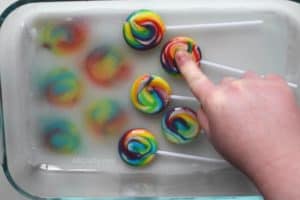
Start arranging the lollipops onto the wet silk.
Tip: Dip one side of the lollipops into the water and vinegar solution start the dye and food coloring to bleed. I originally dipped both sides (hence why they’re shiny in the photo), but realized I was wasting some of that dye since it wasn’t getting used right away.
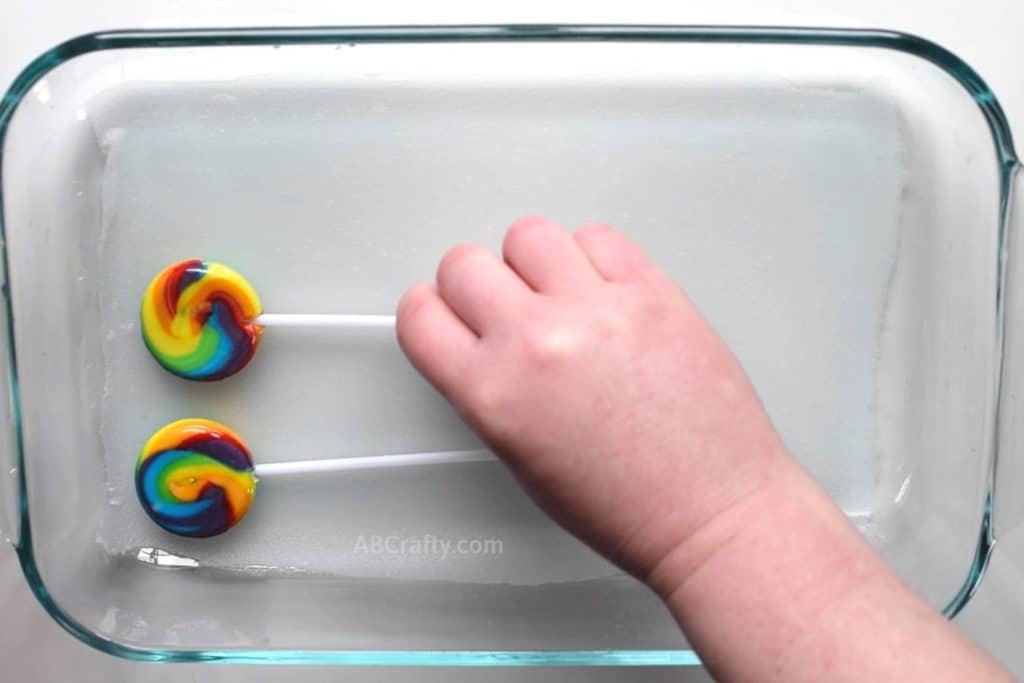
Leave the lollipops on the silk for 5 to 10 minutes. If you want to check on them, carefully lift one of the rainbow suckers up to see if you like how it’s looking. If you want a more vibrant color, leave them on for longer.
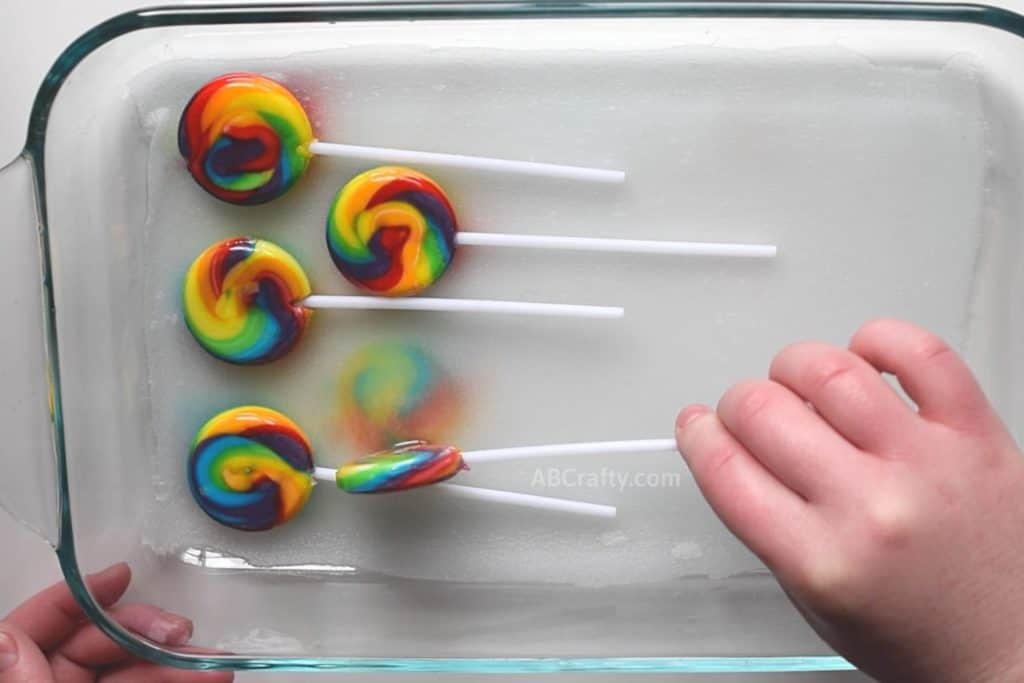
Once you feel good about the colors, flip the lollipops over and onto more blank white space on the silk. It can also be good to push onto the back of the candy to make sure it’s completely touching the silk fabric.
In the process, be sure to admire the rainbow spirals. I mean, how cool is this? Even though I saw Rebecca from ChemKnits successfully dye yarn with lollipops, I was still amazed that it works so well.
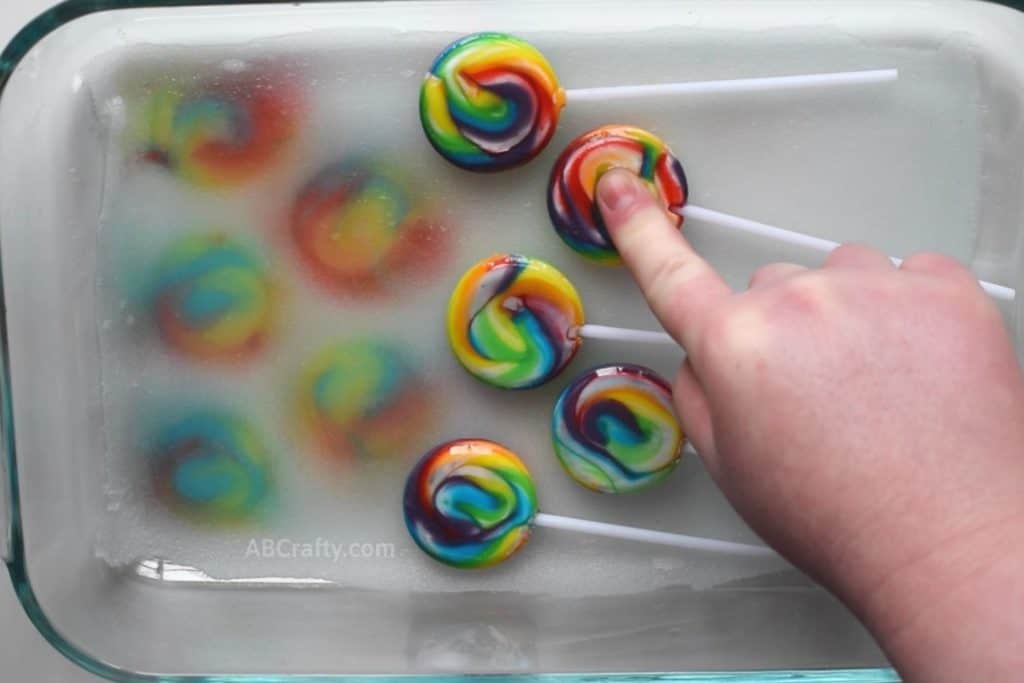
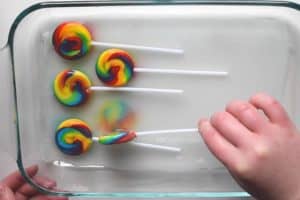
Continue flipping the rainbow pops over and filling in as much of the white space as you would like.
You can see now after a couple of flips the food coloring from the lollipops is pretty much all used up. I noticed the purple dye was the first to go, which is why some of the swirls don’t have as much purple.
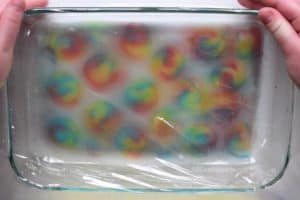
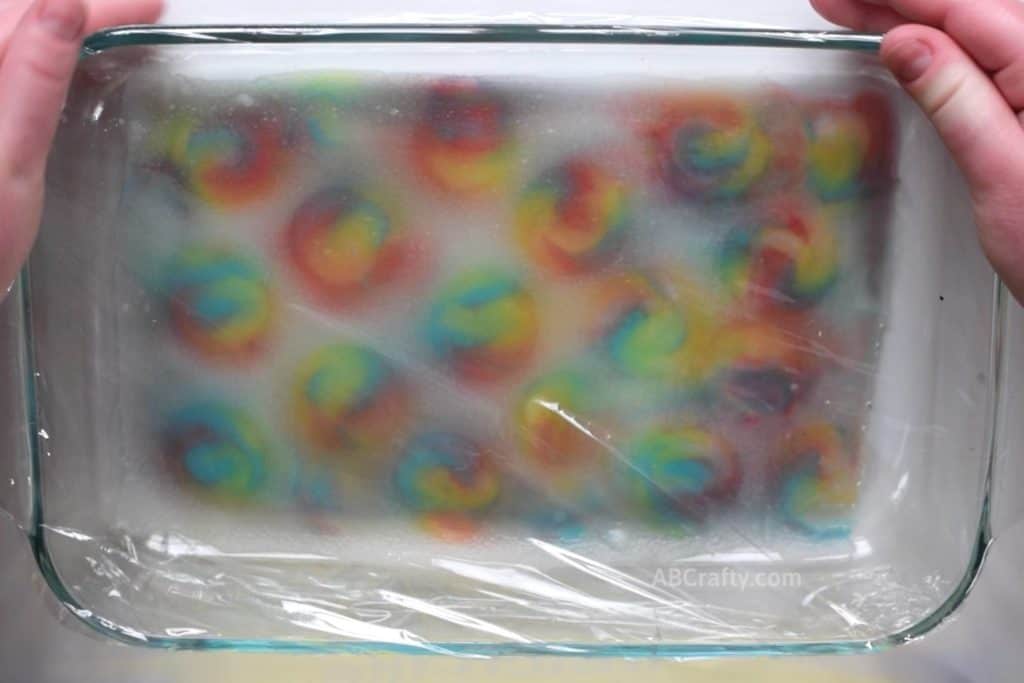
After you have enough prints from the food coloring, cover the dish in plastic wrap and microwave for 1 to 3 minutes on increments of 30 seconds to 1 minute. Heating the fabric and dye sets the dye into the fabric so that it won’t wash out and the dye won’t bleed.
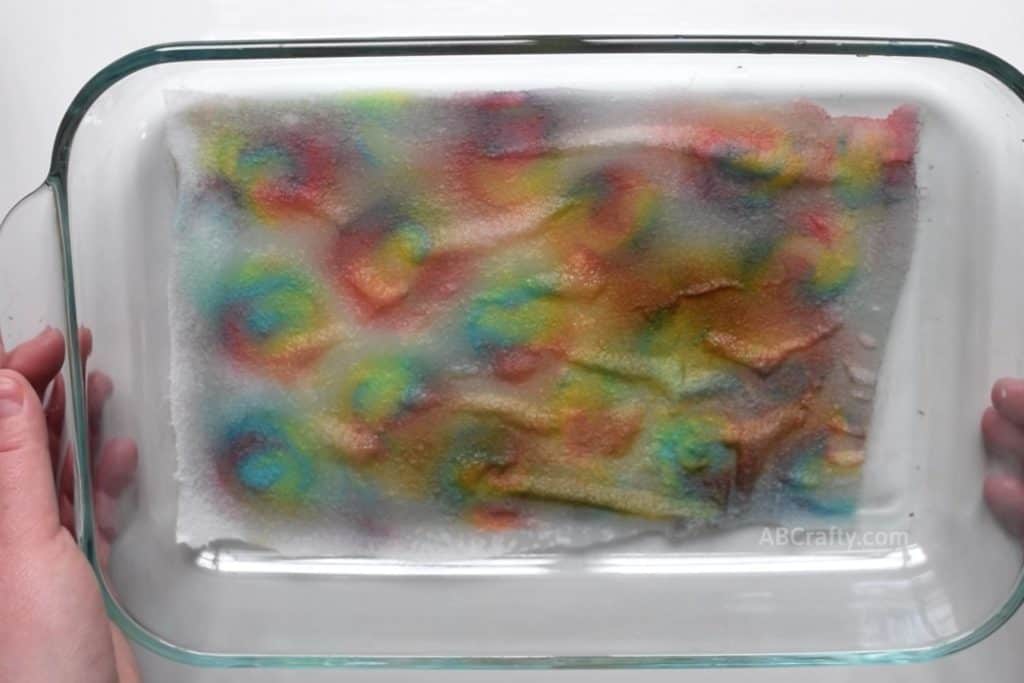
Make sure to keep a very close eye on it so the sugar from the candy doesn’t burn. Even though the lollipops aren’t in there, the sugar from the candy came off and into the silk. Therefore there is a good chance it can burn (like what happened to mine).
In general when setting dyes you want to be careful to not burn the fabric. However since we used candy, the sugar from the candy will burn well before the fabric will.
As you can see, I pushed it a little too far when heating it up, which is why the bottom and right side are a little burnt. I have literally caramelized my fabric. So while my kitchen smelled amazing, I unfortunately messed up some of my work.
Once the dye has set, rinse it out. Keep in mind since the fabric is covered in sugar, it will stiffen up under cooler water. Don’t worry, it will soon wash out and the fabric will soften up. You can also use a mild soap to get any last bit of candy out.
Tip: Start with cooler water and gradually make it warmer. If the dye starts to bleed then it’s not yet set and you can put it back in the microwave for a little longer. However if you start with hot water, the food coloring will all wash out and you won’t be able to salvage it.
Get the latest DIY tutorials, reviews, and crafting updates
You'll never be spammed and can unsubscribe at any time
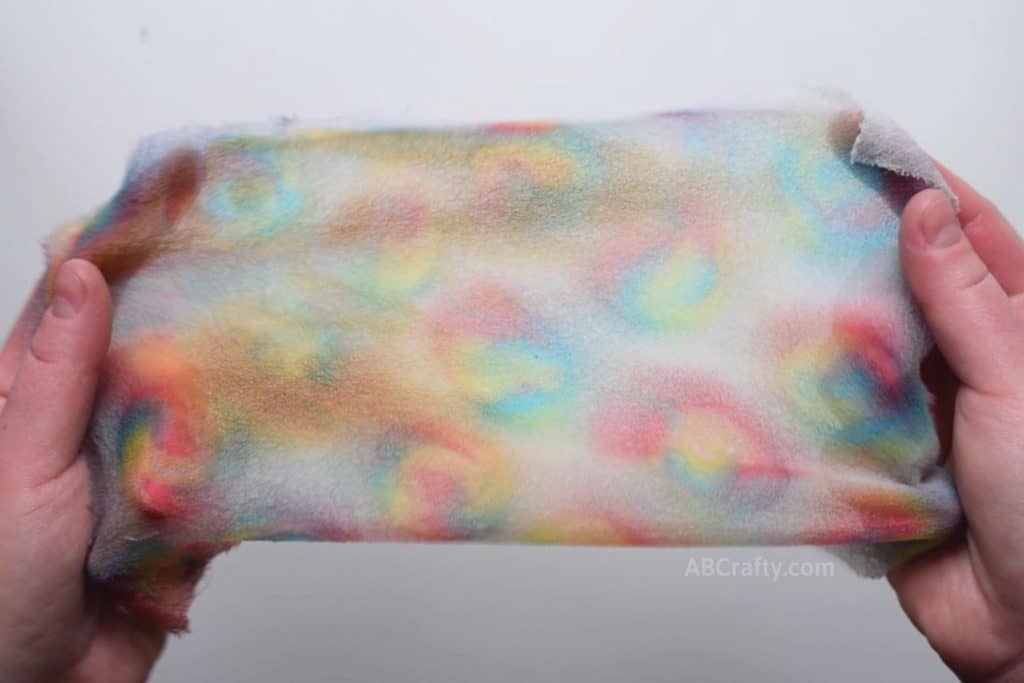
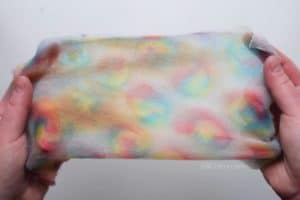
Even though some of the sections of the silk got burnt, it still came out ridiculously cool. It’s also not as noticeable in the air when you can see through it.
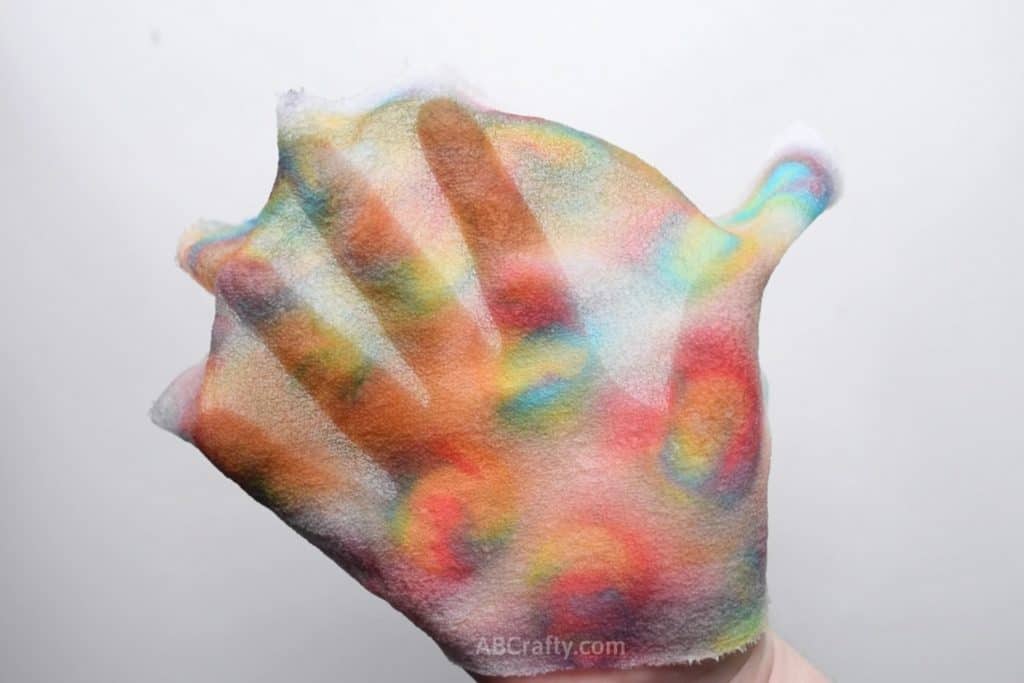
I’m still just so impressed with how they came out. Some of the swirls are just perfect like the middle one all the way to the left. Or the one right above the brown spot just off to the right of the middle.
Dyeing Silk with Rainbow Candy Sticks
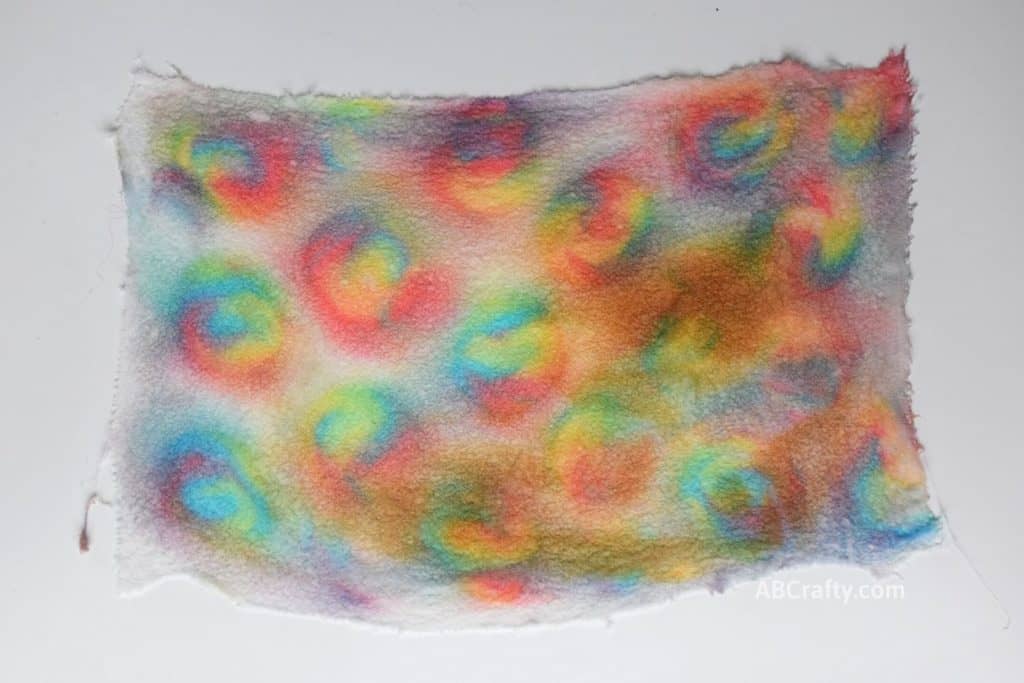
I wanted to try another silk dyeing technique using rainbow candy sticks instead of lollipops. The hope was to get some nice dyed rainbow stripes, but I love the tie dye effect it gave.
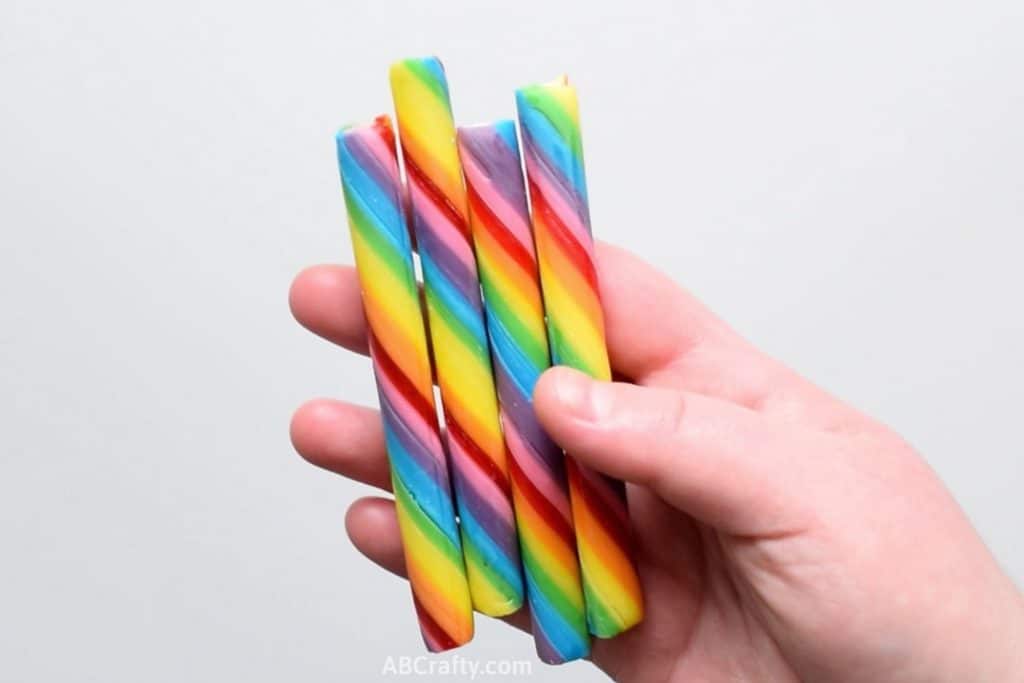
Just as with the lollipops, soak the silk in the solution of water and vinegar and placed it in a microwave safe dish. Then place the candy sticks on top.
I staggered the candy on top of the fabric, but in hindsight it makes more sense to keep them in a row, but still with space in between. You’re going to be rolling the candy sticks so you want to give them room to move.
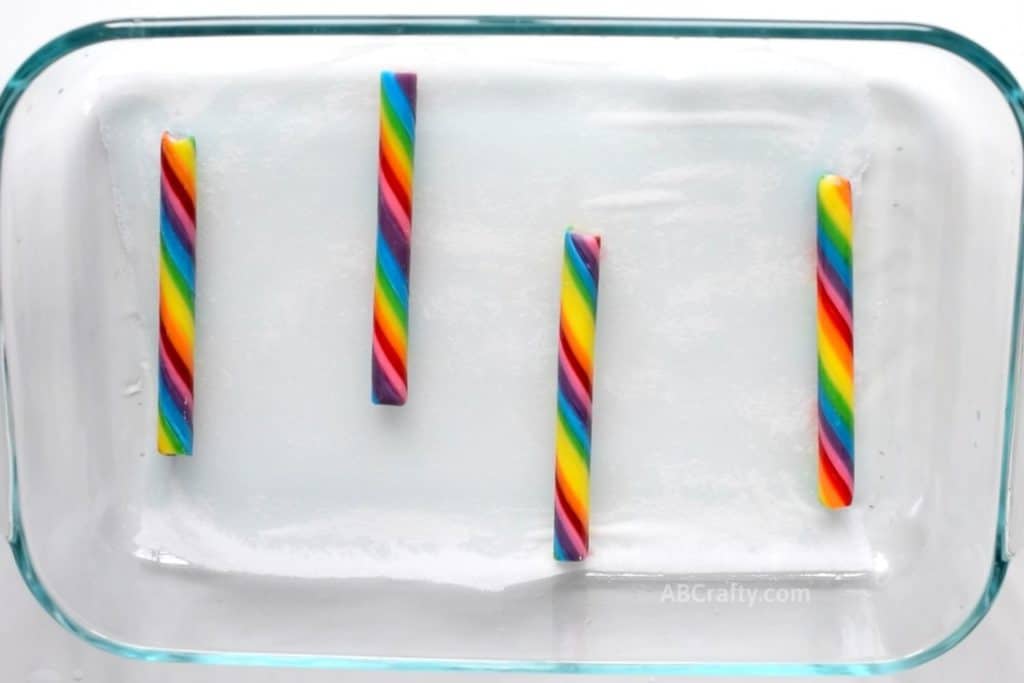
Just as before, let them sit for a few minutes. Then give them a slight roll to move them over.
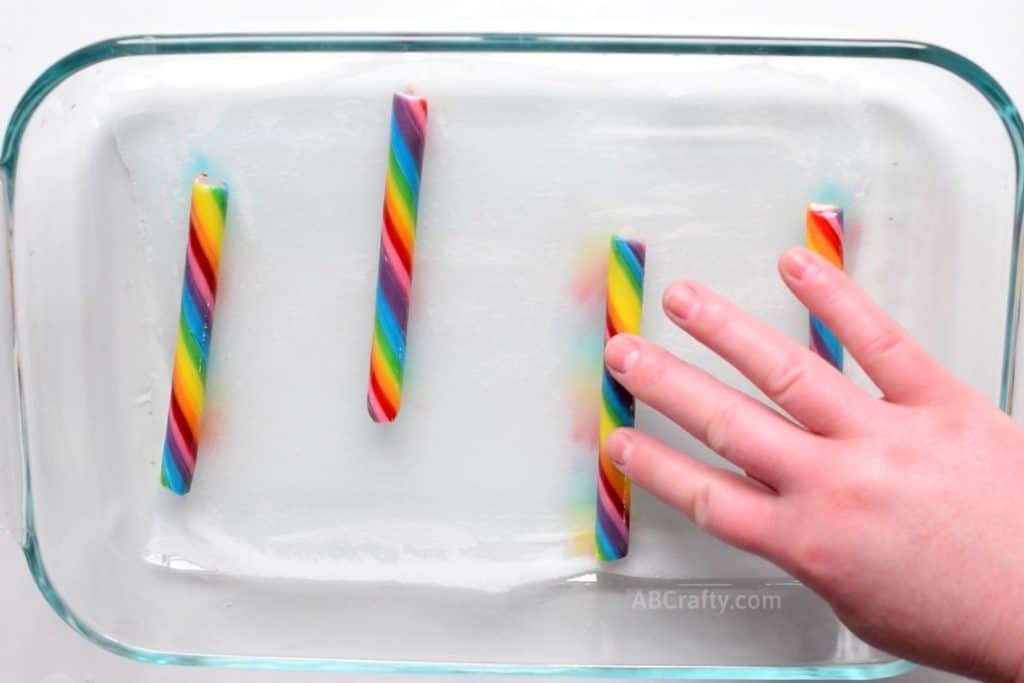
Continue this process for each candy stick, rolling them slightly to release more of the dye.
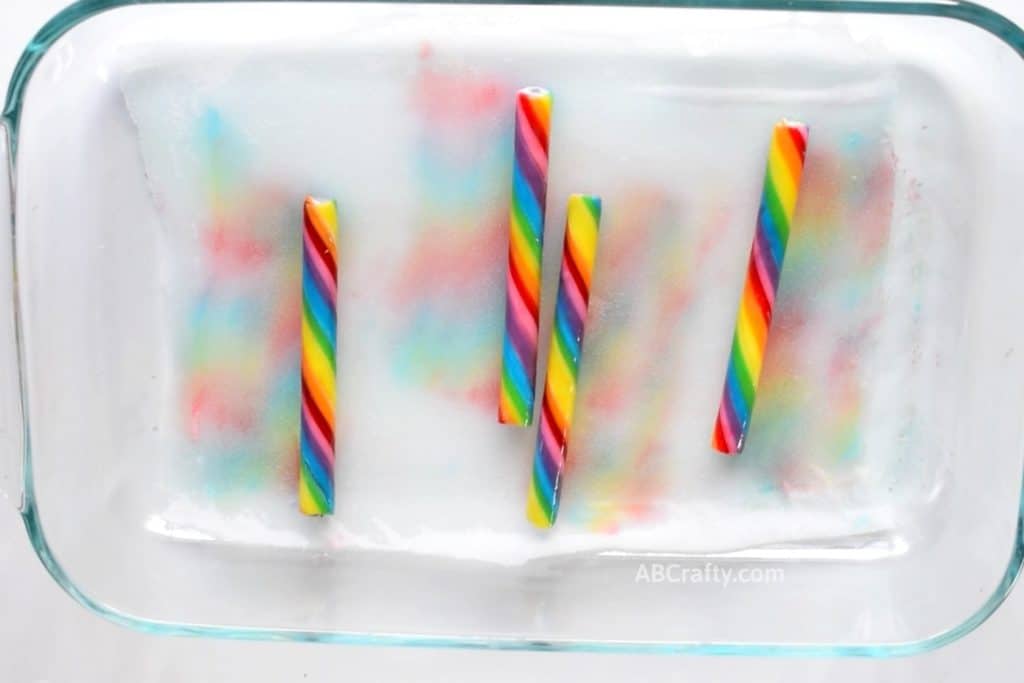
Break the candy into smaller pieces to get smaller sections if they don’t fit in the dish.
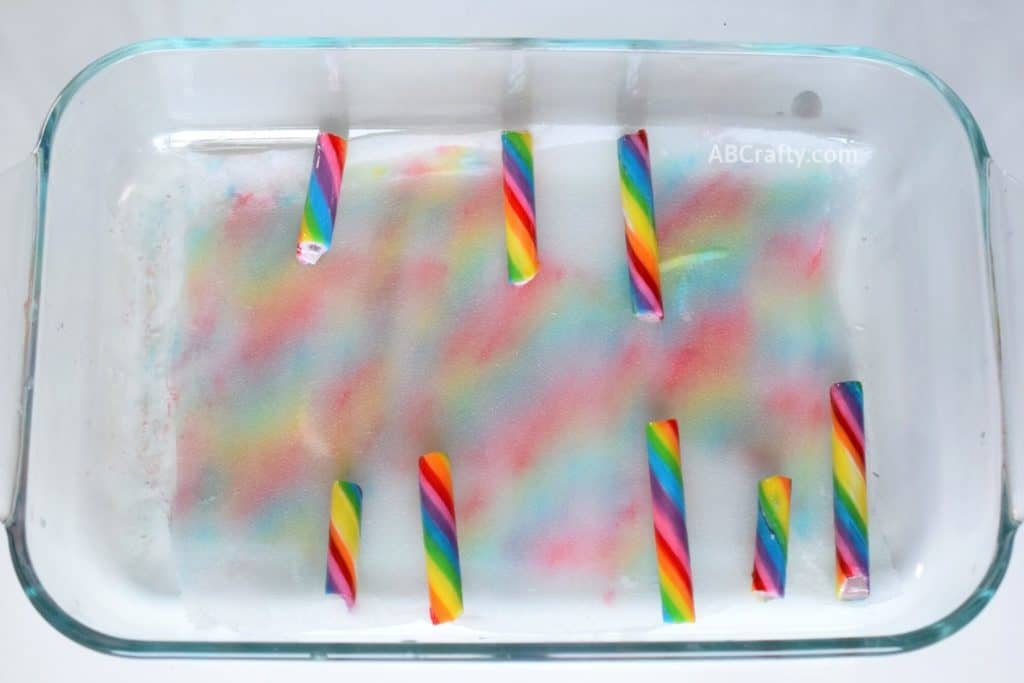
Then same as before, cover it in plastic wrap and microwave it until the dye has set. Then rinse it out. I was quite proud of myself for not burning this one.
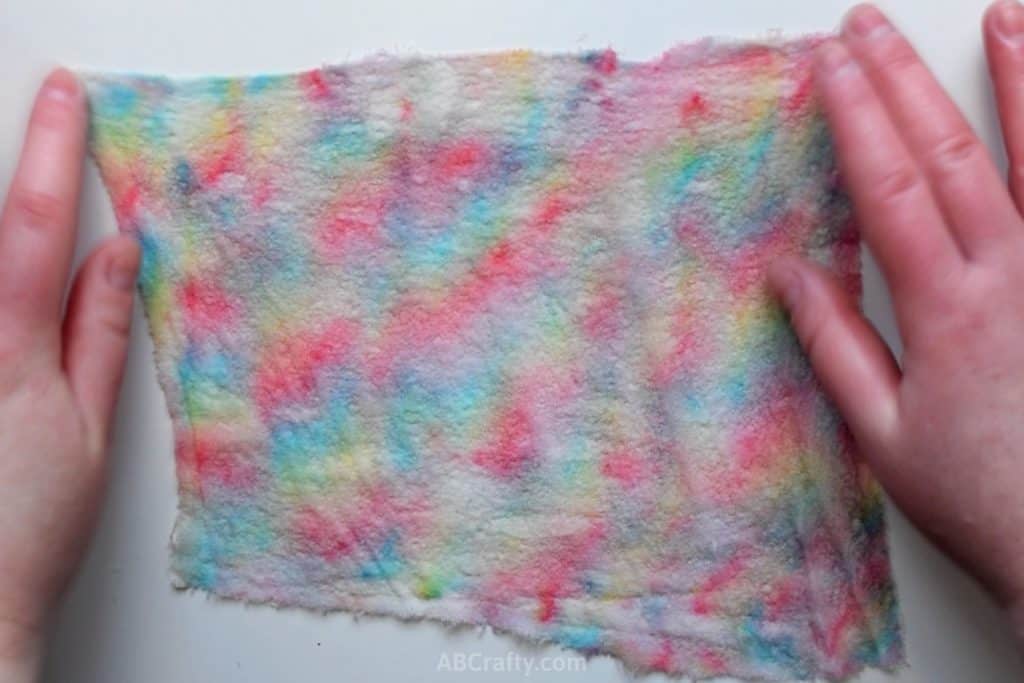
Now this one definitely came out looking like tie dye silk. It’s almost even like a rainbow zebra pattern that’s giving me some serious 90’s Lisa Frank vibes.
I love how it covers all of the fabric so it’s surprisingly a great fabric dyeing technique to use if you want to make rainbow fabric.
How to Dye Satin with Rainbow Lollipops
I also had scraps of satin fabric so I figured I would also try dyeing satin with the lollipops.
I had the shiny side up and this time I realized a faster way to the dyeing with lollipops process. Fold the fabric over the lollipop to use both sides of the candy at once. You might not be able to use as many lollipops to dye at a given time, but if you’re more coordinated than me you can plan ahead to make it work.
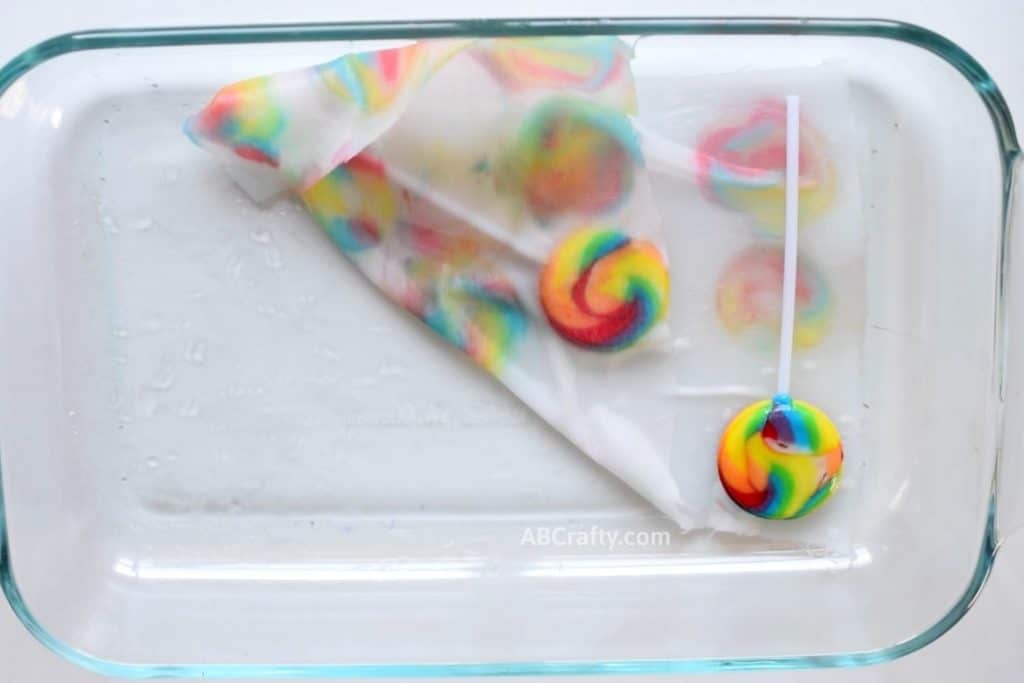
Then carefully peal the fabric off of the swirly lollipop to reveal the print.
If you want clean swirls, it’s important to be careful using this method because the food coloring from the lollipop will dye any part of the fabric it touches.
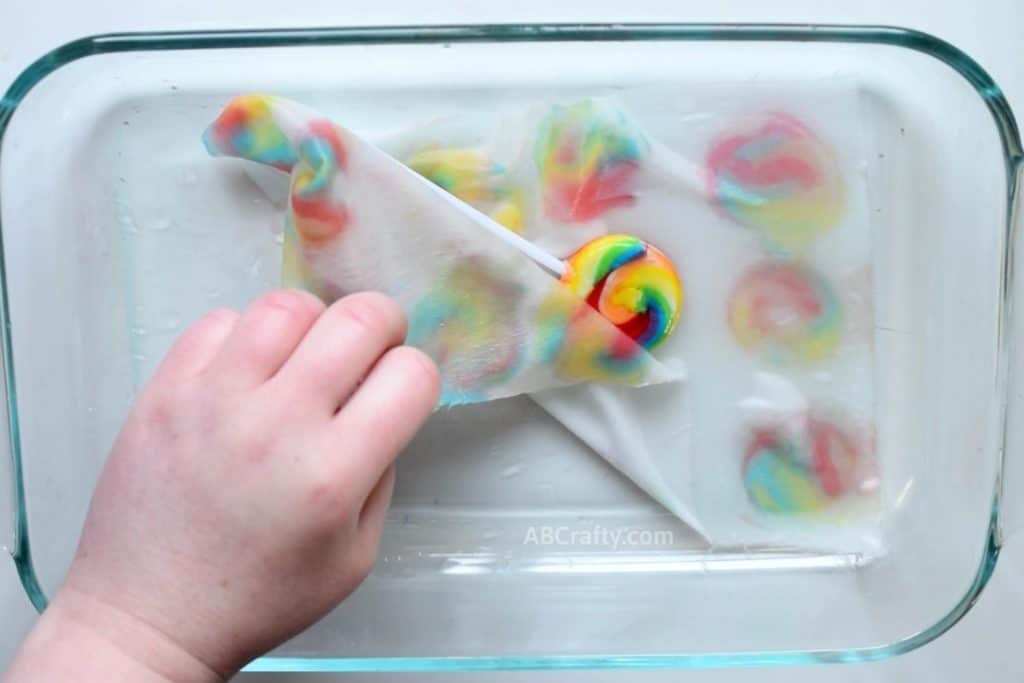
Just as with the silk, continue dying the satin with the lollipops until you’re happy with the pattern.
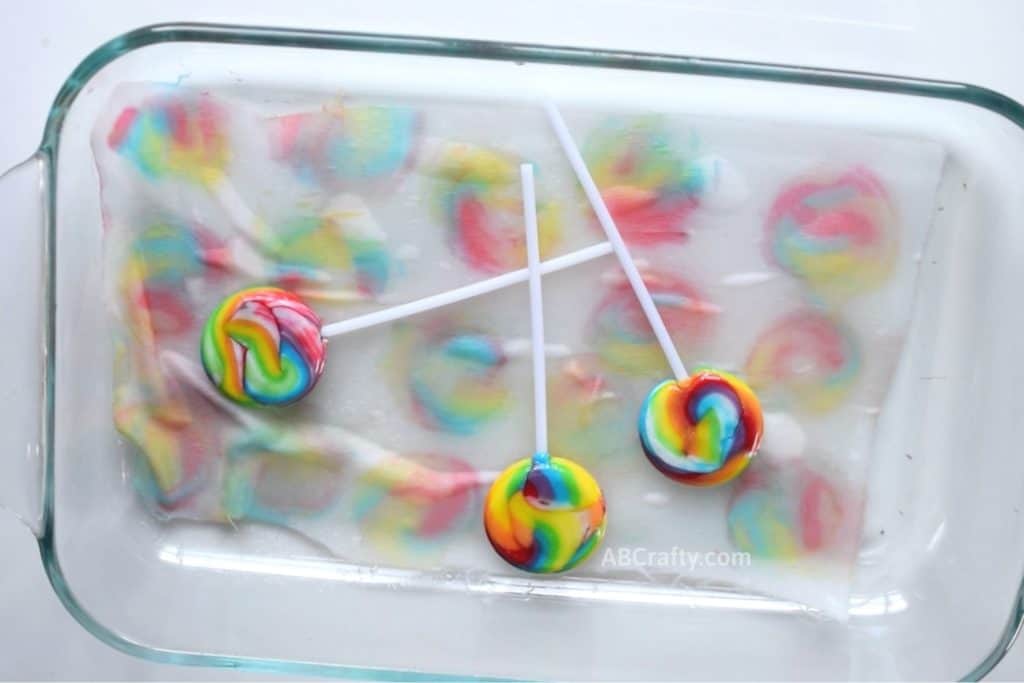
Then repeat the process by covering it plastic wrap, microwaving it and rinsing it out.
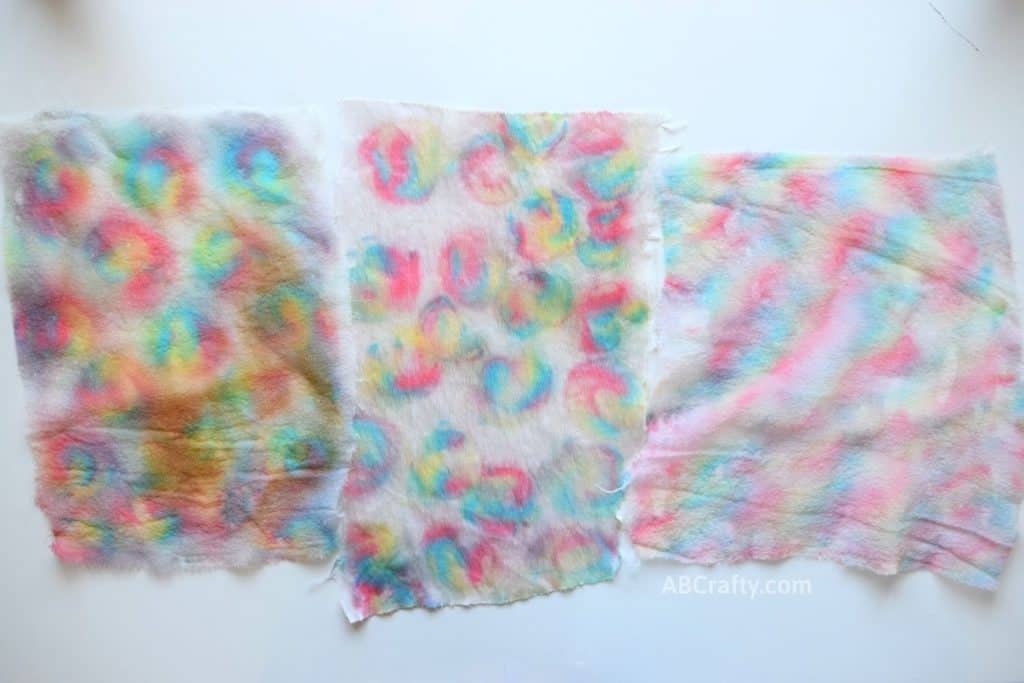
And here are all three candy dyed fabrics. From the left to right it’s the habotai silk with the mini rainbow swirl lollipops, then the satin dyed with the same lollipops, then the habotai silk again, but dyed with the candy sticks.
Which satin and silk dyeing technique do you like best? (Ignoring the burnt sugar)
More Candy and Rainbow Crafts to Try
Get the latest DIY tutorials, reviews, and crafting updates
You'll never be spammed and can unsubscribe at any time
Dyeing Silk with Rainbow Lollipops
Materials
- Vinegar
- Water
- Silk Fabric
- Rainbow Lollipops (small or large lollipops)
- Mild soap
Equipment
- Bucket
- Microwave safe dish
- Microwave
Instructions
- Combine two parts water to one part vinegar in a bucket. Then soak the silk fabric for at least 10 minutes.
- Squeeze out the water so the fabric isn’t dripping wet, but still damp. Then place it into a microwave safe dish. Remove any air bubbles from under the fabric by pushing the bubble out to the edges.
- Unwrap all of the lollipops you would like to use.
- Start arranging the lollipops onto the wet silk.
- Leave the lollipops on the silk for 5 to 10 minutes. If you want to check on them, carefully lift one of the rainbow suckers up to see if you like how it’s looking. If you want a more vibrant color, leave them on for longer.
- Once you feel good about the colors, flip the lollipops over and onto more blank white space on the silk. It can also be good to push onto the back of the candy to make sure it’s completely touching the silk fabric.
- After you have enough prints from the food coloring, cover the dish in plastic wrap and microwave for 1 to 3 minutes on increments of 30 seconds to 1 minute. Heating the fabric and dye sets the dye into the fabric so that it won’t wash out and the dye won’t bleed.Be careful not to burn the fabric like I did.
- Once the dye has set, rinse it out. Keep in mind since the fabric is covered in sugar, it will stiffen up under cooler water. Don’t worry, it will soon wash out and the fabric will soften up. You can also use a mild soap to get any last bit of candy out.

