
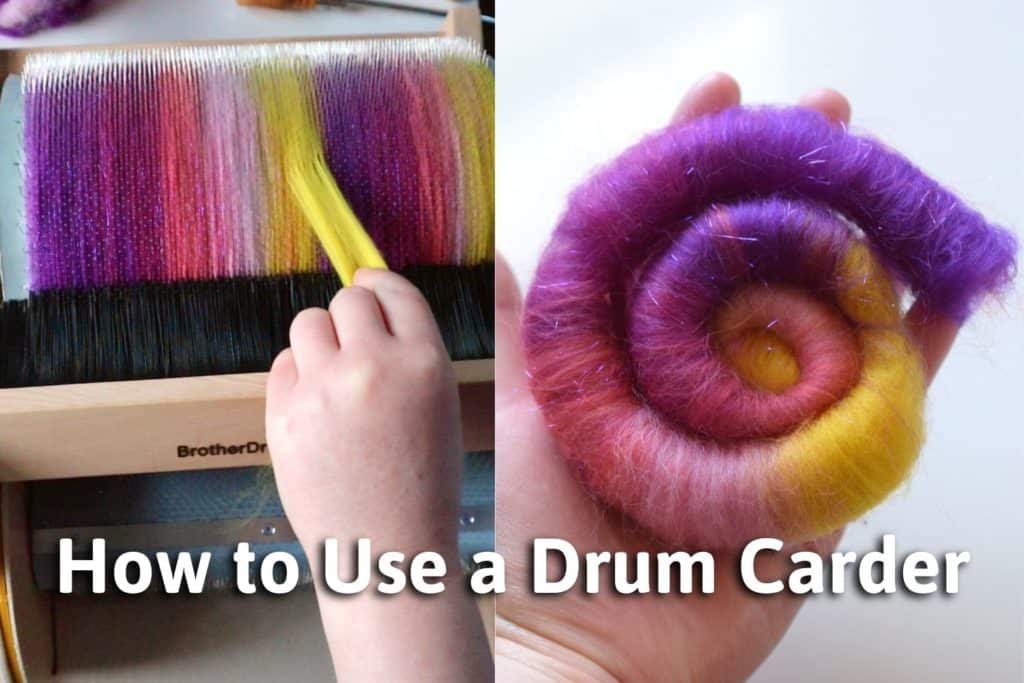
Learn how to use a drum carder to easily card wool and make custom rolags, slivers, wool batts, and roving. Even fix slightly felted wool!
Table of Contents
Note: Some links in this post may contain affiliate links, which means at no cost to you, I may earn a commission.
Get the latest DIY tutorials, reviews, and crafting updates
You'll never be spammed and can unsubscribe at any time
What is a Drum Carder?
A drum carder is a type of carder that cards fibers such as wool. This mean it takes the fiber and detangles it. You can think of it like a giant hair brush.
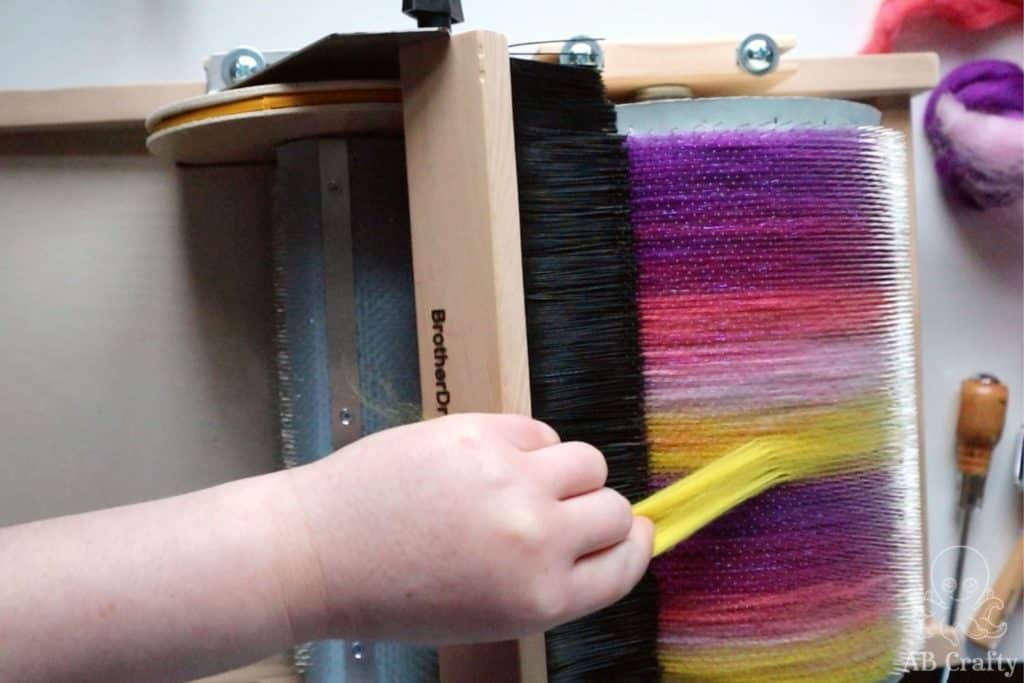
There are different types of carders such as hand carders (which are literally giant hairbrushes like these), blending boards, and drum carders. What’s unique about the drum carder is it has two barrels, covered in tines. You put the fiber through one end, turn a crank, and the fiber gets pushed through these barrel-shaped brushes.
Drum carders make detangling wool incredibly easy. They’re used at various stages of wool processing, including smoothing out wool locks to make wool slivers and roving. Then for the felter, spinner, or crafter, it can be used to make wool batts, rolags, or slivers. This is the one I have.
What Are the Benefits of a Drum Carder?
There are several things a drum carder can help with aside from simply processing and combing fibers. I’ve used mine to not only fix slightly felted wool, but also blend different colors and types of fibers for different felting and fiber projects. So here’s a quick list of things a carder can do:
- Fix partially felted wool
- Blend different types of fibers together
- Blend different colors of fiber
- Turn wool locks into smooth fiber
- It can make fiber and wool batts
- It can make fiber and wool rolags
- It can make fiber and wool roving and slivers
What's the Best Place to Buy a Drum Carder?
If you don’t have a felting or fiber shop near you, there are several places online where you can get a drum carder. For example, you can get the one I have (the Standard Brother Drum Carder) on Etsy. Depending on the type you want, here is where I recommend buying one:
- Etsy – you can find various sizes and get the same one I have. You’ll primarily find Brother Drum Carders on Etsy. I personally like these because they’re cheaper.
- The Woolery – you’ll also find various sizes and brands, including Louet, Majacraft, and Ashford Drum Carders
- eBay – Since drum carders are on the expensive side, eBay is a great option to find both new and used ones in all sorts of brands and sizes.
- Amazon – I’ve only seen a limited selection of Ashford carders on Amazon, but if that’s the brand you want, it’s of course easy to order
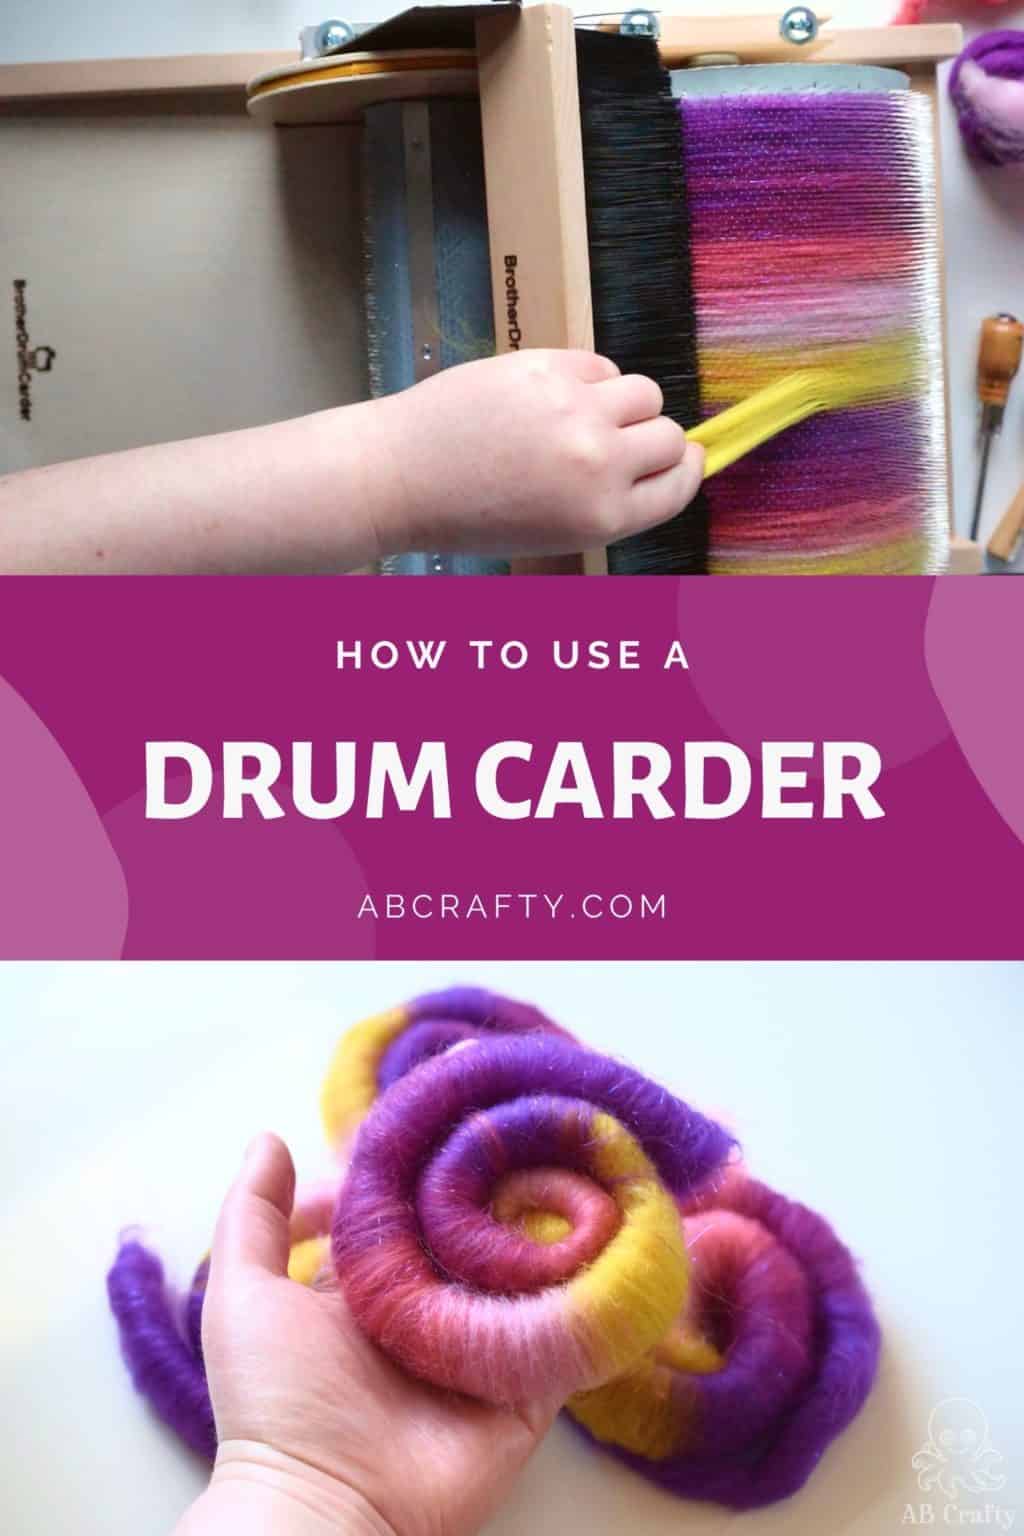
Don’t forget to pin it so you can easily come back to it later!
Materials to Use a Drum Carder
- Drum Carder (this is the one I have)
- Wool Roving (these are some of my favorites)
- Other Fiber (optional) – here are some I recommend
- Awl (this will typically come with the carder, but if not you can get one on Amazon)
- For a Rolag – 2 Wooden Dowels or you can use drum sticks like I do (these are the ones I have)
- For a Sliver or Roving – Sewing Machine Bobbin (Amazon)
How to Use a Drum Carder
Prepare the Drum Carder
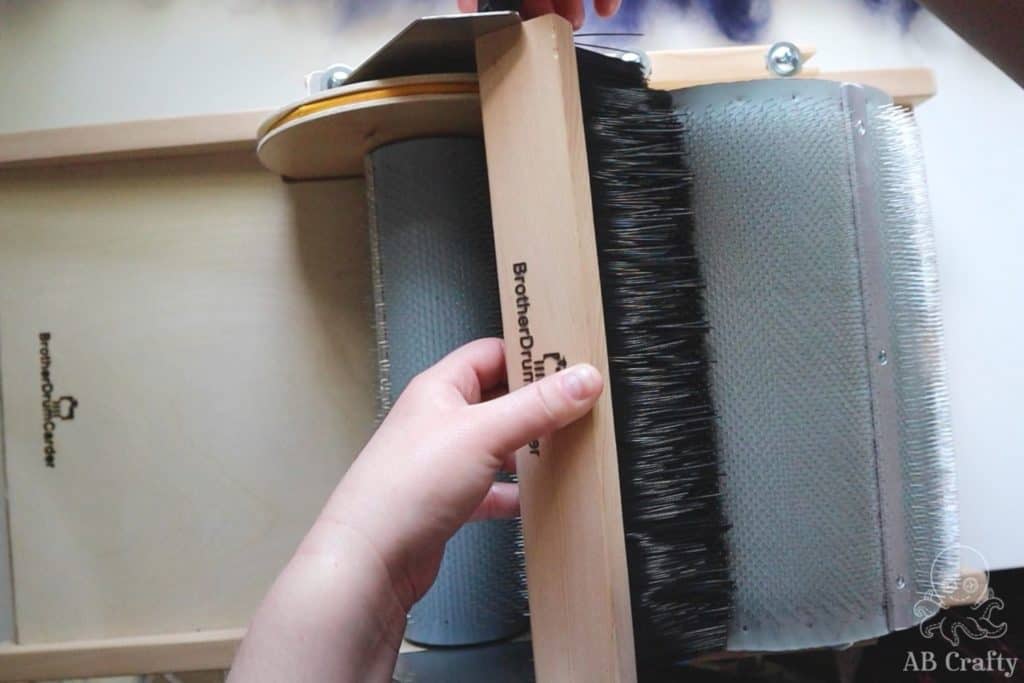
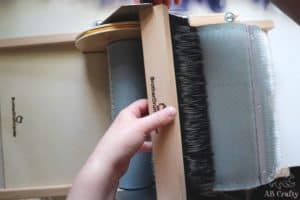
Place the drum carder on the table and flip the brush side against the larger barrel. Lock it in place. The brush will push the fibers against the barrel, packing it in.
Depending on the drum carder you have, you may want to consider putting it on an elevated surface. I have the Standard Brother Drum Carder (you can get it on Etsy) and while I would recommend it as a great budget carder, it either needs to be used at the edge of the table or elevated in order to turn the crank.
Get the latest DIY tutorials, reviews, and crafting updates
You'll never be spammed and can unsubscribe at any time
Prepare the Fiber for the Drum Carder
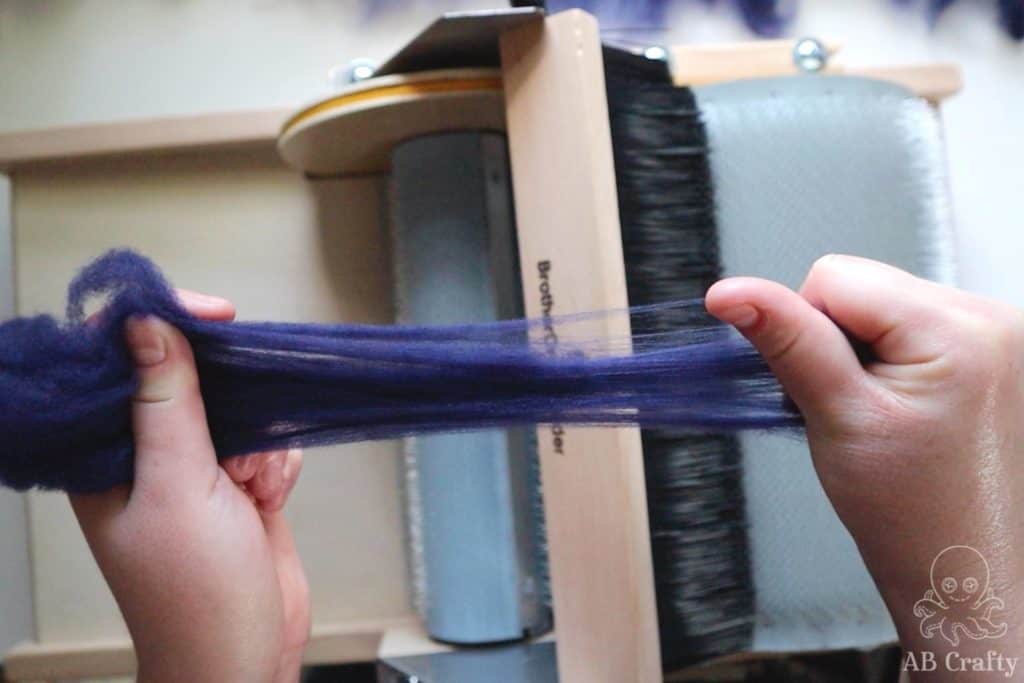
To make it easier to card, it’s a good idea to separate the fibers a bit. This will allow for a more even blending a soft and fluffy batt.
If your fiber is slightly felted like mine was after I dyed it, I’ve included a section below on how to prepare it further.
Feed the Wool into the Drum Carder
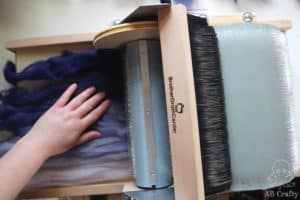
Place the wool onto the platform in front of the smaller barrel, known as the “licker.” Be careful to avoid the sides so that the wheel on the side doesn’t catch the fiber.
You can use a full layer or just use pieces at a time.
Tip: Use thin layers to ensure the fiber gets evenly distributed on the drum.
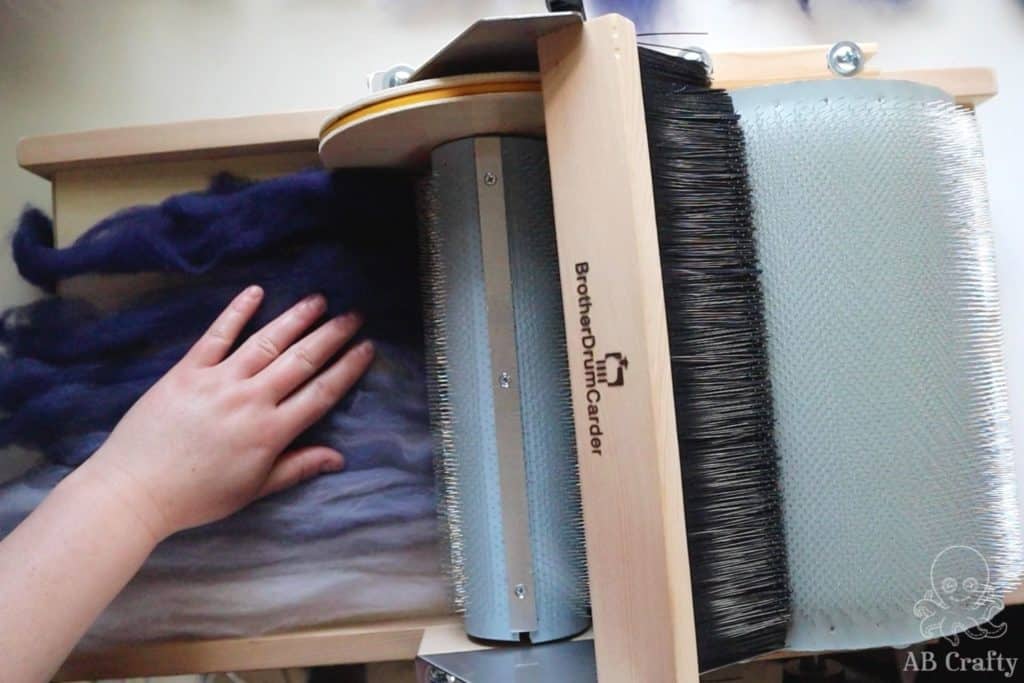
Turn the crank on the side and the licker will pull the fiber into the carder.
The licker will then transfer the wool onto the large drum.
Tip: Don’t push the fiber into the licker. Allow the licker to pick it up. Otherwise the wool may get caught around it. However, if the fiber isn’t getting pulled in you can give it a gentle nudge.
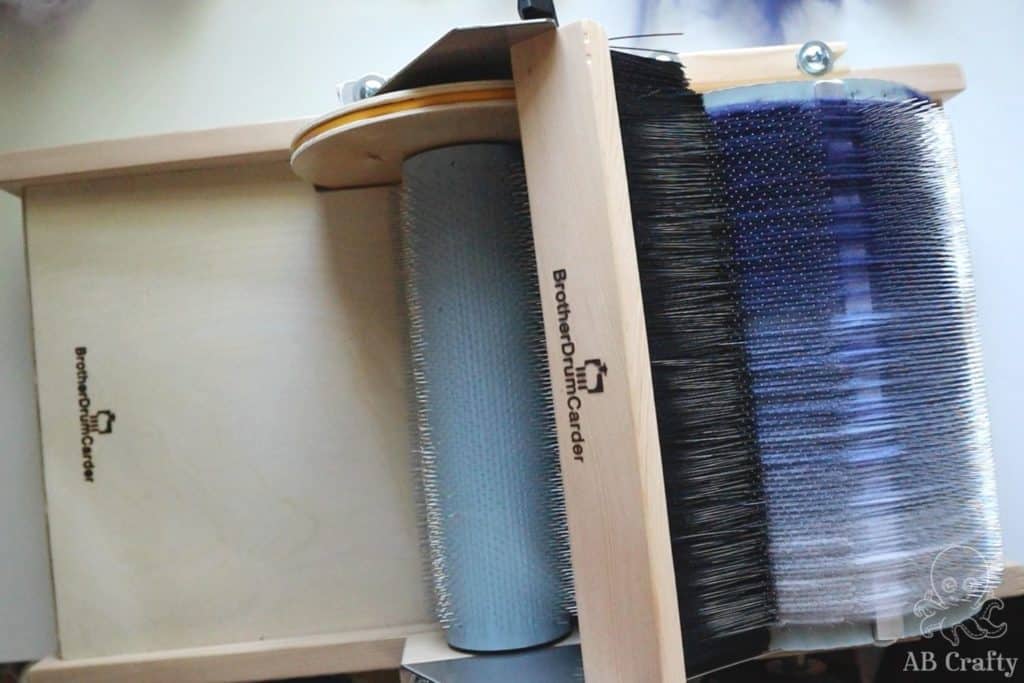
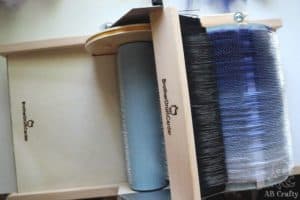
Continue to add wool and fibers, filling up the drum. The maximum you want to add is when the tines of the drum are full – you don’t want to go above them.
Removing the Wool from the Drum Carder
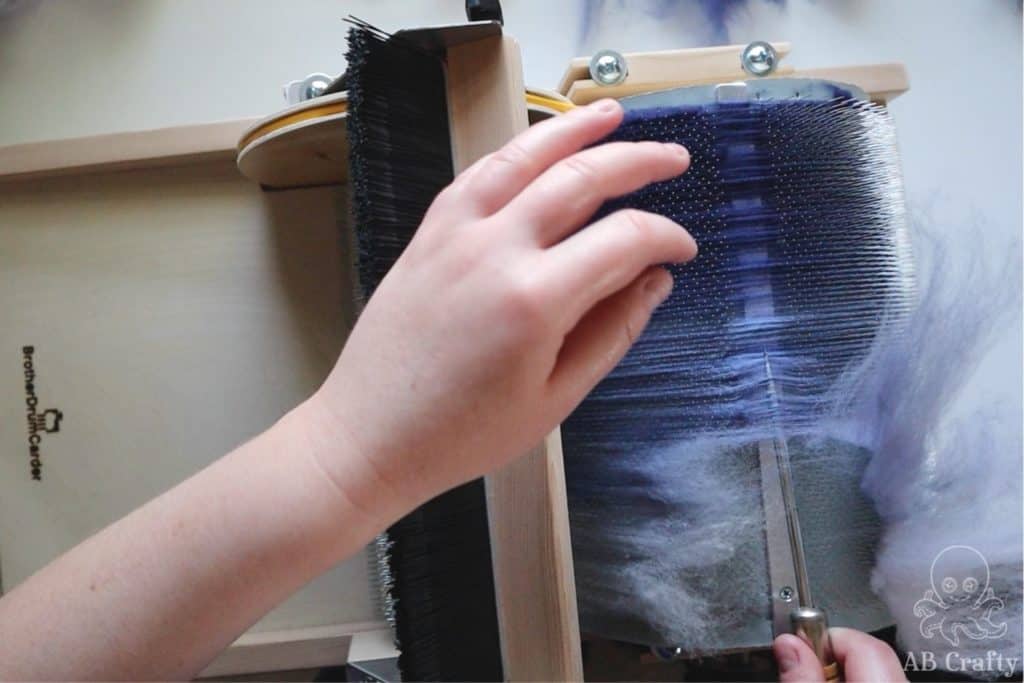
Once you have added the amount of wool that you’d like, loosen the nob to the brush and lift it up and away from the drum.
Then turn the crank until the metal bar on the drum is at the top.
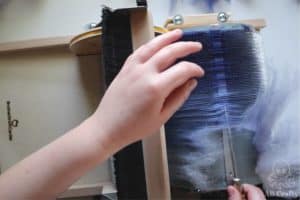
Take the awl and tuck it under some of the fibers, along the metal bar. Lift up to separate the fibers. Depending on whether you want to make a sliver/roving or a batt/rolag, you’ll want to do this only for about the first inch or two of fiber or the whole thing.
Tip: If it’s difficult to lift the fibers, try to lift fewer at a time.
Get the latest DIY tutorials, reviews, and crafting updates
You'll never be spammed and can unsubscribe at any time
How to Make a Batt Using a Drum Carder
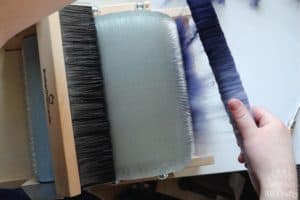
Use the awl to separate all of the wool. Then carefully hold one side of the fibers and remove them from the drum.
It should easily come off while gently pulling down and away. I recommend going slowly and using the awl to lift up any fibers still stuck to the drum as you lift it off.
You can then use this wool batt in other fiber crafts or felting projects.
How to Make a Rolag Using a Drum Carder
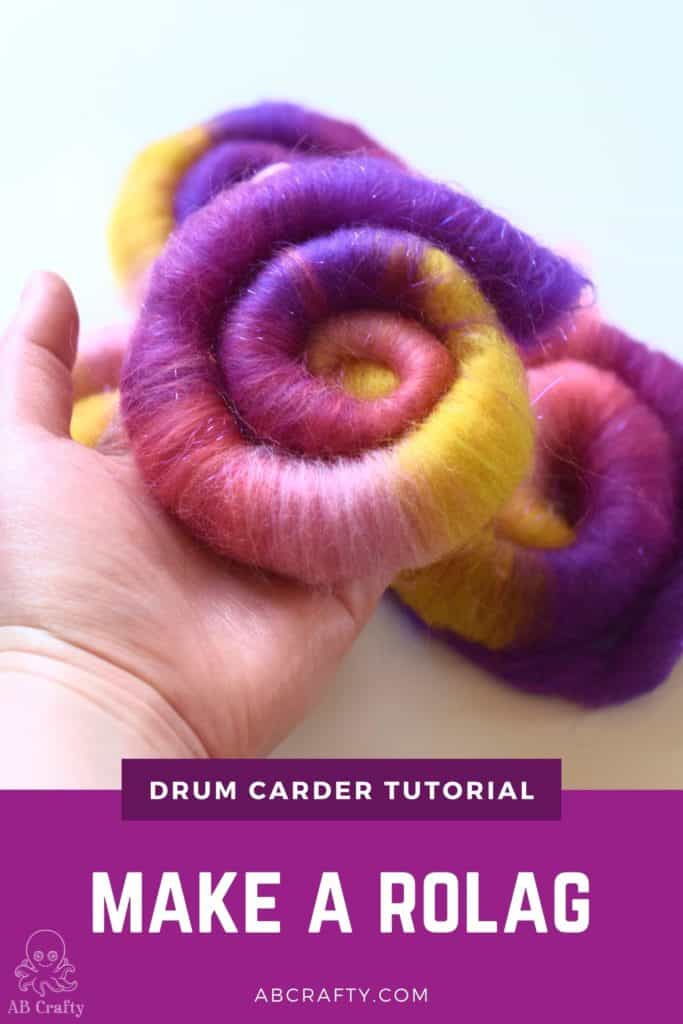
Separate all of the wool at the top of the drum.
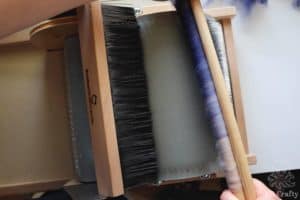
Then use two wooden dowels (or in my case, drum sticks) to grab either side of the wool. Apply pressure and twist the fiber away from the drum, wrapping it around the dowels.
In case you want the same ones, these are the ones I have.
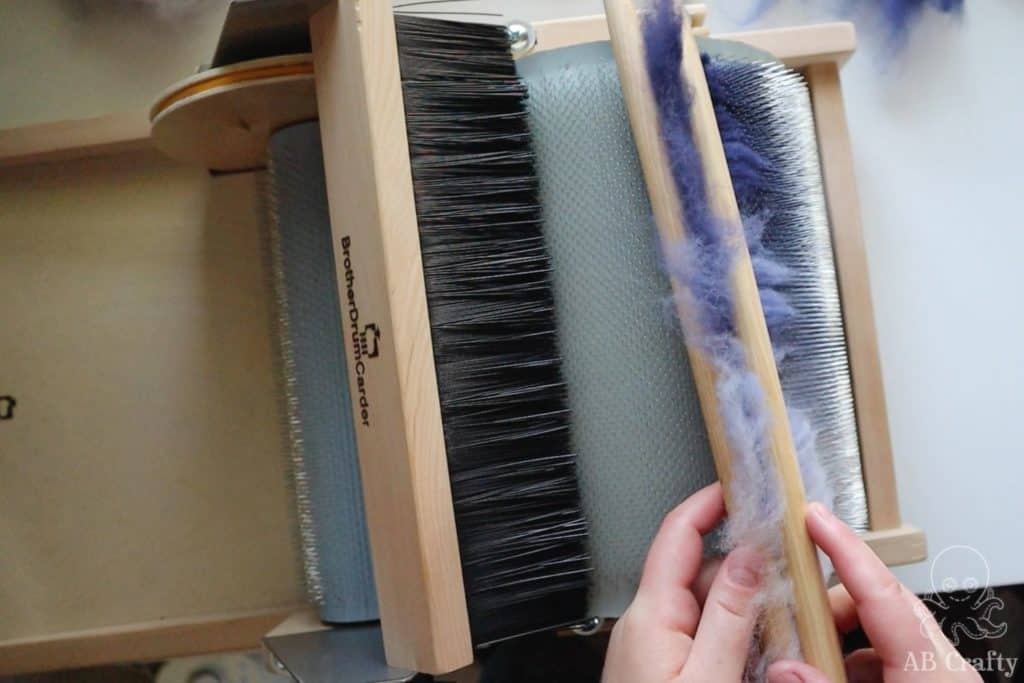
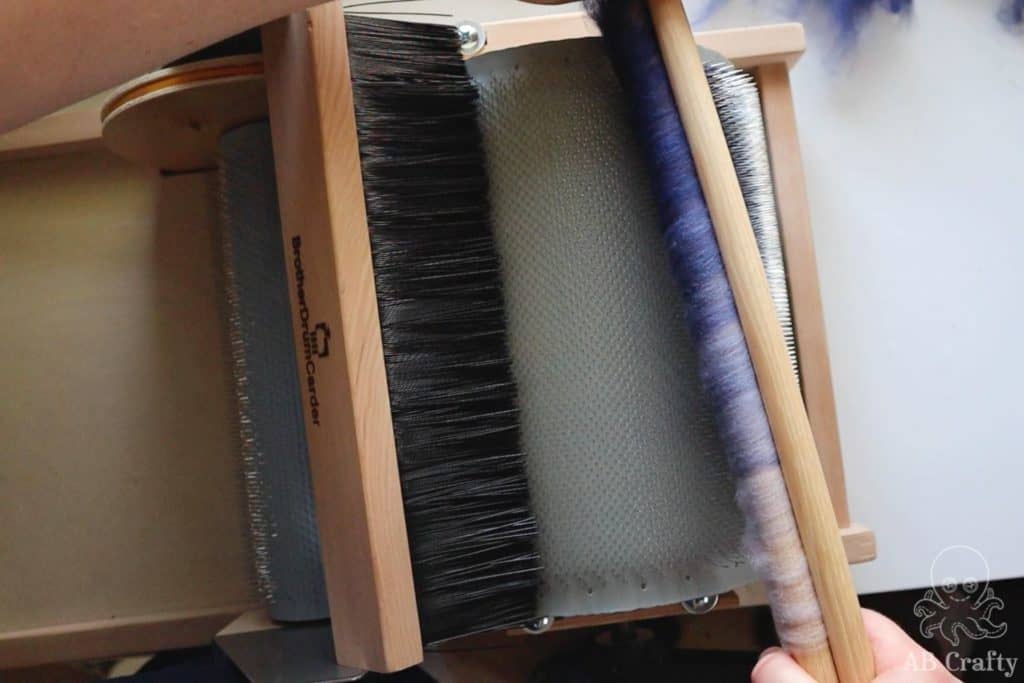
Then gently lift up and give a bit more twist to help separate the fibers. Then bring the dowels back down to lift more fiber. Repeat this process to create an even layer of fiber around the dowels.
Tip: This technique can be very tricky, but I find it helps to hold onto the fiber while you twist it (like in the first image below).
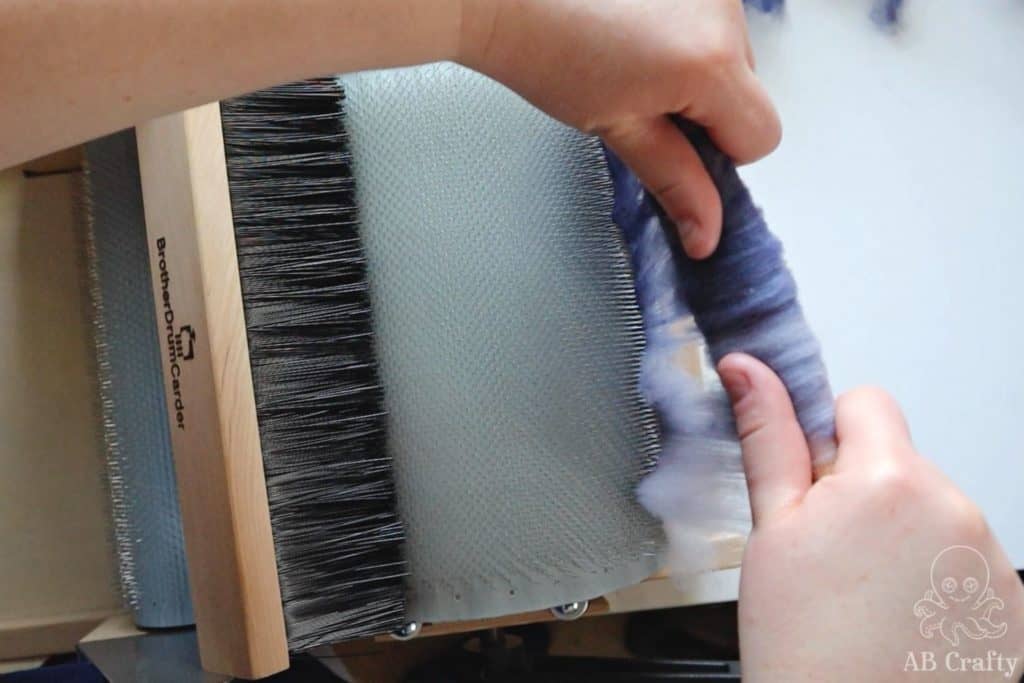
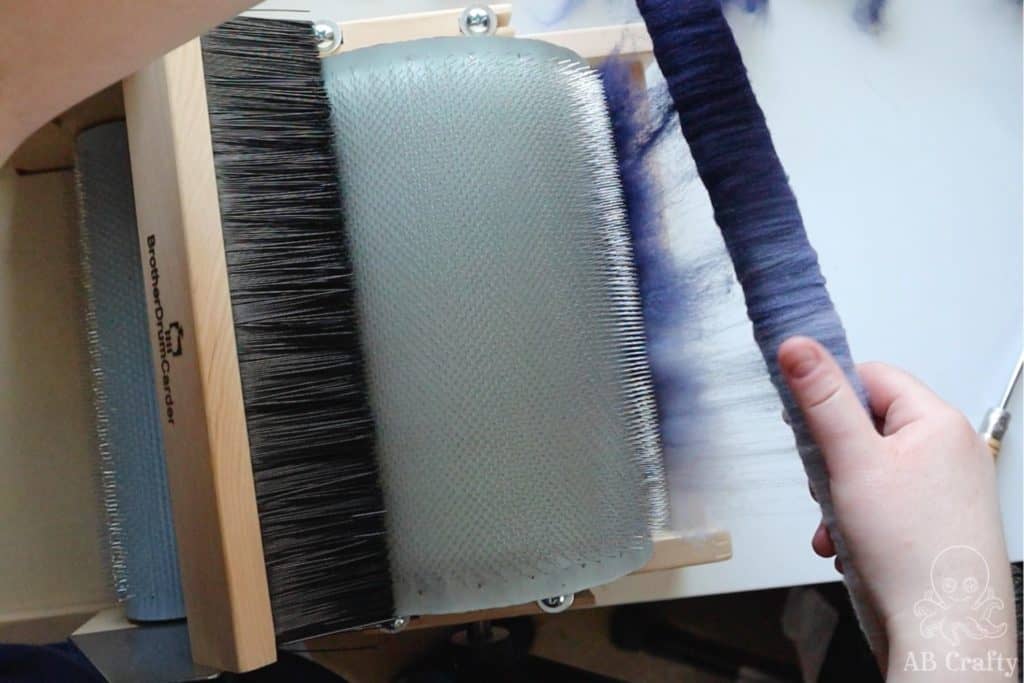
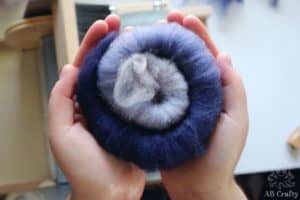
Once you have an even layer on the dowels, carefully slide the wool off. Then you can form your newly made rolag into a coil.
Tip: Don’t layer on too much wool into one rolag or it will be dense instead of lofty.
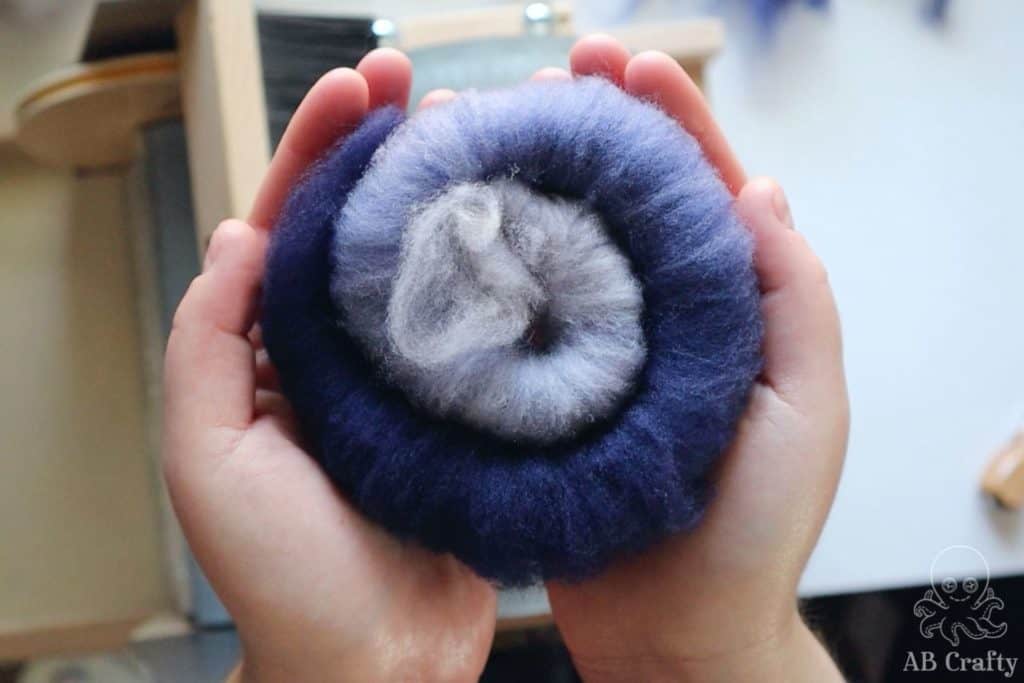
How to Make a Sliver or Roving Using a Drum Carder
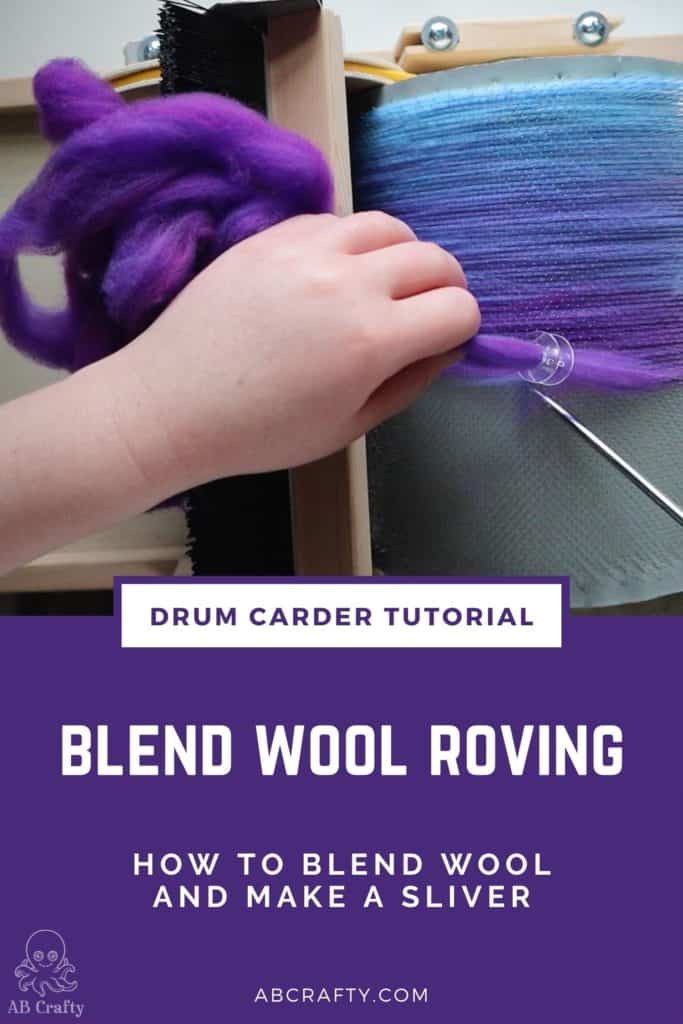
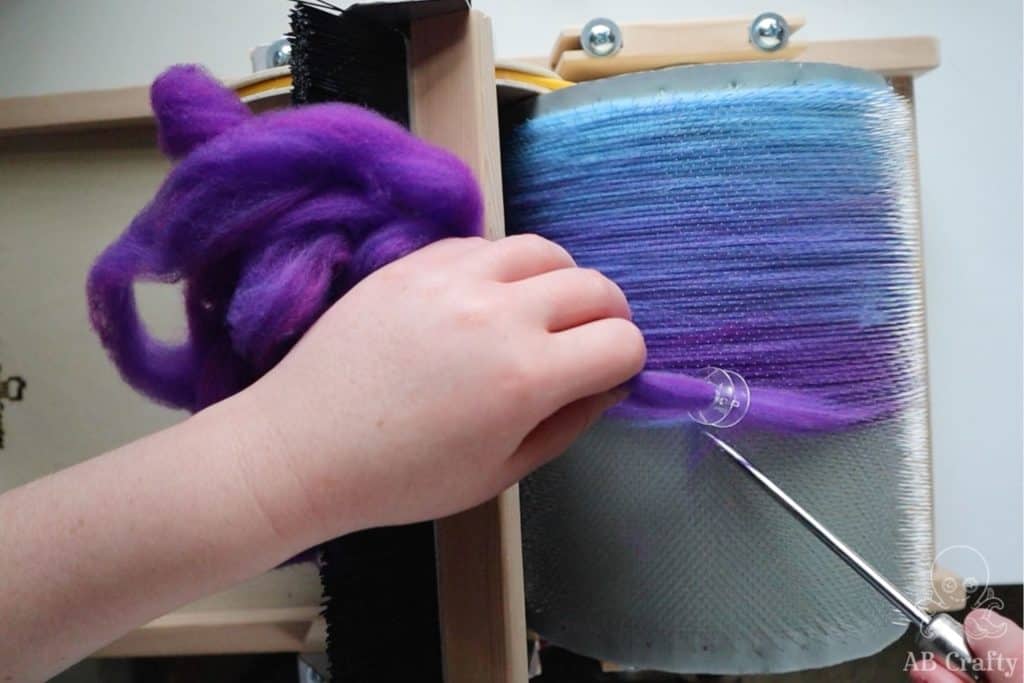
Use the awl to lift up only an inch or two of the fiber.
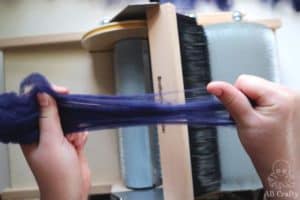
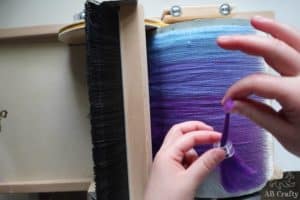
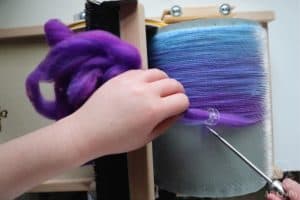
Then twist one end and carefully push it through a sewing machine bobbin (here’s a small pack).
Gently pull on the end of the wool while pushing the bobbin down. The bobbin controls the amount of wool coming through and keeps the fibers tidy.
Tip: When pulling the wool, pull it at a slight angle towards the wool still on the drum so that it picks it up.
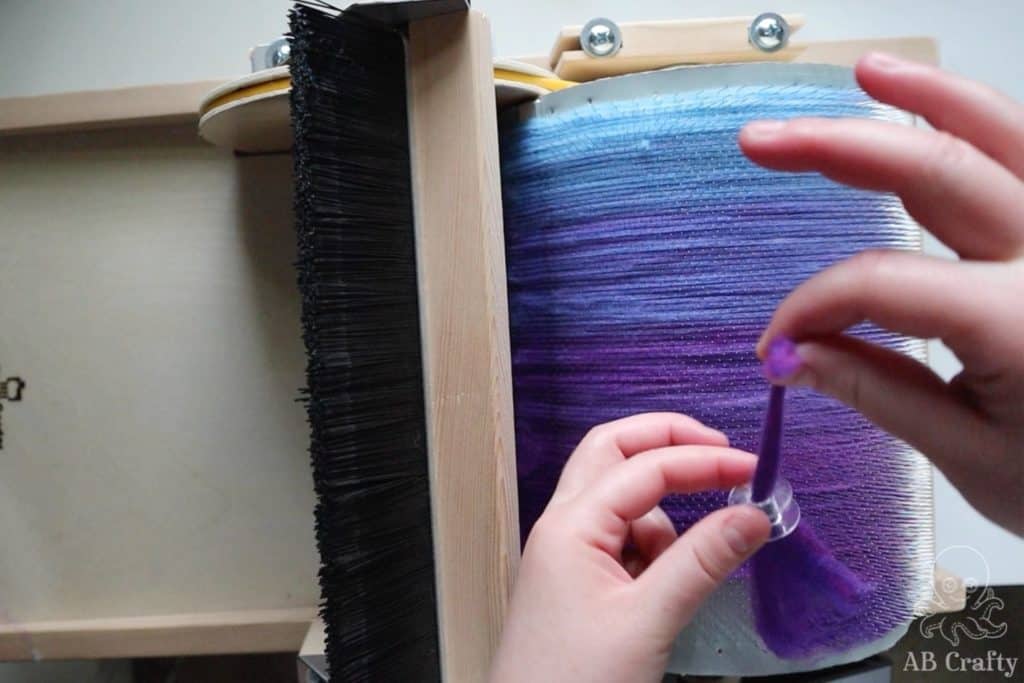
Continue the process around the drum. When you get back around to the beginning, be sure lift the wool at an angle to make sure it picks up new wool stuck to the drum.
Use the awl to carefully pick up fibers stuck to the drum.
You’ll be left with roving you can use to spin or felt.
Get the latest DIY tutorials, reviews, and crafting updates
You'll never be spammed and can unsubscribe at any time
Other Ways to Add Fiber to a Drum Carder
Depending on the fibers you use, you may actually not want to add them through the licker (the smaller drum). Embellishment fibers such as angelina, silks, or my other favorites can often get caught in the licker so you want to add them directly to the drum.
Hold them just at the tines and turn the crank, allowing the drum to pick them up.
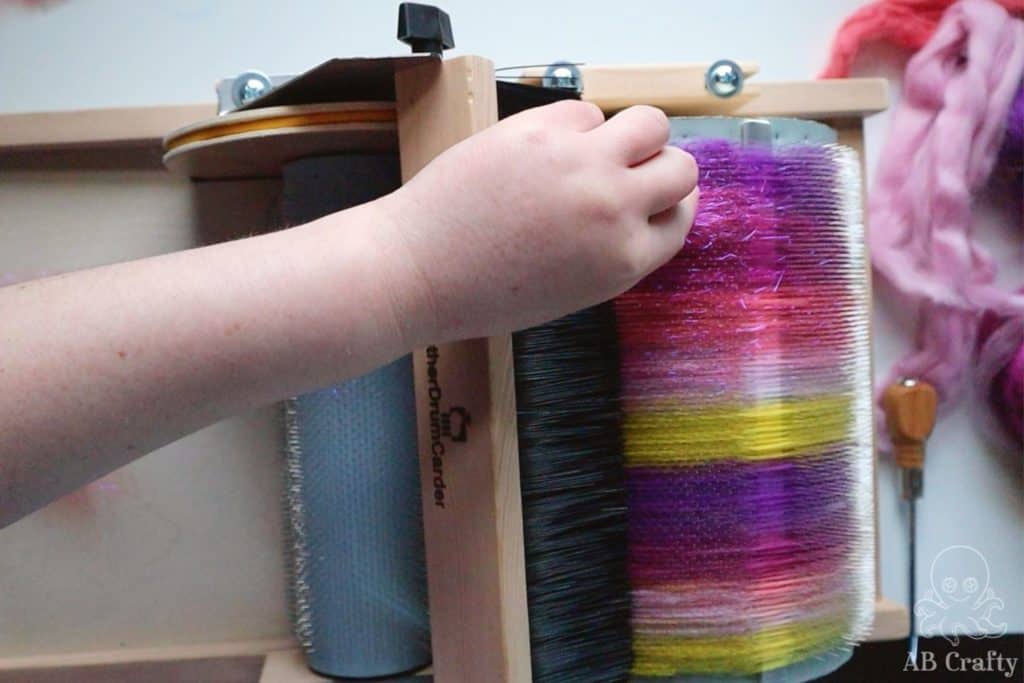
You can also do this with wool to more easily control where the wool goes.
Tip: When adding wool directly to the drum, hold it very loosely. Otherwise the wool will get packed too tightly and you won’t get a nice fluffy batt.

How I Used a Rolag Made on a Drum Carder
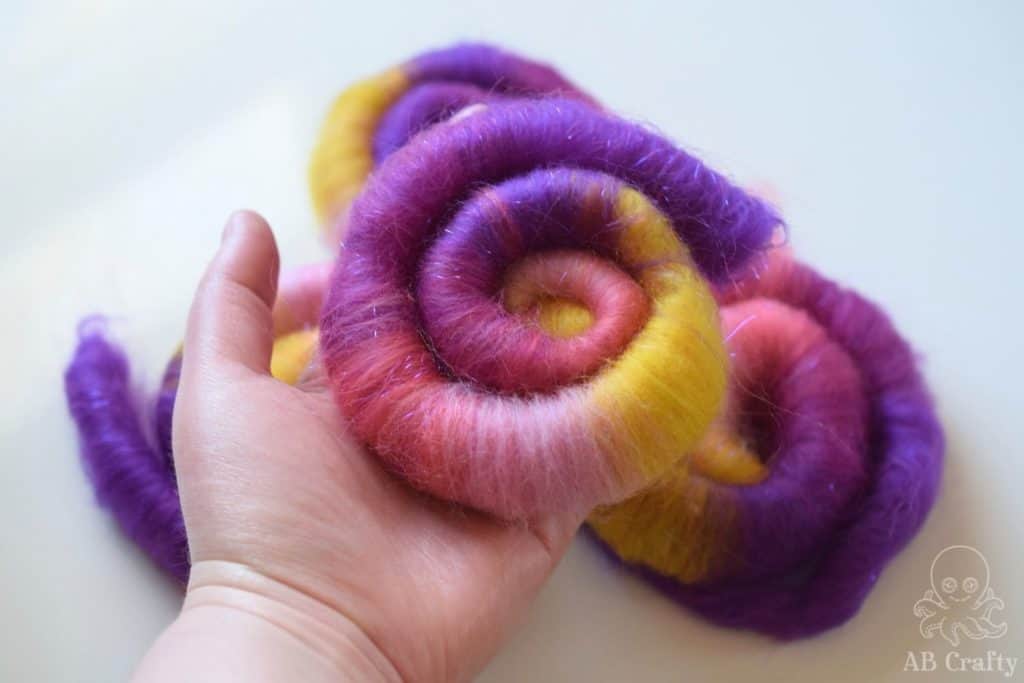
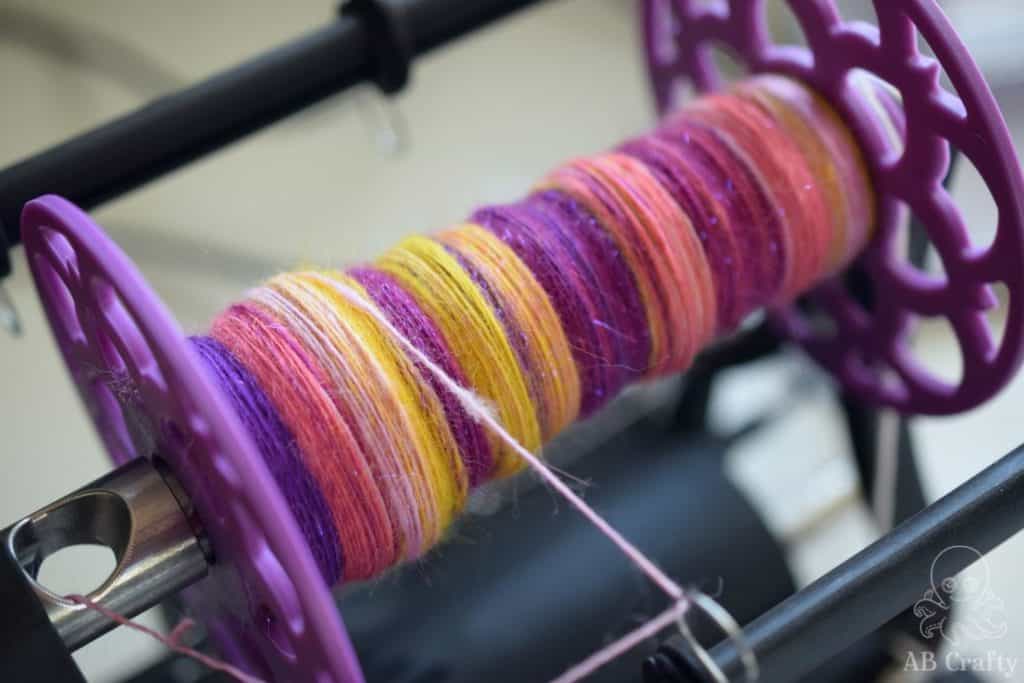
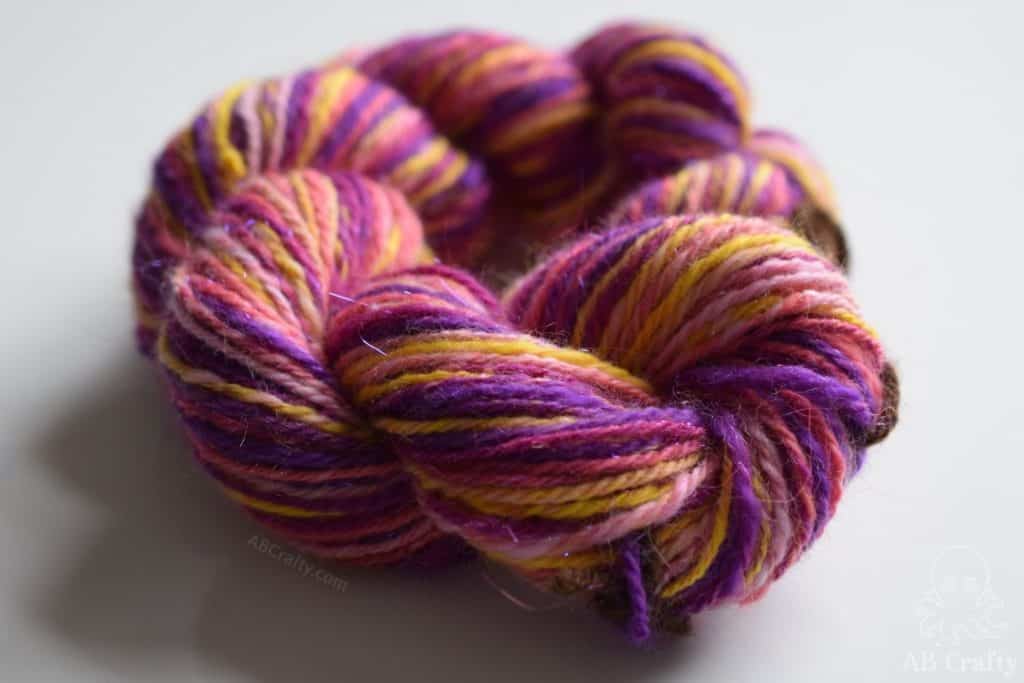
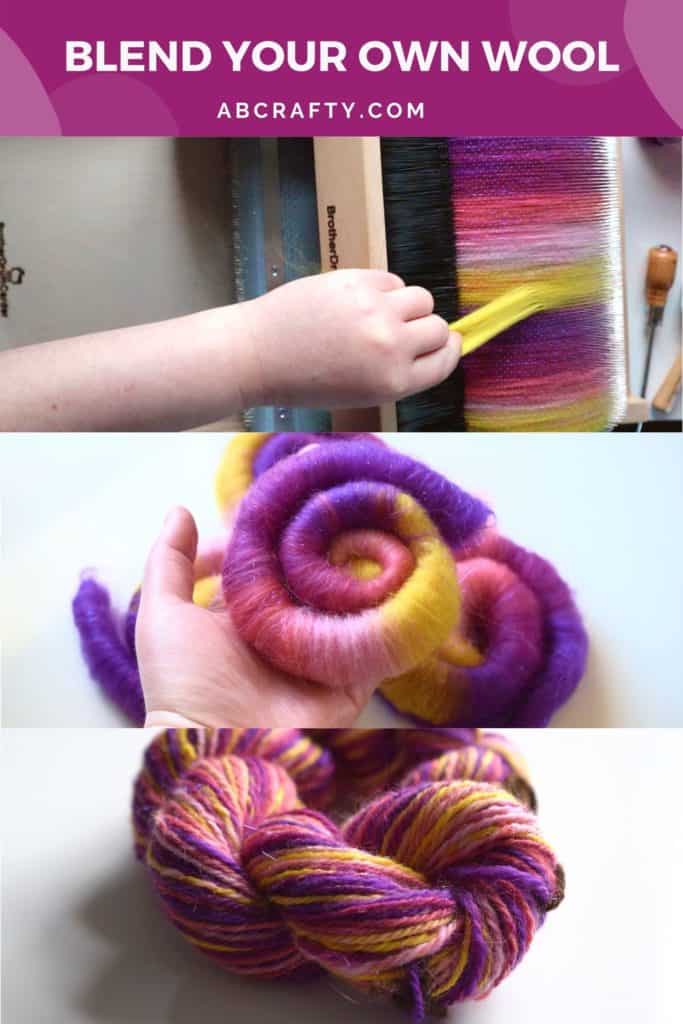
In case you’re curious, here’s what I ended up making with my custom blended wool that I made on the drum carder. For this one I used different wools from various grab bags (these are some of my favorites) and some pink/purple angelina fiber (this is similar to the one I used).
I carded it into a rolag and then spun it on my electric spinning wheel. Then plied it using a chain ply to make the final yarn.
Be sure to follow me on Instagram @ab.crafty to see what I’m making day to day!
How to Fix Slightly Felted Wool on a Drum Carder
Don’t worry, if you slightly felt your wool, you can fix it with a drum carder! Here are the steps you want to take to fix it.
As you can see, I messed up a bit dyeing this wool while attempting to dye it as a gradient. It ended up slightly felted.
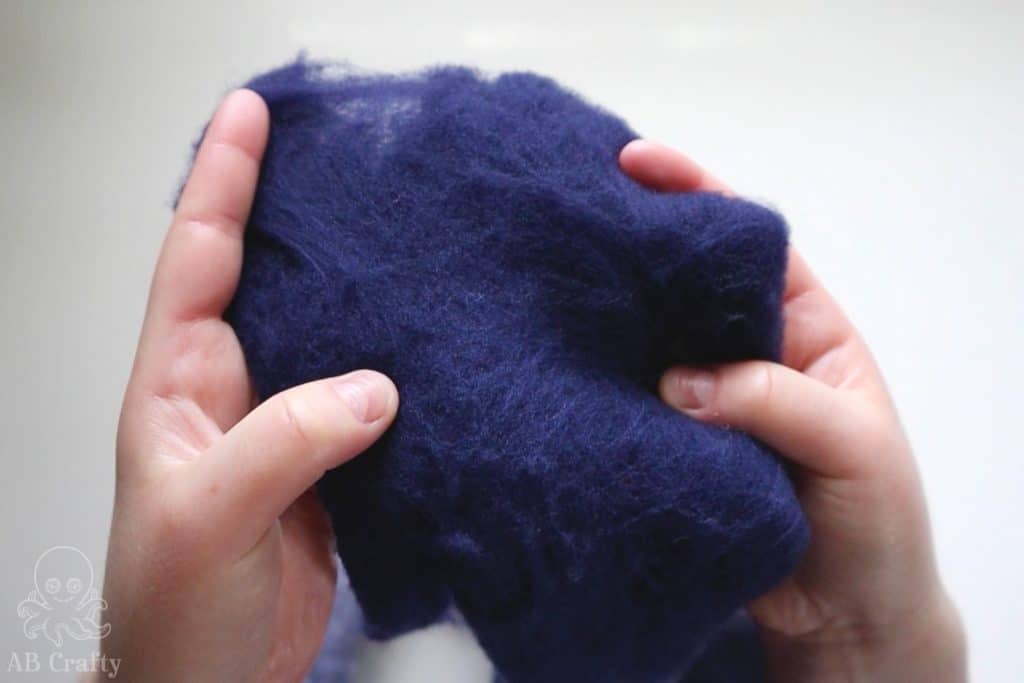
Separate the Fibers
The first thing you want to do is separate the fibers. Since the fibers are intertwined, the key is to help separate them.
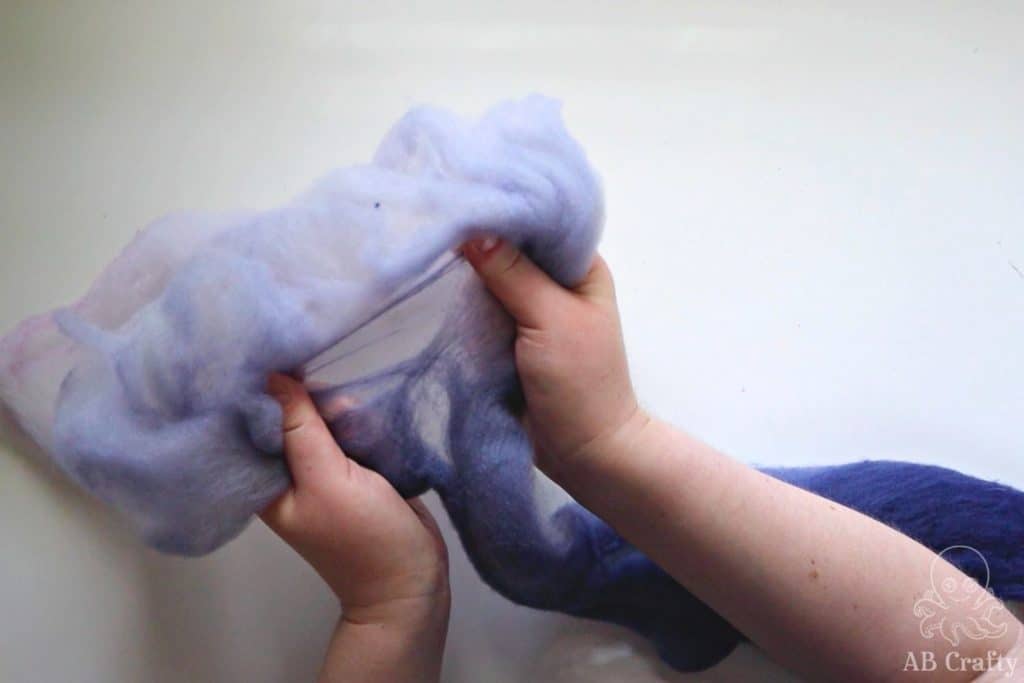
Separate the Colors of Wool
If your wool is not a solid color and you want to keep the distinct colors, you’ll want to separate them. Otherwise they will blend together when run through the carder.
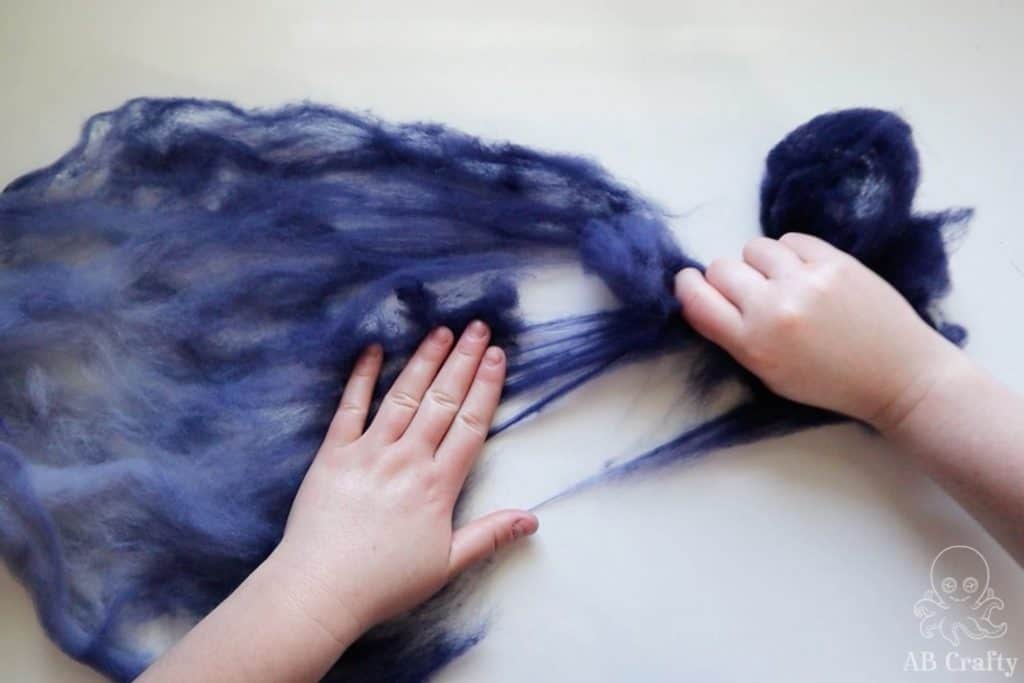
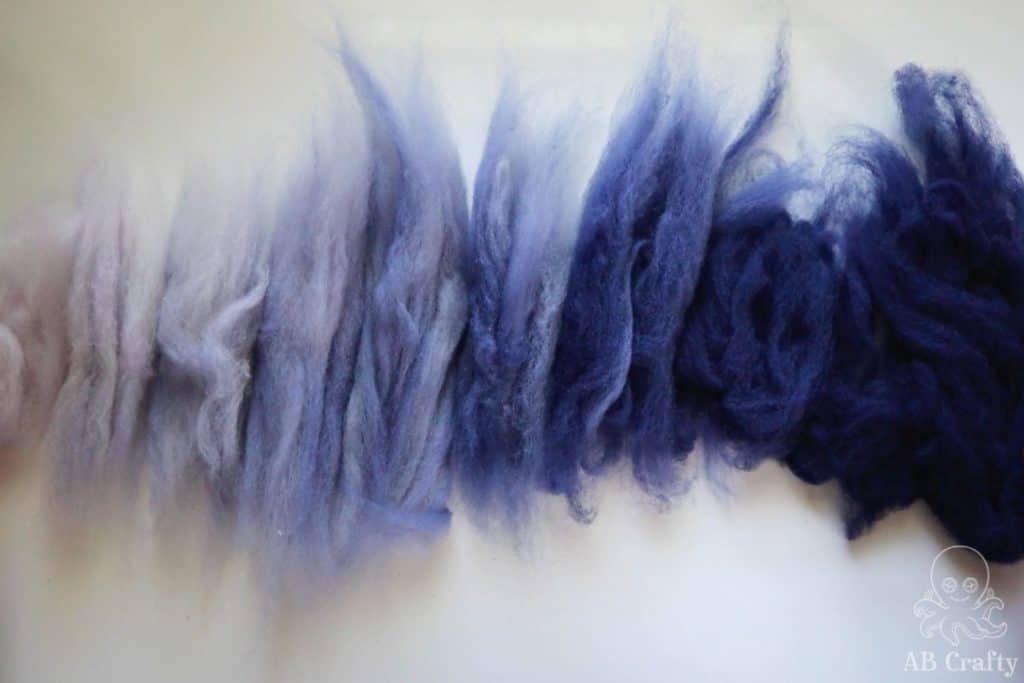
Then you can follow the instructions above to card the wool into a fluffy batt, rolag, sliver, or whatever else. The drum carder will help separate the fibers further, making them no longer felted together.
More Fiber Crafts and Ideas
Get the latest DIY tutorials, reviews, and crafting updates
You'll never be spammed and can unsubscribe at any time
How to Use a Drum Carder
Materials
- Wool
- Awl
- Drum Sticks optional
- Sewing Machine Bobbin optional
Equipment
- 1 Drum Carder
Instructions
How to Card Wool with a Drum Carder
- Separate the fibers a bitWool
- Place the drum carder on the table and flip the brush side against the larger barrel. Lock it in place.
- Place the wool onto the platform in front of the smaller barrel.
- Turn the crank on the side and the fiber will be pulled into the carder.Continue to add wool and fibers, filling up the drum.
How To Make a Batt with a Drum Carder
- Loosen the nob to the brush and lift it up and away from the drum.Then turn the crank until the metal bar on the drum is at the top. Use the awl to lift up the fibers along the bar.Gently pull the fibers down and away to get a battAwl
How to Make a Rolag with a Drum Carder
- Use two wooden dowels (or drum sticks) to grab either side of the wool and twist it around the dowels.Drum Sticks
- Gently lift and twist to continue to wrap wool around the dowels.
- Slide the wool off of the dowels and you have your rolag.
How to Make a Sliver or Roving with a Drum Carder
- Use the awl to lift up only an inch or two of the fiber from the drum.Push the wool through a sewing machine bobbin (here’s a small pack).Sewing Machine Bobbin
- Continue around, pulling the wool at an angle while pushing down on the bobbin.






1 thought on “Drum Carder Instructions – How to Card Wool”
What an incredible machine. Great tutorial.