Vevor Heat Press Guide � The “Honest Truth” About This Budget Powerhouse
-
 Daniela Kretchmer
- Updated: Feb 25, 2026
- Clothing, Craft Supplies, Sublimation

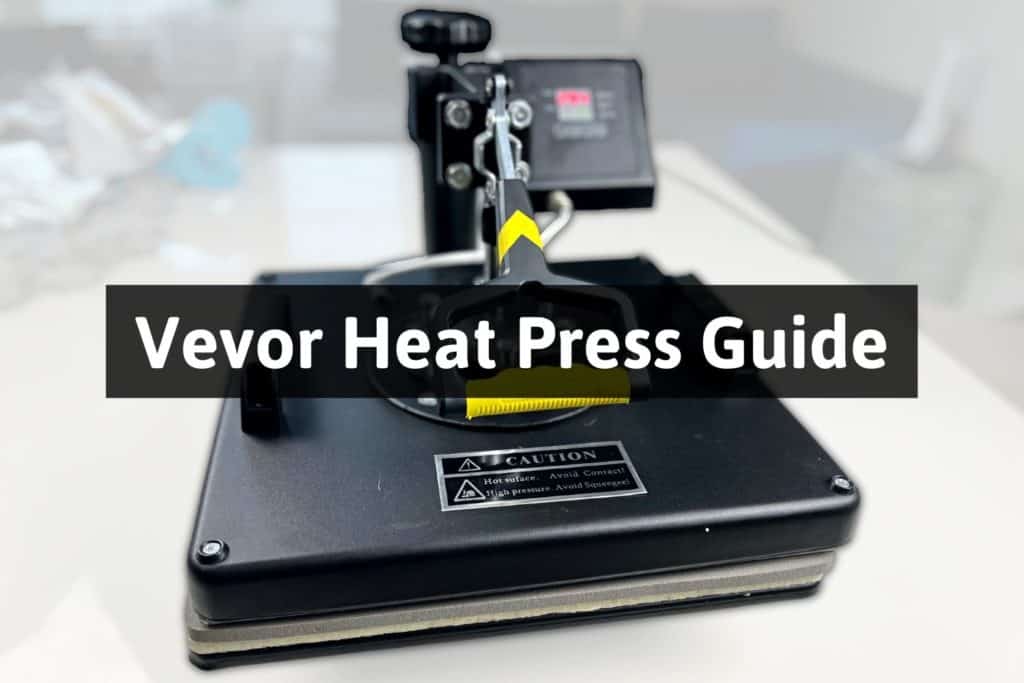
Table of Contents
Note: Some links in this post may contain affiliate links, which means at no cost to you, I may earn a commission.
The Honest Truth: Why Vevor Is the "No-Name" Giant
I frankly really like Vevor products because they make the “real thing” for a much lower price. If you look at their portable heat press, it looks almost identical to the Cricut EasyPress, but it’s hundreds of dollars cheaper. Vevor is essentially removing the brand name and the “brand tax” and giving you the same machine at a fraction of the cost. While they’re becoming a massive brand in their own right, they still offer that “no-name” value that makes professional-grade crafting accessible.
The Risks: Fire Safety and the "Crazy Hot" Reality
We first have to talk about safety. While I personally haven’t had any major mechanical failures, a friend of mine had a Vevor press that actually started a fire. You have to remember that these are high-draw electrical machines.
Another issue is that the entire machine gets crazy hot! There aren’t any “safe” places to touch other than the handle and the control buttons. If you’re used to the plastic, cool-to-the-touch casing of a Cricut EasyPress, this will be a shock. You have to be extremely careful not to brush your arm against the top or sides of the machine while you’re working.
The Swing-Away Struggle: Alignment and Shifting Fabric
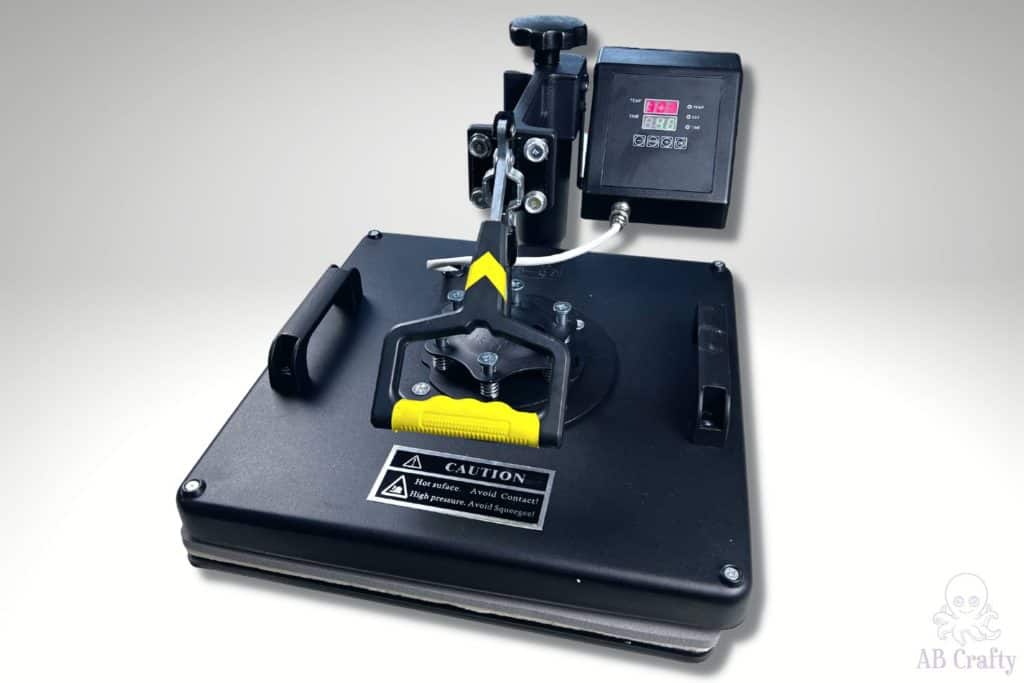
The machine I use is a “swing-away” style (this one). In theory, this is great because you can move the heat source out of the way to set up your project. However, it is very difficult to get the top plate perfectly aligned over the bottom plate every single time.
The real danger here is when you’re trying to “eyeball” the alignment and adjust the heavy top plate, you’re likely to nudge your sublimation paper or cause your fabric to fold. In sublimation, any movement of the paper while it is hot will cause ghosting, and a fold in the fabric will lead to uneven pressure and faded sections. This constant need for adjustment makes the swinging motion a “one-way street” to a ruined project if you aren’t careful.
The Machine's Weight and Physical Demands
I’m going to be honest – I hate how heavy this machine is! It’s a solid piece of industrial equipment, and it’s not meant to be moved around frequently. If you don’t have a dedicated, permanent spot for it, the sheer weight will make every crafting session a chore.
This machine is NOT good for those with mobility issues. I’ve had periods where I struggled with mobility, and during those times, this machine was simply impossible for me to use. Between the heavy lifting and the force required to lock the handle at high pressure, it’s a physically demanding tool.
Furthermore, when you’re pressing at high pressure, the machine can become “unbalanced.” I have had some scary moments where the whole unit started tipping forward. If you aren’t physically able to manhandle it, it’s not the right machine for you and you’ll want to look at their automatic heat presses (which I love!).
Performance: Heat-Up Times and Pressure Control
While I haven’t had any issues with uneven heat, this machine does take a long time to heat up. You can’t just flip it on and expect to press a shirt 30 seconds later. You have to plan ahead and let it sit.
The big advantage of this manual press over an automatic one is the pressure. I also own a Vevor automatic heat press, and while I like using it, this manual version is actually better for sublimation. You can really “crank” the pressure up to ensure the ink gasses into the fabric perfectly. It is more manual work, but the results are often more professional.
Don’t forget to pin it so you can easily come back to it later!
Vevor Heat Press: Quick Settings Guide
| Material Type | Temp (F) | Time (Seconds) | Pressure Level |
|---|---|---|---|
|
Sublimation (Polyester) |
360° – 400° |
40 – 60 |
High (Very Firm) |
|
HTV (Cotton/Blends) |
280° – 330° |
10 – 30 |
Medium |
|
HTV (Polyester) |
270° – 300° |
15-30 |
Medium |
|
Transfer Paper (Inkjet) |
350° – 375° |
20-30 |
Medium |
The “Honest Truth” Tip: These are general starting points. Because every brand of vinyl and ink is a little different, you should always check the instructions on your specific packaging to avoid a “one-way street” mistake.
Materials to Use a Vevor Heat Press
- Vevor Heat Press (this is the updated version of the one I have)
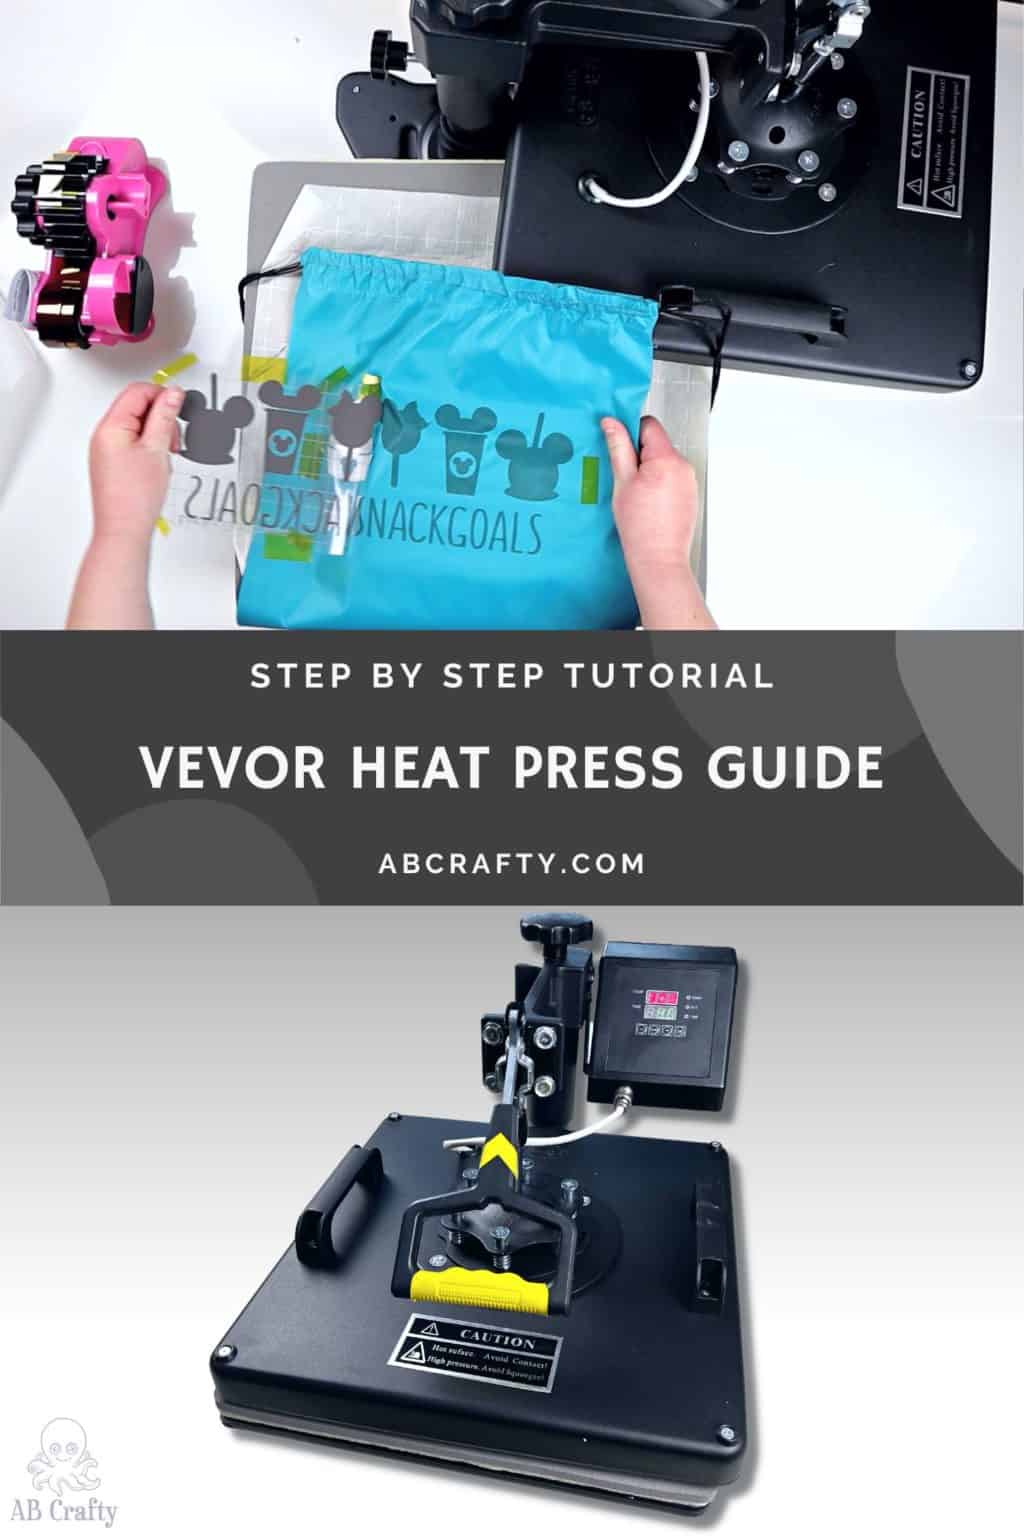
- Shirt or Item You want to Customize (I’m using a polyester drawstring bag like this one)
- Design or Image (this is the one I used with a different font)
- Heat Transfer Vinyl or Sublimation Paper (this is the one I’m using)
- Parchment Paper / Butcher Paper / Teflon Sheet (Amazon)
- Heat Tape (optional) – this is the one I have
- Vinyl Cutting Machine such as a Cricut (use code ABCRAFTY for $10 off at Cricut)
- Weeding Tool (optional) – Amazon
- Pressing Pillow (optional) – Amazon
- Scissors
 VEVOR Heat Press Machine, 15 x 15" - $192.99
